1st Birthday Smash Cake Tutorial + Simple Vanilla Cake Recipe
posted in Food & Drink on 11/30/2014
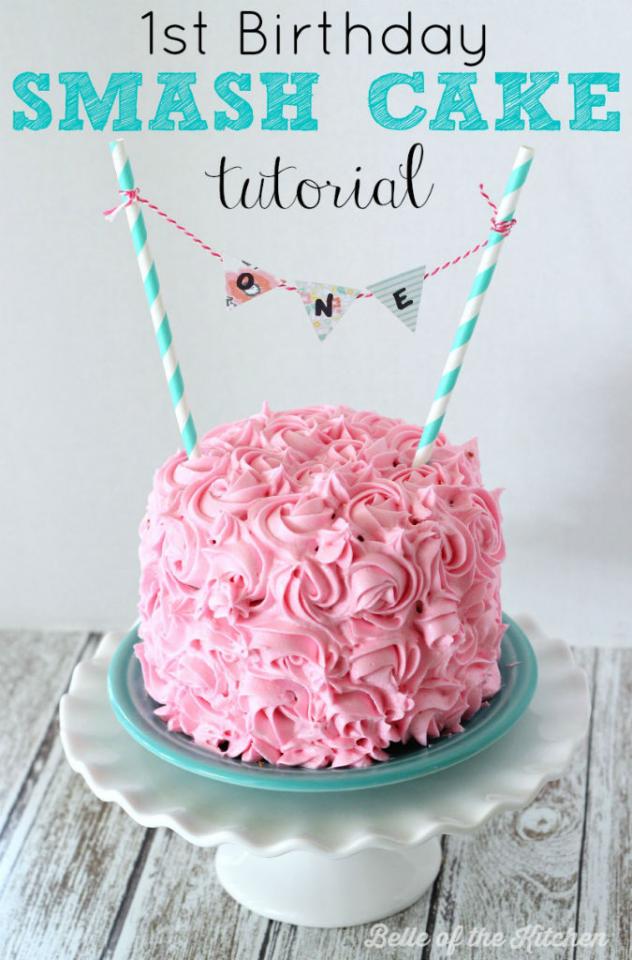
How to make a Smash Cake
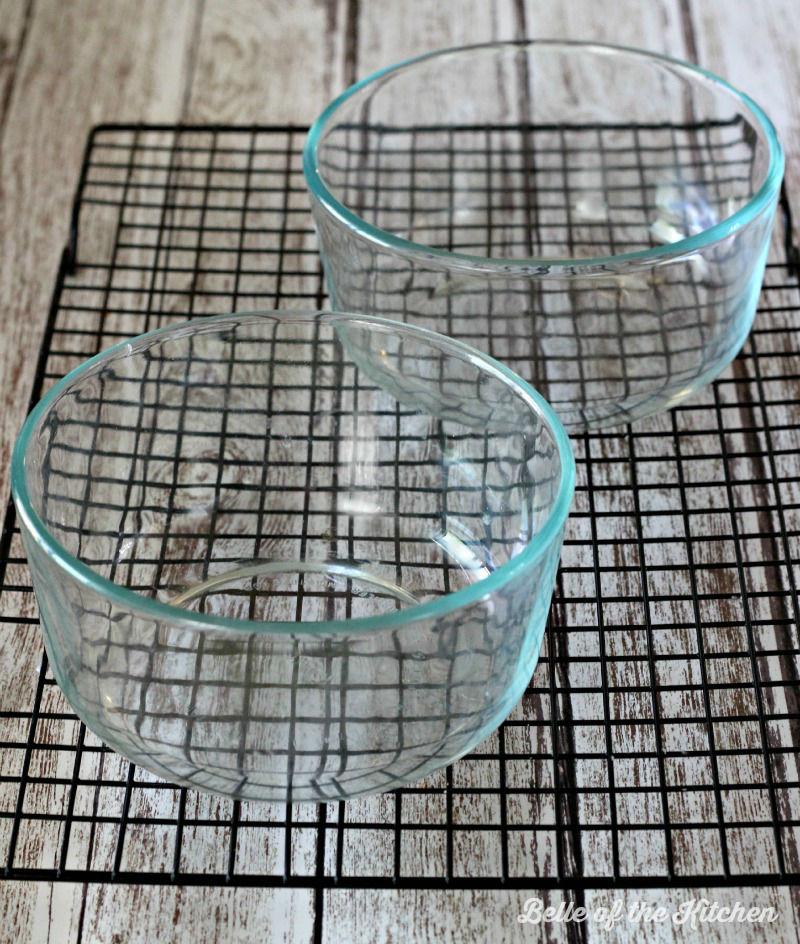
1. If you want to make a two layer smash cake (like I did), search your cabinets for two small, round, glass pyrex bowls. The ones I used were one quart each. You can use two small casserole dishes or other kinds of bowls as well, just so long as they are oven-safe! Grease and flour them both well.
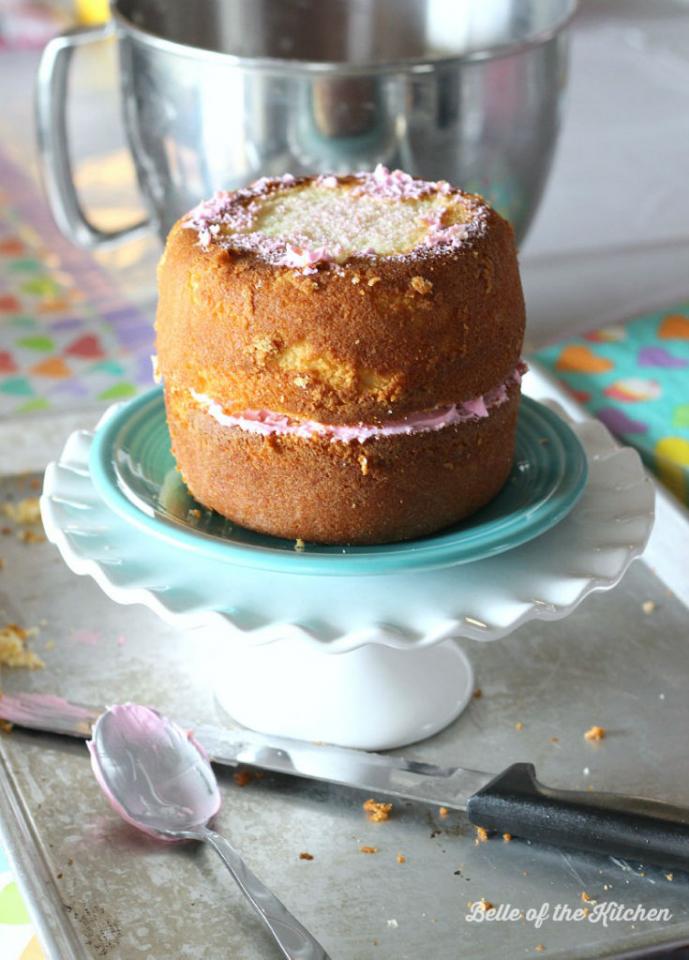
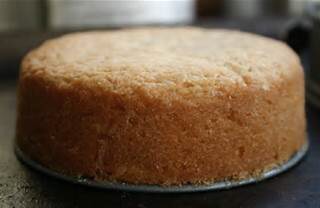
2. Prepare the Simple Vanilla Cake batter according to directions below. Fill each of the glass bowls about 3/4 the way full with batter. I used the remaining batter to make a dozen cupcakes as well. Bake and allow to cool completely. Once cool, loosen the cakes gently from the sides of the bowls by carefully running a knife around the outside edges. You will want to flatten out the tops of your cakes, which you can do by cutting a very thin layer off the top of each with a knife.

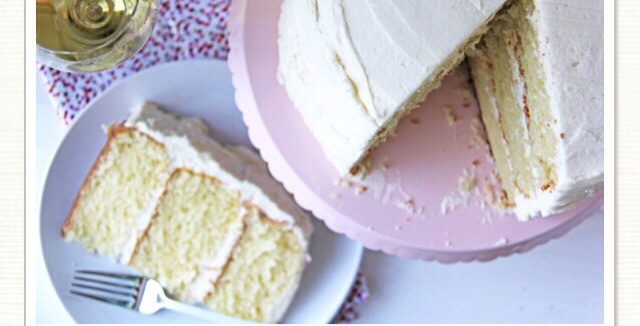
3. Prepare your frosting. I used my Easy Buttercream Frosting recipe and added a little pink gel food coloring. Spread a thin layer on the top of one of your cakes, then turn the other cake upside down and place on top.
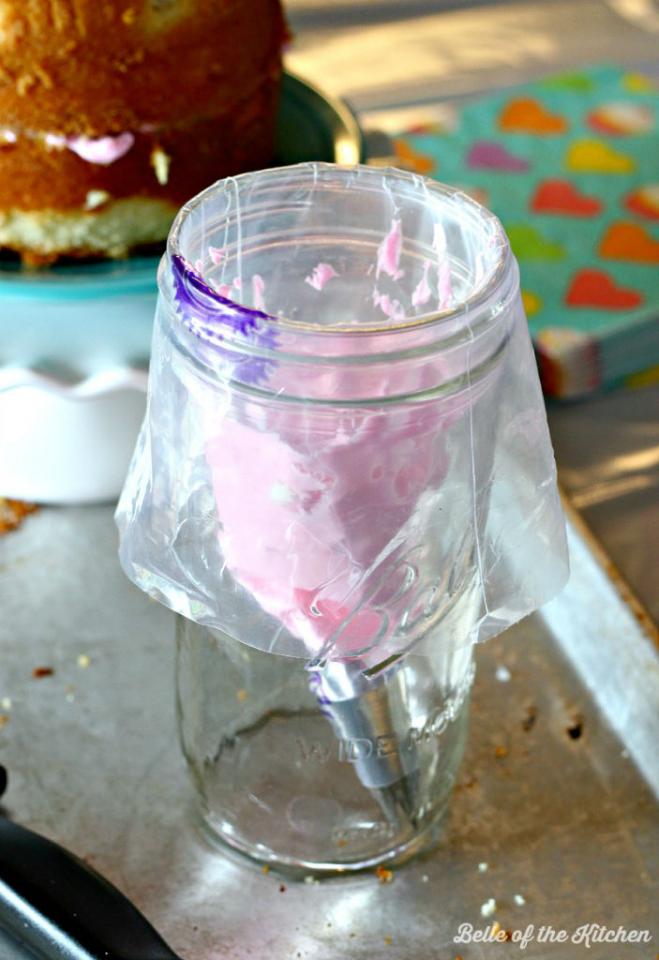
4. Now you’re ready to pipe on your icing! Take a piping bag and add whatever tip you would like to use to decorate with. I decided to try putting little roses all over mine, and I used a Wilton 1M tip. To make filling your piping bag easier (and less messy!) stick the end of your bag inside of tall glass (I used a tall, wide mouth mason jar) and pull the top part of the bag down and over the edges. MUCH easier to fill. :)
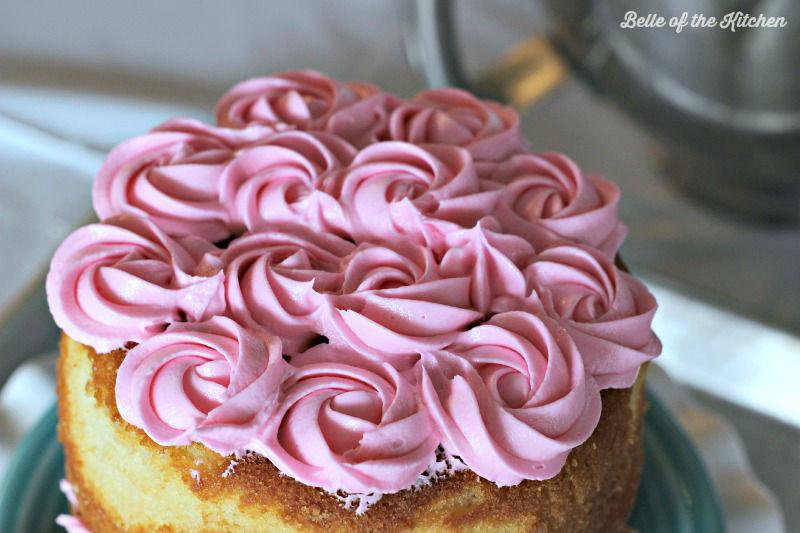
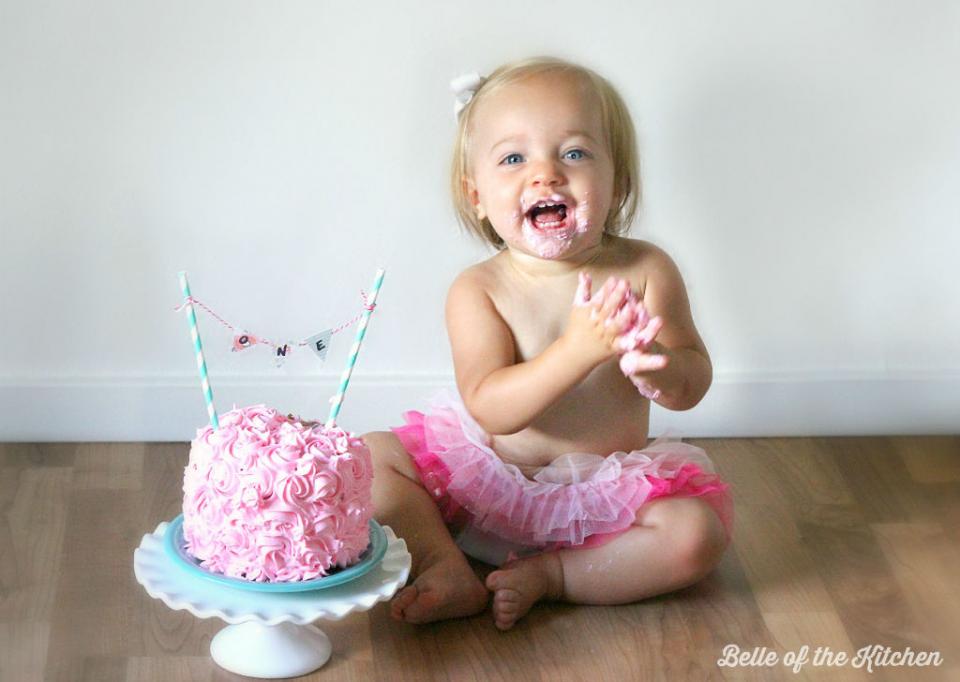
5. I covered mine in roses, which were DEFINITELY NOT perfect, but I was still really happy with it! Especially since it was my first attempt, I was okay with it not being perfect. Your baby is going to LOVE digging into their cake, and they are not going to care one little bit how fancy it’s decorated, so just HAVE FUN with it! If you want to make roses, take the tip of your icing bag, squirt and move in a circular motion, swirling around in a circle from the center. I covered the top of the cake in these swirls first before attempting the sides.
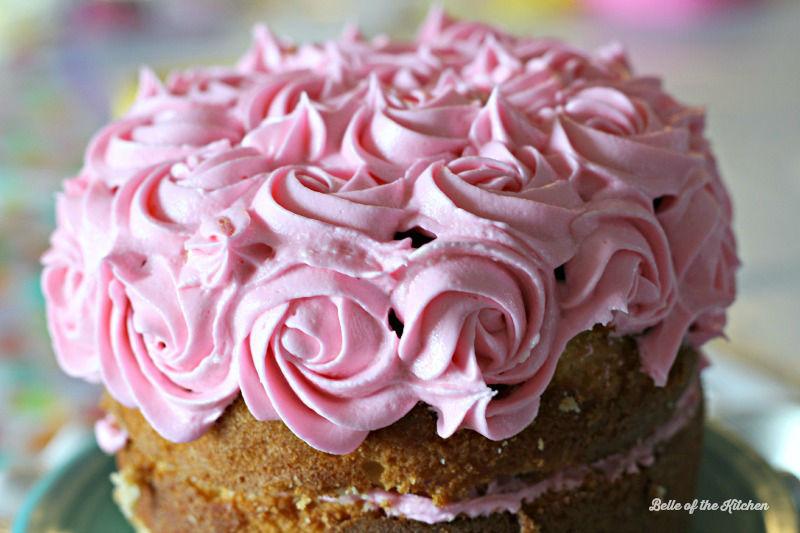
6. Continue covering the cake by with the same pattern down the sides. The sides were definitely more challenging for me! Just take your time, and remember how much your sweet baby is going to love it. :) For any open spaces, I just gave a simple squirt of frosting to fill.
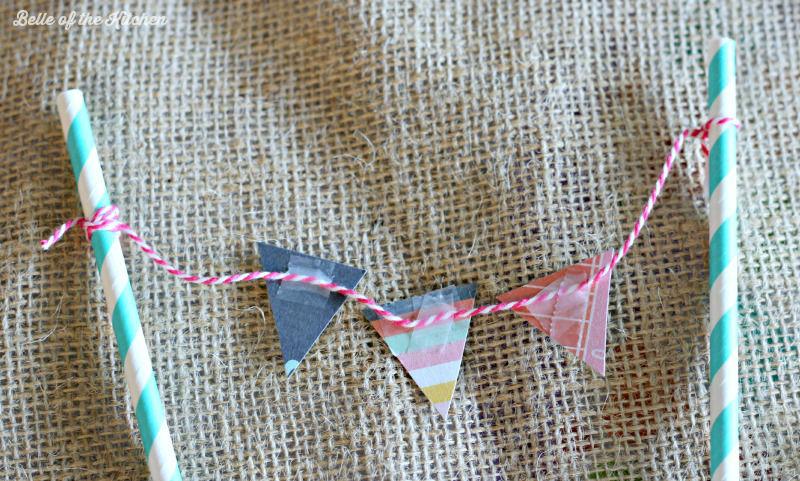
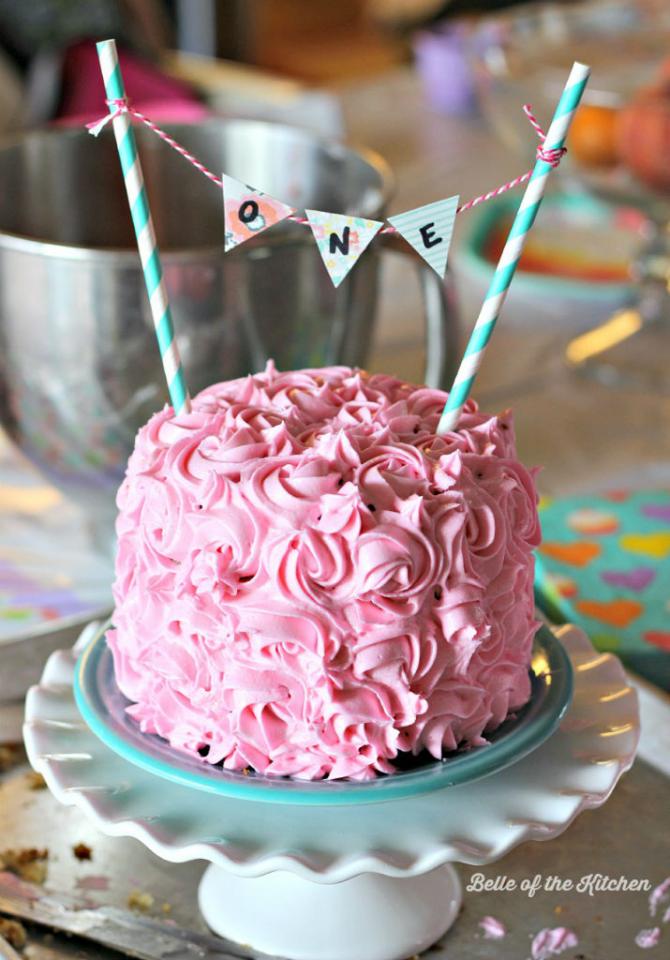
7. For the the little topper, I tied some baker’s twine around two paper straws (that came in a pack I bought from Target). I LOVE fun straws, and I was so excited that I had some turquoise ones since I decided to do her cake in a pink and turquoises theme. Next, cut out some small triangle shapes from scrapbook paper and tape them to the string, like I’ve shown below. I used three little triangles to spell out the word “one” but you could also make your baby’s name! My little girl’s name is pretty long, so I decided to stick with the word “one” instead. :)
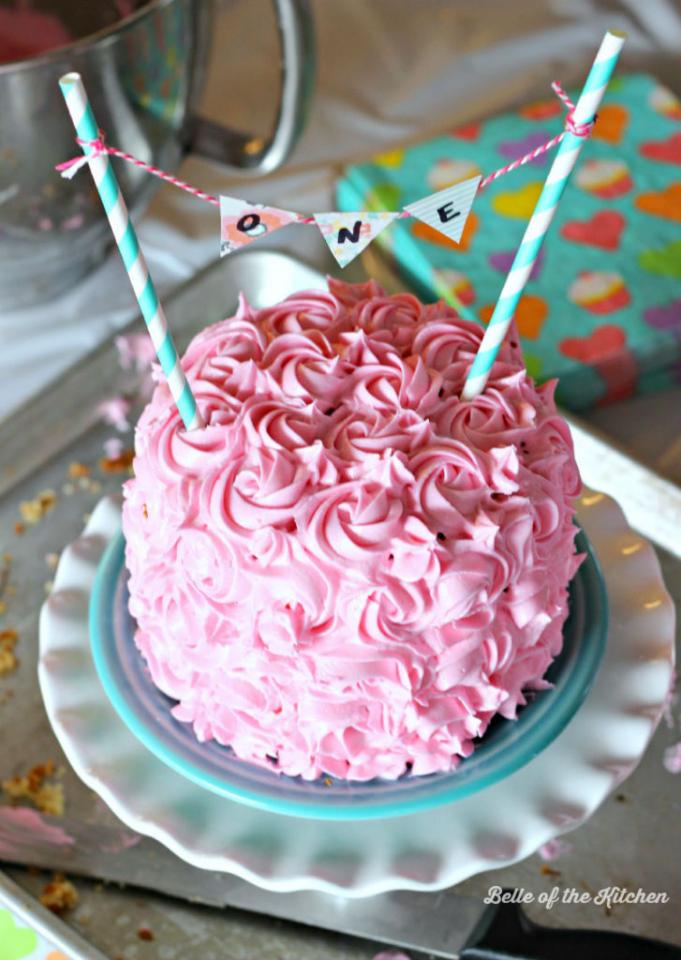
8. Carefully stick the two straws into your cake, pushing down until both are level and to your liking. Then stand back and admire your finished product!
hope this helps you a bit if you’re interested in making a smash cake for a special little one in your life! It’s really not hard at all, and is actually a lot of fun! Like I said, mine is not perfect. My icing decorating skills could probably use some improvement, but overall I was happy with it. If I can make one that looks somewhat decent, then I know y’all can, too!
Oh, and here’s the recipe for the simple vanilla cake! Enjoy. :)
2 cups granulated sugar
1 cup unsalted butter, softened
4 eggs
2 TB vanilla extract
3 cups all-purpose flour (could also be made with cake flour)
3 1/2 tsp. baking powder
1 1/2 cups milk (I used whole milk)
Preheat oven to 350 degrees. Grease and flour baking pans, or line muffin tin with cupcake liners.
Using an electric mixer, beat the sugar and butter together over medium speed for 5-8 minutes. Add in the eggs, one at a time, beating well after each addition. Stir in the vanilla.
Combine the flour and baking powder in a medium sized bowl.
Alternate adding the dry mixture and the milk to the batter, beginning and ending with the dry mixture. Beat until just combined.
Pour mixture into prepared baking pans. See notes below for baking times.
Once baking time is complete, transfer baking dishes to a wire rack to cool. Once completely cool, remove cakes from baking dishes and frost with Easy Buttercream Frosting and enjoy!
*This recipe is enough to fill two (1 quart) Pyrex baking bowls, as well as 12 cupcakes. It is also enough to make one 9x13 cake. Bake the two small cakes for about 35-40 minutes, or until toothpick in center is clean. I baked both of mine together on a cookie sheet. Bake cupcakes for about 18-20 minutes. I have not baked the 9x13 cake, but think it would probably be about the same as the two small ones. Just keep an eye on your cakes and check them periodically.
More tips like this
Food & Drink
Vanilla Cake Recipe From Scratch -> Super Easy And Super Delish!
3522

Food & Drink
🍰🍰Easy & Simple Cheese Cake Recipe🍰🍰
2708
Food & Drink
Best Vanilla Buttercream Cake Recipe 💟
1481

Food & Drink
Homemade Dairy Queen Ice Cream Cake
5971
Food & Drink
Best buttercream for sugar cookies
207
Food & Drink
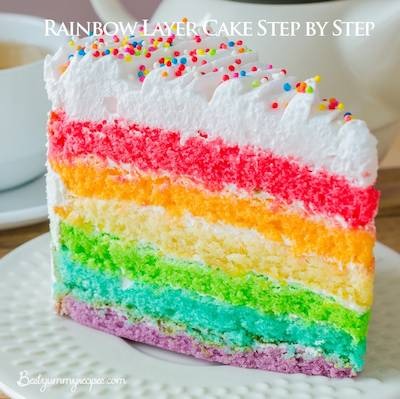
Rainbow Layer Cake Step by Step
269

Food & Drink
CAKE BATTER TRUFFLES {from The-girl-who-ate-everything.com}
3233
Food & Drink
20 Secret Starbucks Frappuccino Orders
1.5K11