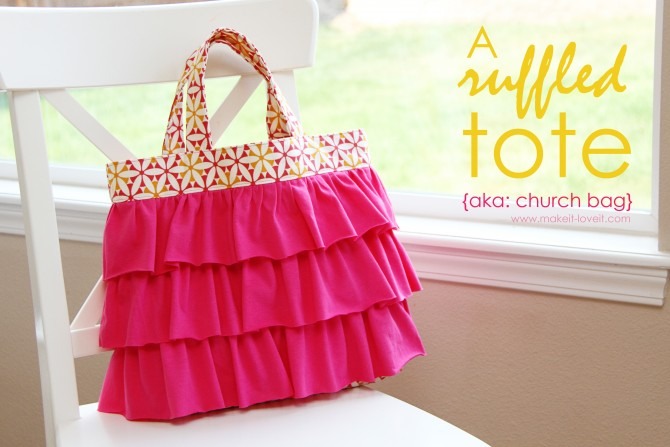
A Ruffled Tote (aka: Elli’s Church Bag)
posted in Family & Kids on 4/27/2014
Supplies:
Upholstery Fabric (or something thick and sturdy) for inner and outer bag. I used about a yard.
thread
scissors
pins...
60″ wide jersey knit fabric for ruffles. I used about a half yard. (If you use knit that isn’t 60 inches wide and you still want the same amount of ruffling, you will need to sew strips together to make them 60 inches long.)
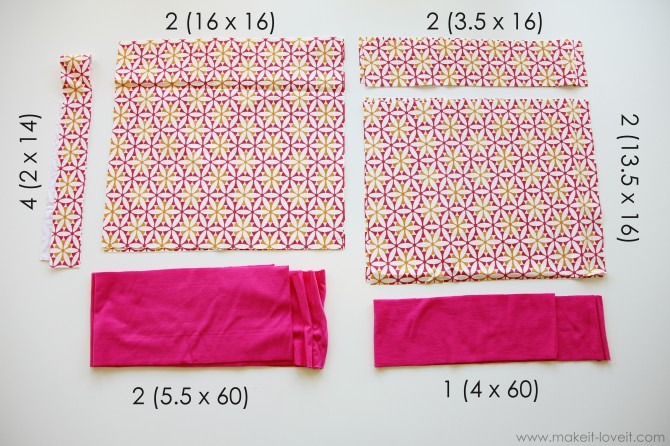
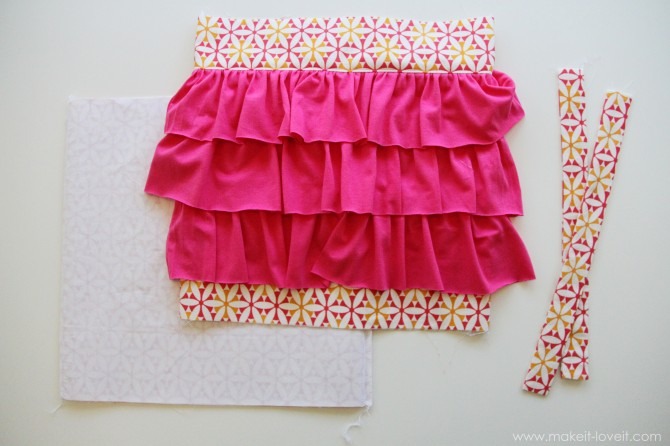
Cut the following pieces of fabric as shown. The number of pieces is shown to the left of the parenthesis and the dimensions (in inches) is shown inside the parenthesis. Then main large square pieces on the left are for the lining and the pieces on the right are for the outer bag.
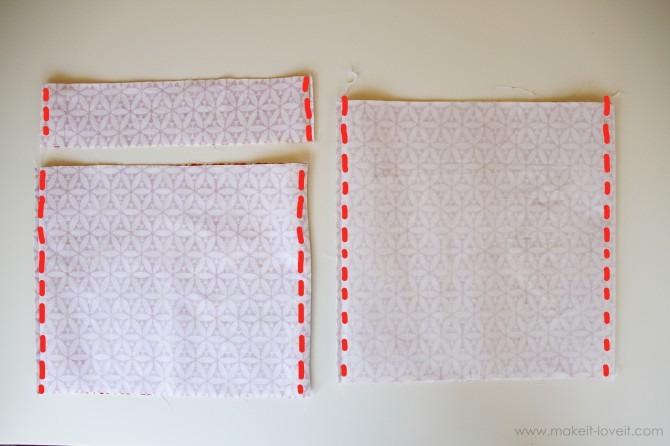
Now use a 1/2 inch seam allowance & sew your 2 lining pieces (16 x 16) t/g w/ right sides t/g along the right & left sides. Then, sew the two 3.5 x 16 pieces t/g & the two 13.5 x 16 pieces t/g w/ right sides t/g & along the shorter end. Turn right side out and iron seams open and flat.
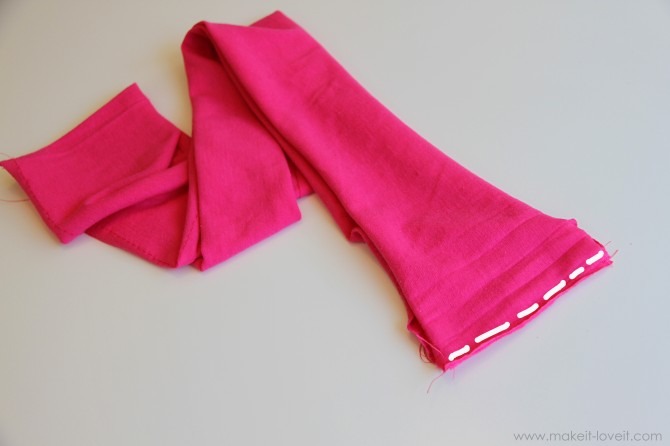
Next, grab your smaller strip of knit fabric (4 x 60) and sew the two ends together (with right sides together), using a 1/4 inch seam allowance.
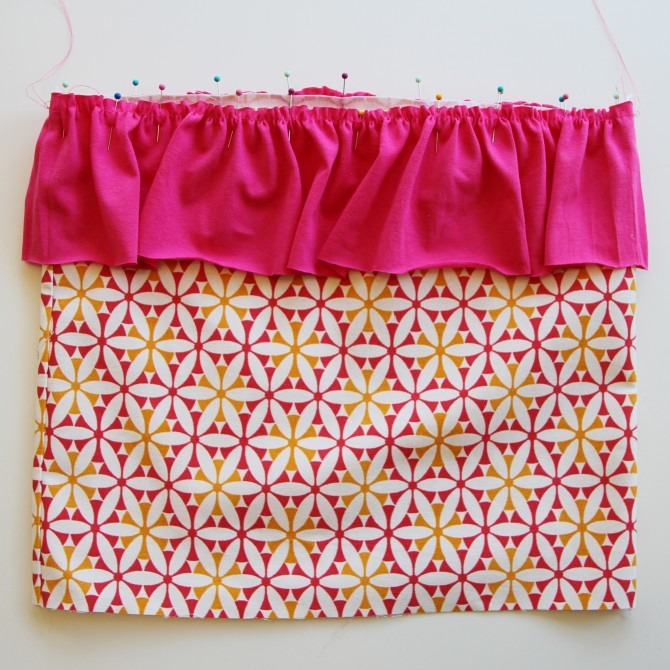
Then sew these ruffles to the top edge of the fabric, using a 1/2 inch seam allowance again.
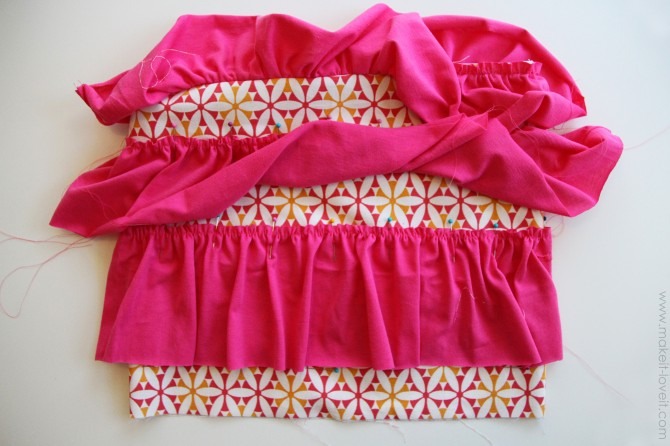
Next, sew your other two strips of knit fabric into circles, then add basting stitches and create ruffles…….just like you did above. Then pin these next two rows of ruffles to the base fabric, evenly spacing them and overlapping them. Pin in place.
Also be sure that your bottom ruffle doesn’t go all the way down to the bottom of the base fabric, cause the bottom of the bag will shorten up when you square off the bottom. (I pinned the bottom ruffle about 2" from the bottom but this can vary, depending on how much you square off the bottom).
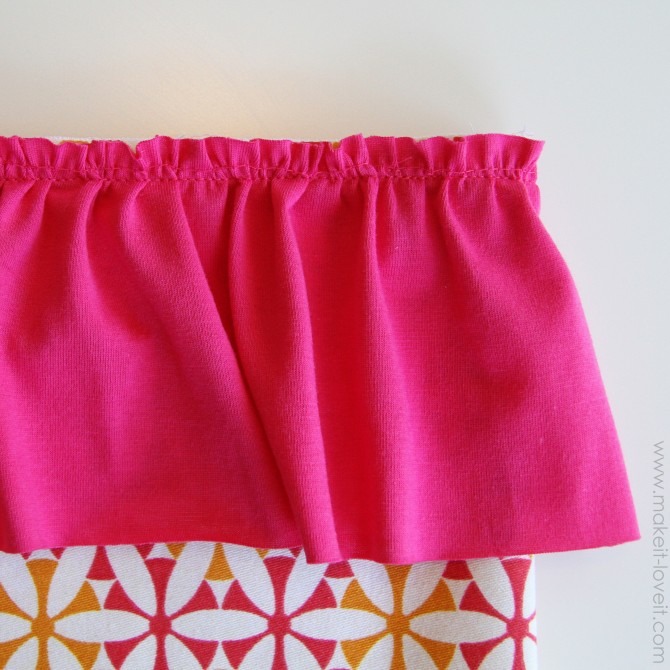
Then sew each ruffle in place.
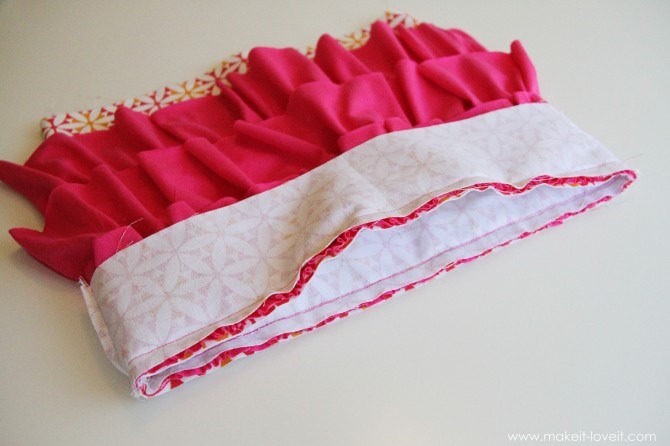
Next, grab the top sections of fabric that were sewn together into a circle (3.5 x 16 inch pieces) and slide it over the ruffled section of fabric, with right sides together. Match the top edges up evenly, then sew together with a 1/2 inch seam allowance.

Next, flip that top strip of fabric up & iron open. Be sure that the fabric flap from behind (the seam allowance) is ironed upwards. Then sew a seam right at the bottom of the strip of fabric you just attached, making sure that the seam allowance from behind is included in the seam.
Place your two shirt pieces of duck vlith together (with right sides together) and sew along the right and left edges, using a 1/2 inch seam allowance.
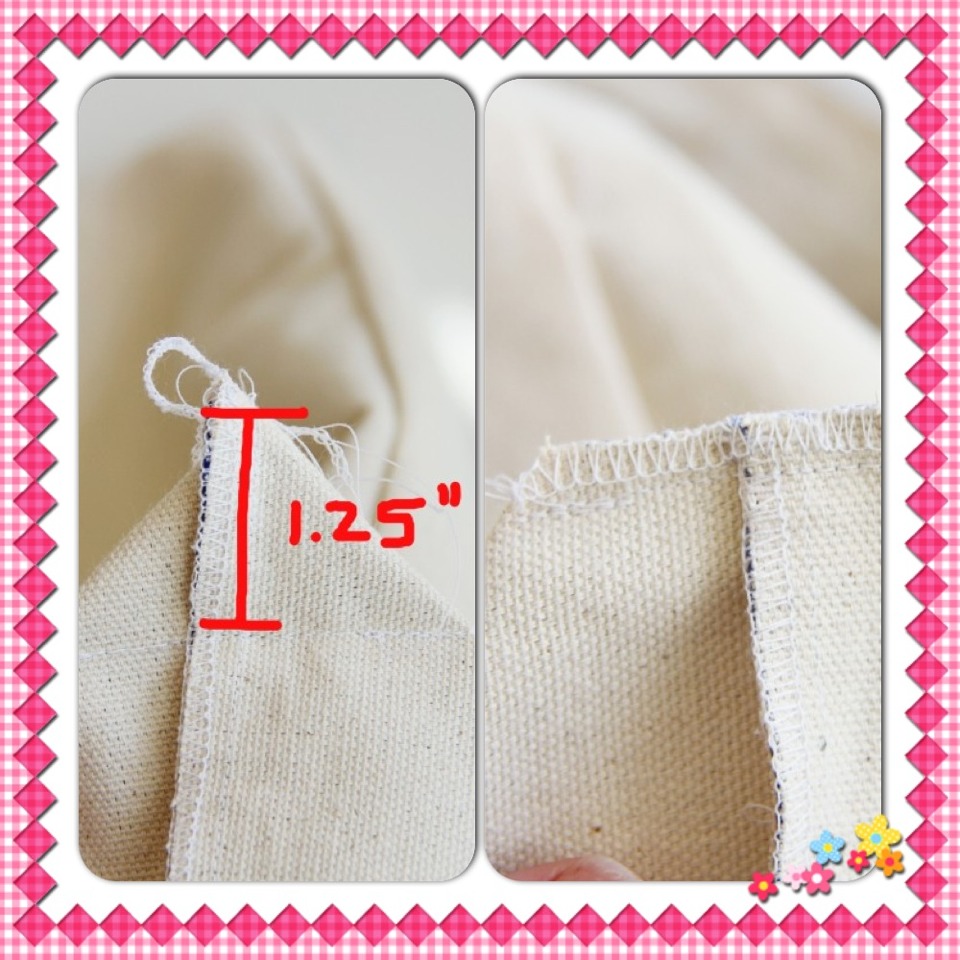
Then either trim and zig-zag your edges or surge them right off.
Then either trim and zig-zag your edges or surge them right off.
Next, grab one of your shirt strips and one of your duck cloth strips and sew them together, with right sides together, along the two outer edges. Use a 1/4 inch seam allowance. Repeat with the other 2 strips. Then turn both right side out and iron flat.
Then pin one of your strips to the front of the tote (the top layer only). I found the center of the tote and then placed the two ends about 6 inches apart. Make sure that you are placing right sides together.
Now, sew each end to the tote, sewing it in place with 2 different seams (less than 1 inch from the edge). Do the same thing with the other handle on the back side of the tote.
Next, slide the shirt fabric (that is right side out) down into the tube of the duck cloth (that’s still inside out). Now the right sides of fabric are facing each other, right?
Slide it down until the top edges are even. Match up the side seams then pin the top edge in place.
Sew in place, using a 1 inch seam allowance, then turn right side out. Iron flat (take your time). Then top-stitch about 1/16 of an inch from the top edge of the tote. This top-stitch will keep the top of the tote from shifting but it will also help keep your tie down and in place.
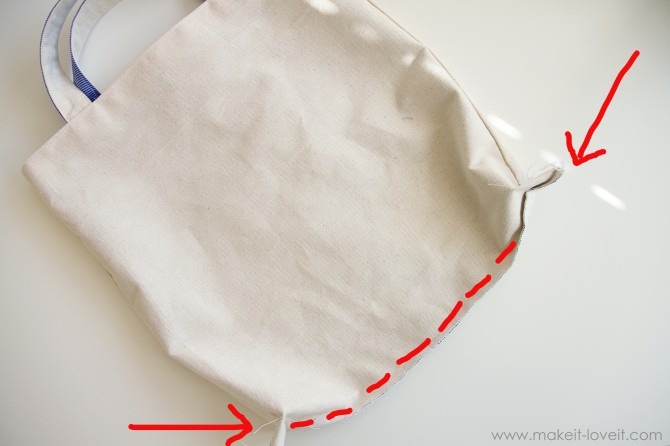
Next turn the tote inside out & smooth everything out to the bottom.Sew the bottom shut from side seam to side seam using a 1/2 inch seam allowance.See the red dotted line. Just be sure that the shirt fabric isn’t bunching or folding when you sew the bottom shut. You want it nice and smooth.
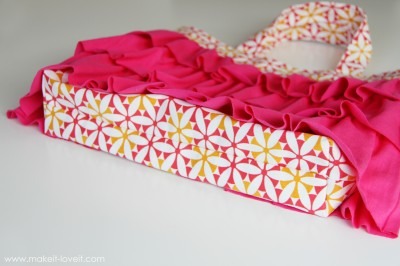
And yes, the bottom is nice and squared off. Perfect for all her stuff.
And since I used jersey knit (which doesn’t fray) for the ruffles, no hemming was needed on those 3 rows of ruffles.
And since I used jersey knit (which doesn’t fray) for the ruffles, no hemming was needed on those 3 rows of ruffles.
More tips like this
Family & Kids
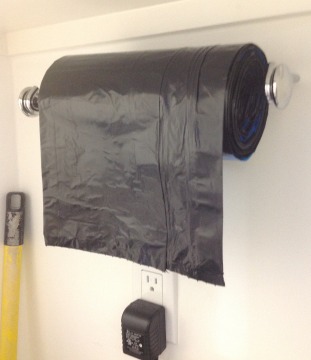
Easy Garbage Bags !!!
8
Family & Kids
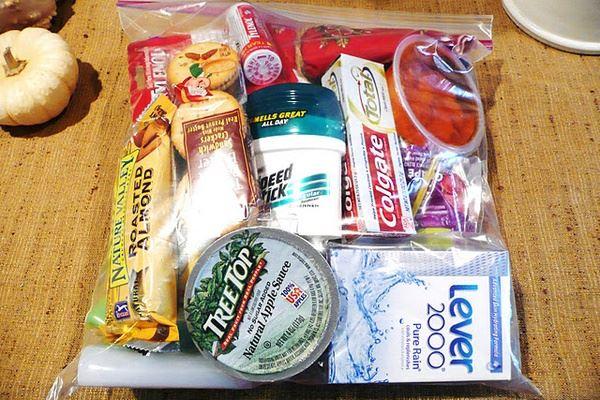
Blessing Bag
5

Family & Kids
Tired Of Leaking Trash Bags? Try This!
34
Family & Kids
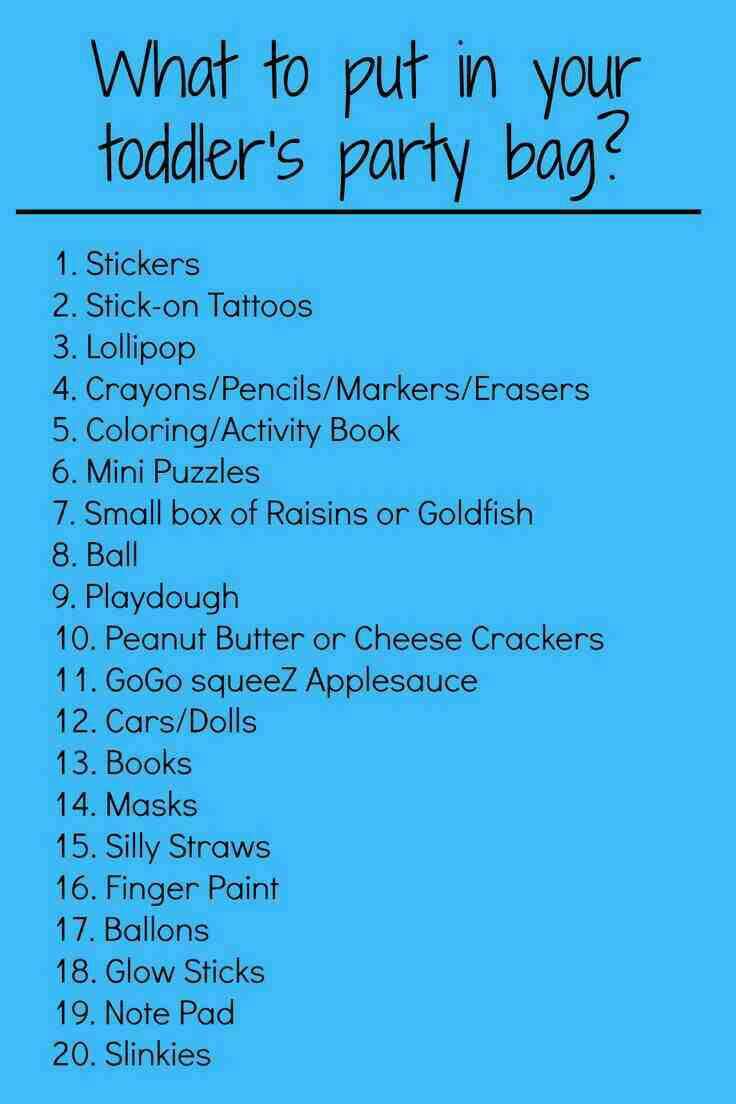
things to pack in a toddler party bag
81

Family & Kids
Having A Baby? Here's A Great Labor Bag List!!
3

Family & Kids
Crochet A Kids Owl Bag!!! So Cute, Girls Will Love It
51
Family & Kids
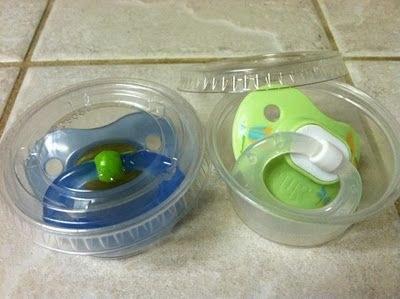
Keep Pacifiers Clean In Your Bag With Sauce-to-go Containers
4
Family & Kids
7 Must Have Things For Your Bag When Going To The Hospital For Child Birth!
5