DIY Bath Bombs
posted in Beauty on 12/1/2015
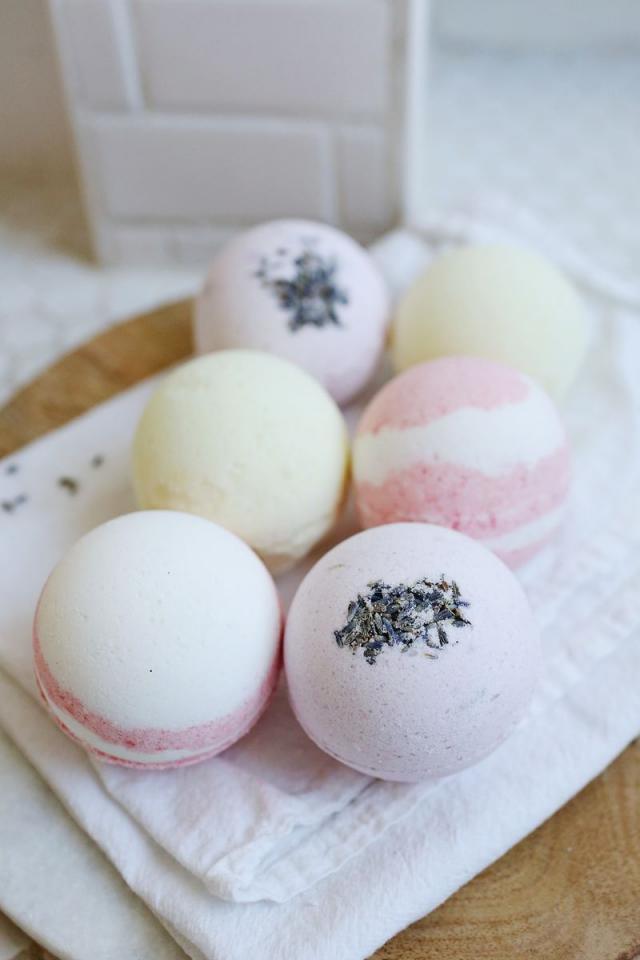
Homemade Bath Bombs, makes two (you can easily double or triple)
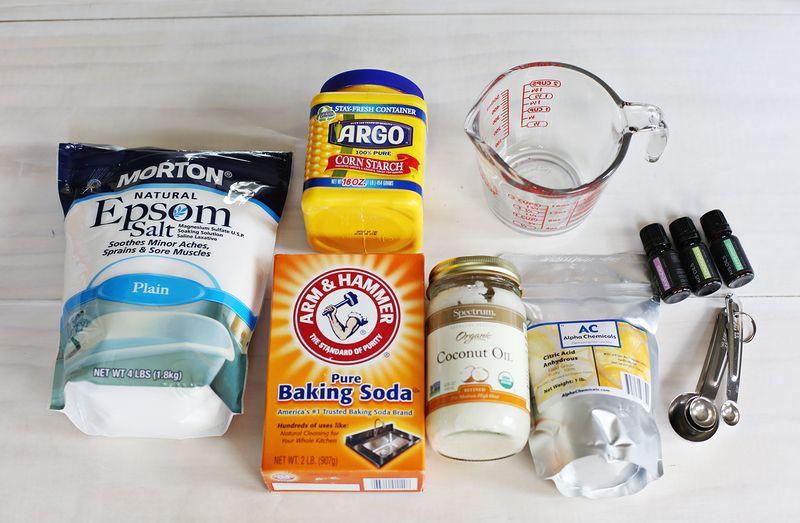
4 oz. baking soda
2 oz. corn starch
2 oz. citric acid
2 oz. Epsom salt
1 to 1 1/2 teaspoons water
1 teaspoon essential oil
1 1/4 teaspoon oil (I like coconut or olive oil here)
1-2 drops food coloring (optional)
4 oz. baking soda
2 oz. corn starch
2 oz. citric acid
2 oz. Epsom salt
1 to 1 1/2 teaspoons water
1 teaspoon essential oil
1 1/4 teaspoon oil (I like coconut or olive oil here)
1-2 drops food coloring (optional)
In a bowl combine the dry ingredients (the first four listed above). Whisk to remove any clumps, corn starch tends to be clumpy. In a small glass jar stir together the wet ingredients (the last four ingredients listed). If you're using coconut oil, give it a quick melt in the microwave or stove top first so it will more easily combine with the other ingredients. Slowly pour the liquid mixture in with the dry mixture, whisking as you go. If you see the mixture fizz or foam, you may be adding the liquid too quickly.
Once all the wet ingredients are combined with the dry, take a small amount in your hand and squeeze it together. It should stick together fairly well in one or two big chunks. If it's still too powdery to hold together, just add a tiny bit more water and mix until it does hold together.
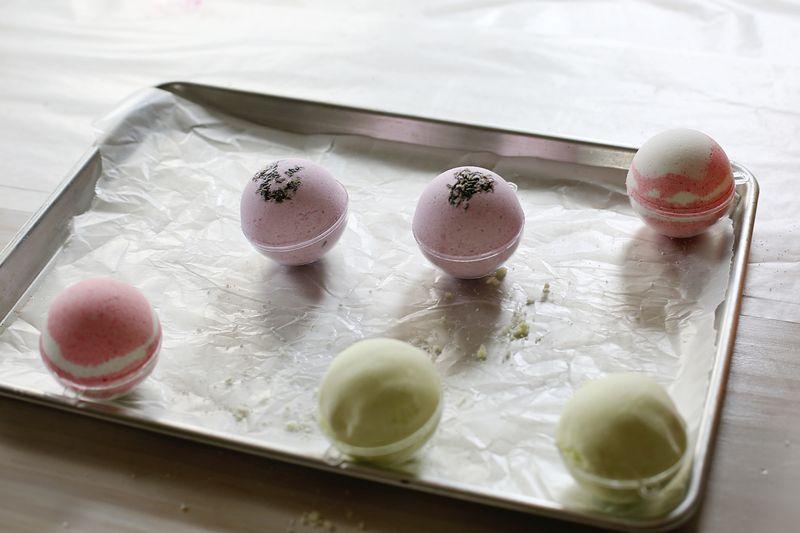
Then fill each half of your bath bomb mold* with the mixture until it's just overflowing a little. Press together, then gently remove one side of the mold. Place the bath bomb on a tray and allow to dry out just a little (10-12 minutes) before removing the other side. Once you are ready to remove the other side, gently invert the bath bomb so the uncovered side is facing down, then gently remove the other half of the mold from the top.The key word, if you haven't noticed, is gently. These can fall apart on you very easily if you're not careful.
If a bath bomb does crack in half while you're removing it, you can gently press it back on top of the other half, or remove all the mixture back to the mixing bowl and start the molding process again. I had this happen to a few, so don't fret, it's easy to fix.Once they are completely out of the mold, allow them to dry out for 8 hours or overnight. Once very dry, you can wrap them in plastic wrap and store in a dry place until you're ready to use them, or you can gift them to friends.

Enjoy!
More tips like this
Beauty
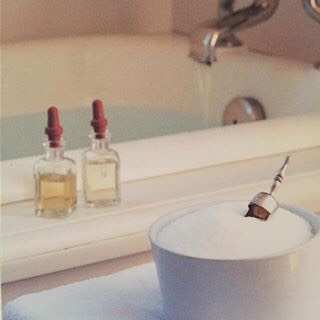
The Most Amazing Bath Of Your Life.
2877
Beauty
#greengoddess Relaxing Bath Salts And Moisturizing Lotion
2421
Beauty
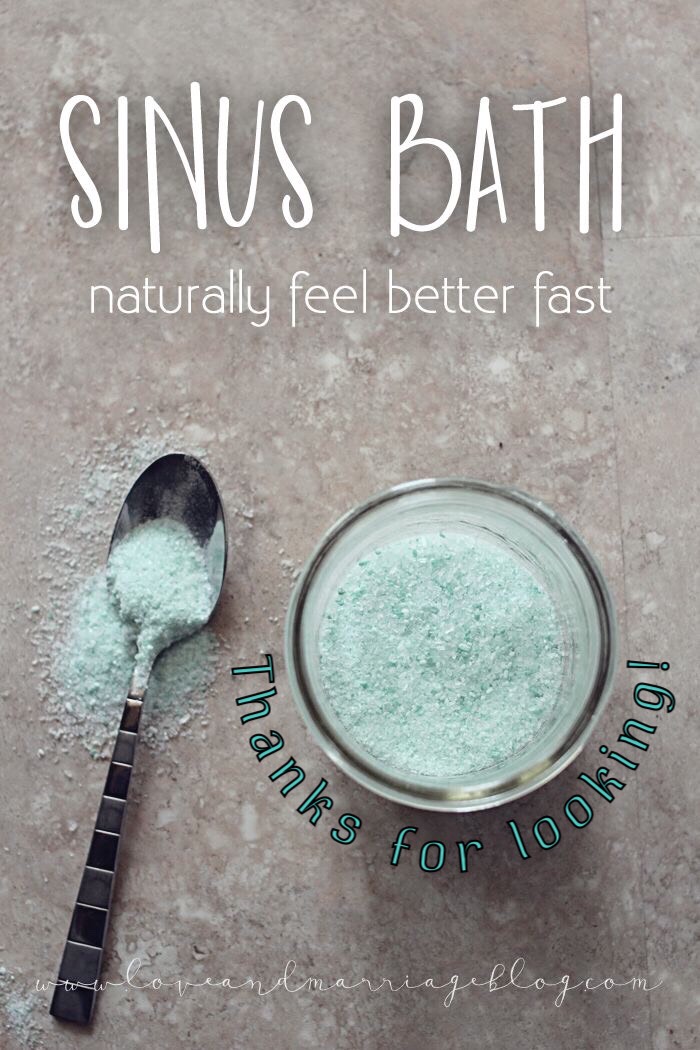
❤️ Feel Better Naturally With A Sinus Bath!! ❤️
1.2K8
Beauty
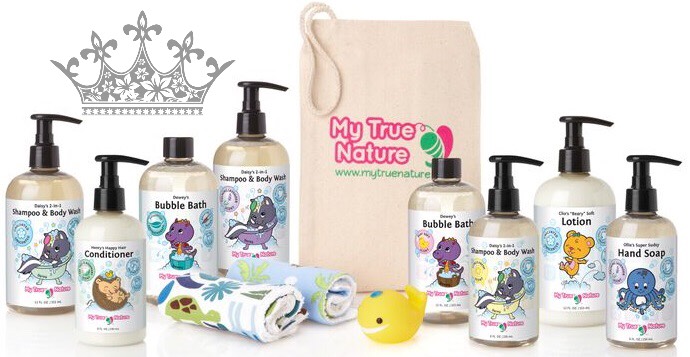
✨All Natural & Organic Bath Products For Kids✨ #GreenGoddess
1932

Beauty
The Bye-Bye Cellulite Bath
3451
Beauty
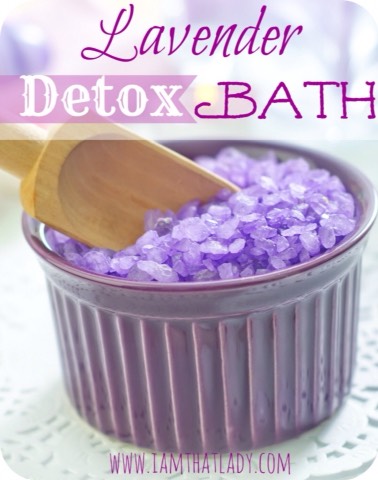
LAVENDER DETOX BATH RECIPE #SummerVibes
2
Beauty
DIY Bath Bubble Bars! 🛁
3751
Beauty
How To Make Your Own Sparkling Colorful Fizzy Bath Bombs!!
71838