DIY Cute Sock Owl!!!!
posted in Family & Kids on 1/21/2015
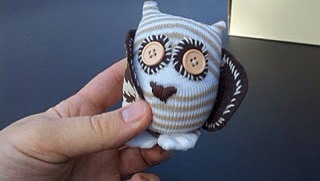
This is a tutorial on how to make your very own cute little owl like this from a sock! (: This is the tutorial I used, so copyright to the original owner!
Interested? Keep swiping!
(It's long so beware loves!)
First you'll need to gather your materials!
- 1 Baby Sock, size 12-18 months
- 1 Felt Square
- Thread (Same color as felt)
- Yarn (Differing color than the thread)
- Needle
- Embroidery Thread
- Toy Stuffing
- Scraps of Material
- Buttons
- Scissors
Of course, you can use any size sock you'd like too, but I used a baby sock because that's what the tutorial said!
Next:
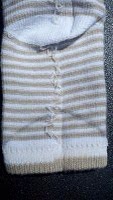
Select the little sock you would like to use. For my own owl, I chose a pale pink sock. In this step, all you need to do it turn the sock inside out. The heel portion of the inside-out sock will serve as the owls face for the finished product.
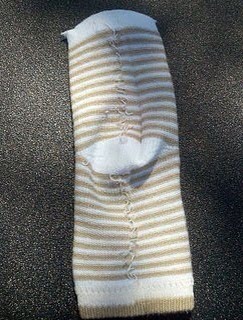
See the heel? (:
Next:
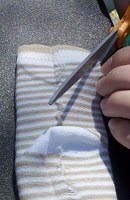
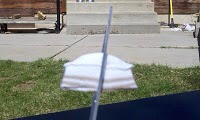
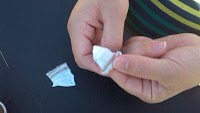
Draw a line about an inch and a half above the toe , and draw a u-shaped line at the top of the sock. Once that is done, you'll cut along the newly drawn lines and save the part of the toe that's been cut off.
(Pictures included!)
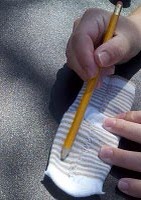
Draw the line.
Next:
(Put the cut off part aside)
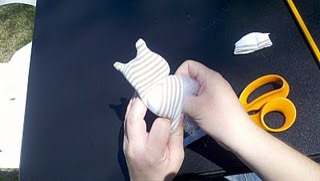
With the needle and thread, sew the top of the sock together while the sock is still turned inside out.
When you've finished that, turn the sock right side out. You should have to points at the top. These will be it's ears.
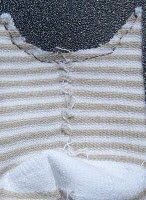
It's sewn together here.
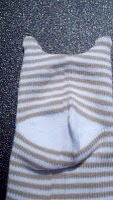
Right side out.
Next:
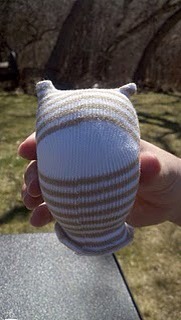
Stuff the owl with the toy stuffing to make the shape for the body of the owl. You may stuff the owl as little or as much as you like depending on how fat or small you want your owl.
Next:
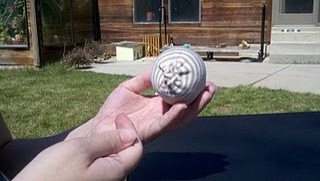
To close the bottom of the sock owl, you're going to fold the cut side inward and sew it together.
Next:
With the toe inside-out, sew the long side of the halves together. Turn the foot right side out, and finish stitching the shorter side together.
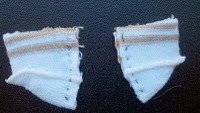
With that done, you would now simply sew the two pieces to the bottom of the owl to make it's feet! (:
Next:
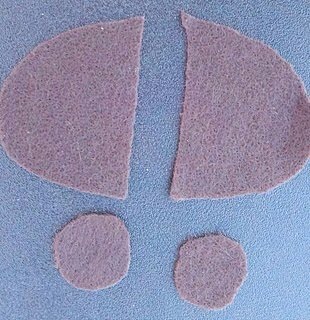
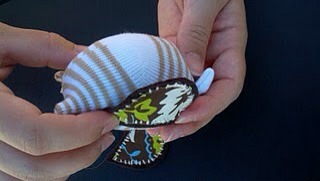
Next you will cut out the felt and material. You will be cutting out the wings and eyes of the owl (First picture)
Depending on how long the body of the owl is, you will want to cut out two wings that fit on the side of your owl. Measure from the bottom of the owl's ear to the bottom of the owl's body. Cut out two wings from the felt to fit that measurement.
For the eyes, cut out two pieces from the felt that a button can be sewn onto.
Next:
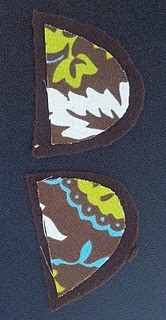
You will then cut out two pieces of material that are slightly smaller than the wings (Picture Two)
Next:
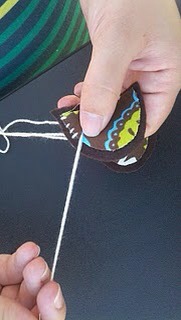
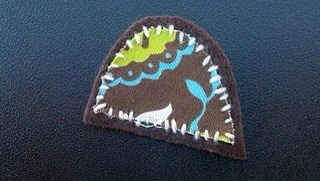
Once the felt and material are cut out, you will sew the material onto the felt wings (Picture 1). Use the yarn to sew on the material so that you can see the contrasting color between wing and material (Picture 2)
Next:
Attach the wing to the owl's body using the thread. Place the wing on the side of the body, lining up with the ear.
Starting at the bottom of the wing, sew the wing to the body of the owl. Repeat with the wing on the other side of the body.
Next:
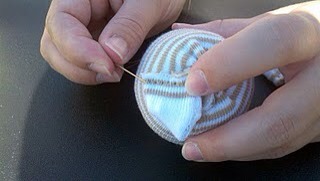
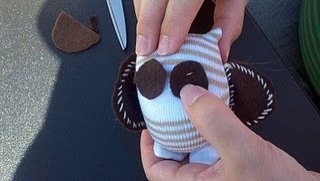
Attach the felt circle part of the eyes.
Using the yarn, take the needle through the side of the body (so that you cannot see the knot) and stitch the felt circle onto the face of the owl (Picture 1).
You should be able to stitch on both owl eyes, then take the yarn out the opposite side of the body (Picture 2)
Next:
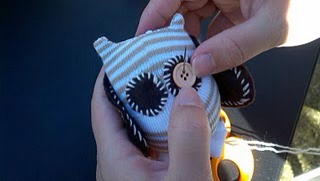
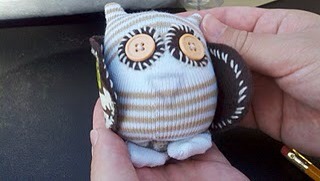
You will now attach the buttons onto the eyes.
Place the button on the felt circle on the owl's face.
Bring the yarn up from the bottom of the owl, and sew the button to the owl's face. Sew on the buttons by going in an out of the holes on the button (Picture 1). Complete both eyes (Picture 2)
Next:
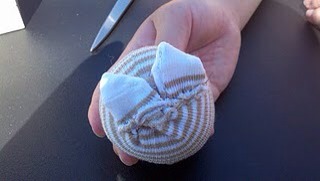
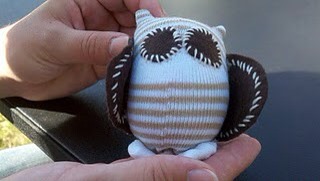
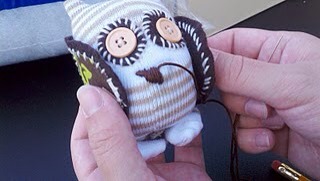
With a pencil (light or dark graphite), draw an upside down triangle for the beak. Using the embroidery thread, stitch up and down the beak until it is fully covered.
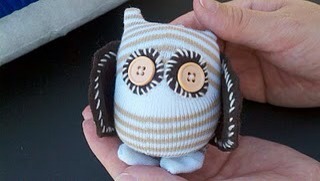
Once you have finished the beak stitching, your sock owl is complete!
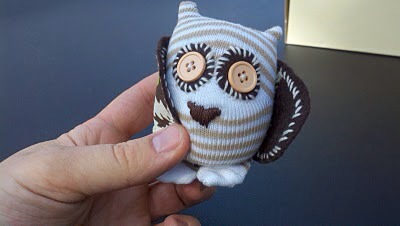
The finished sock owl! (:
There we go! I know it's lengthy (it took me two days to make mine) but that's how it's done! If you decide to try one, post up a pic for us to see, I'll add mine up in a moment! (:
Hope y'all enjoy this! xx
More tips like this
All
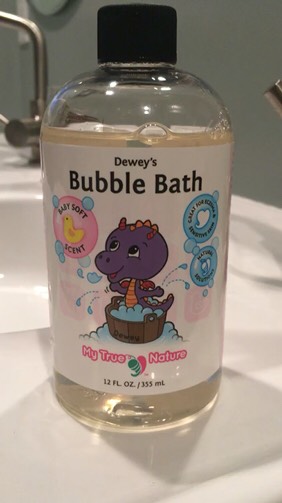
Big Bubbles With Dewey's Bubble Bath
93
Pets
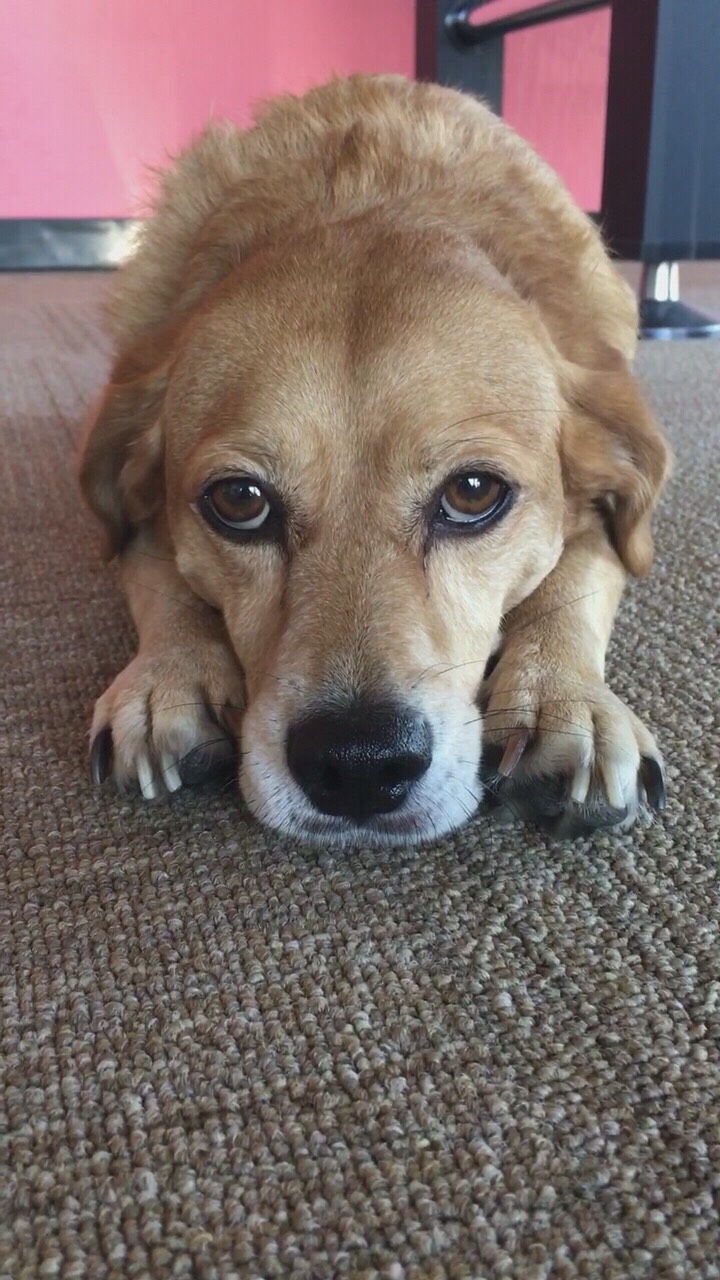
Stinky Dog? No Time For A Bath? Try This Miracle Worker!
9
Family & Kids
Get Rid Of Diaper Rash The Non Toxic Way

Family & Kids
How To Upgrade Your At-home Movie Night
1.2K2
Family & Kids
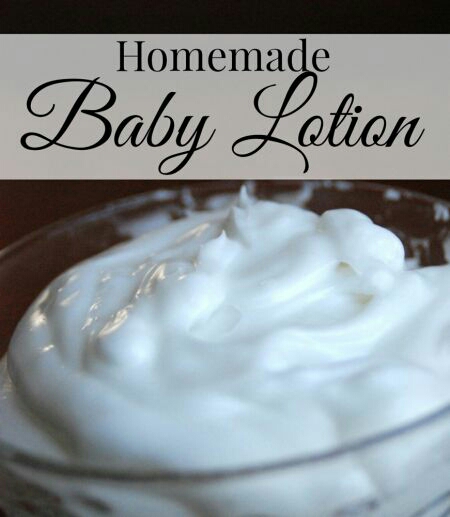
3 Ingredient Baby Lotion! 💧🙌
6268

Parenting
👶36 Ingenious Things You’ll Want As A New Parent🚼🍼
1.3K22
Family & Kids
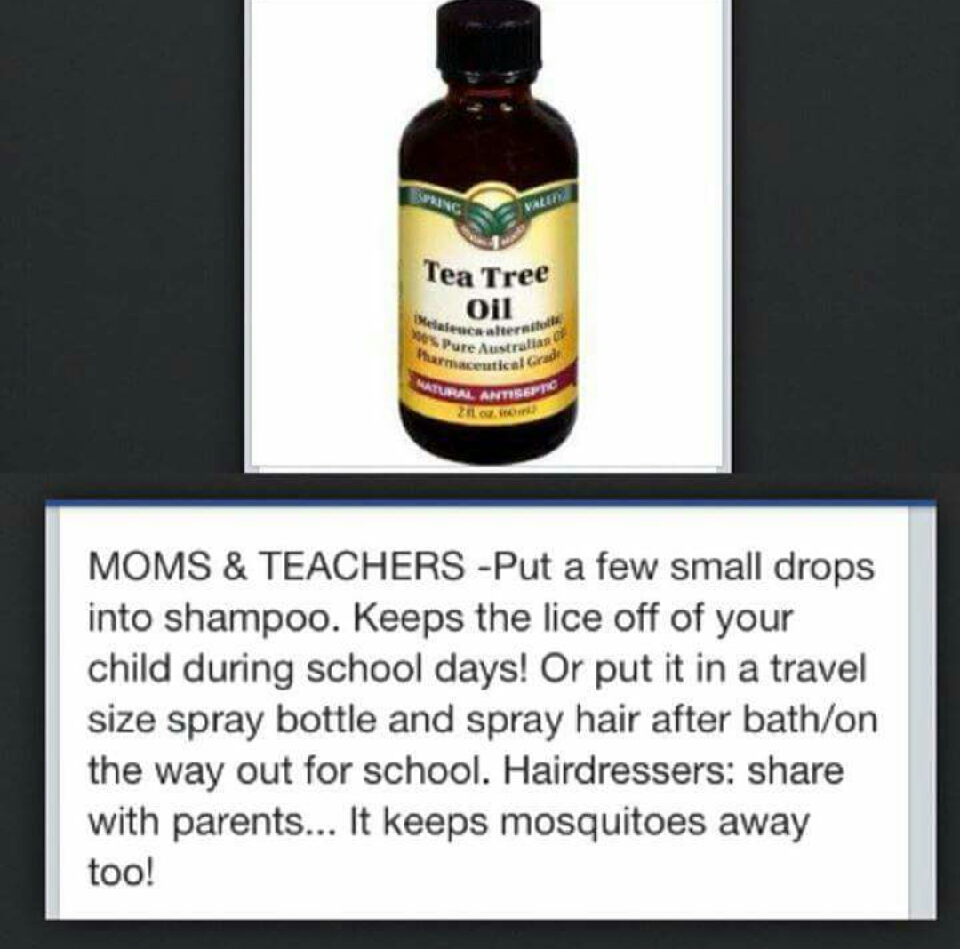
Prevent Lice With Tea Tree Oil!
20414
All
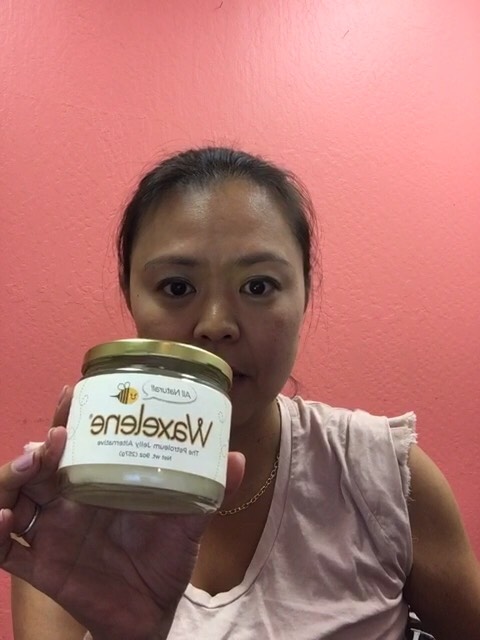
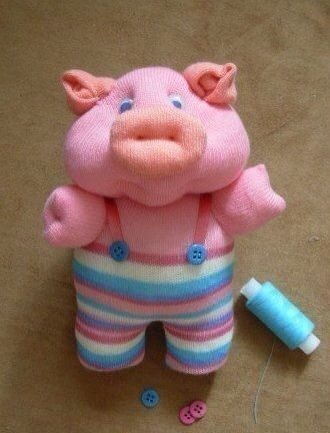
Make A Piggy Toy From A Sock ❤️❤️❤️
6038