DIY Temporary Tattoos
posted in Skin & Body Tips on 9/1/2014

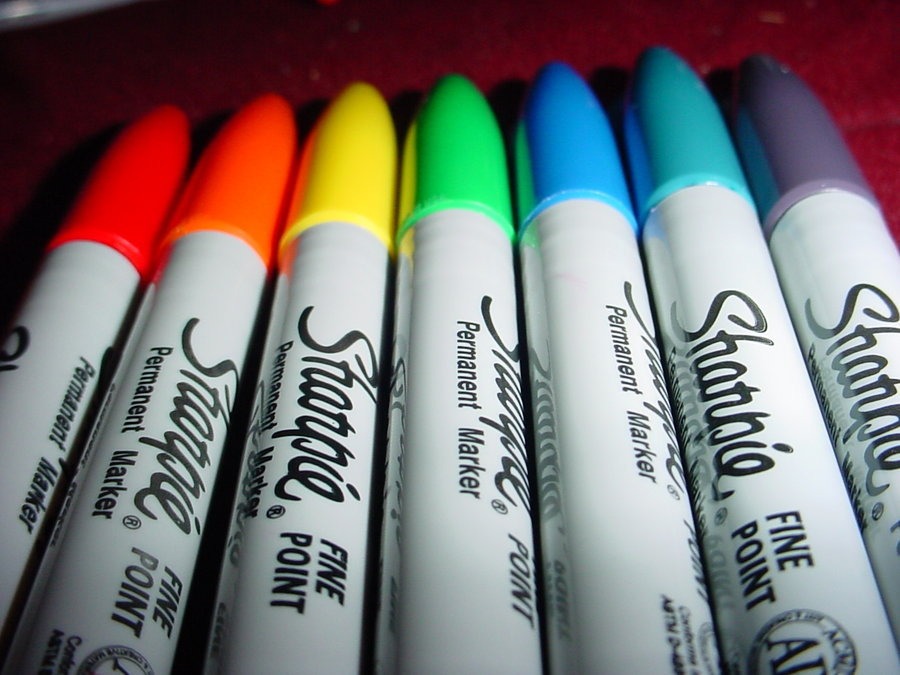
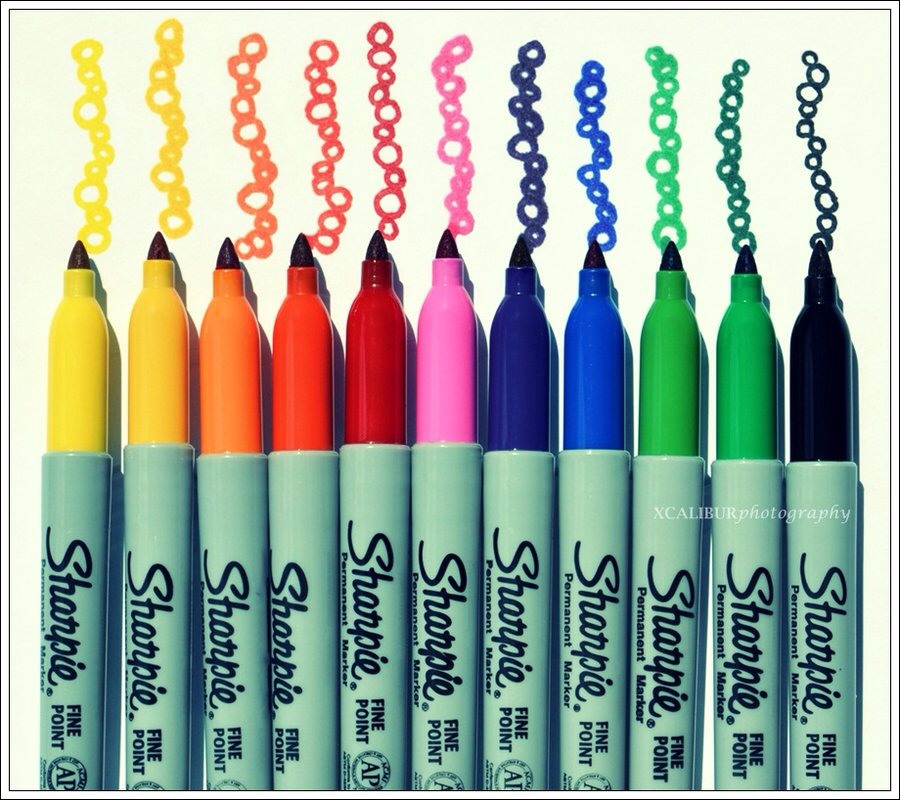
If the ready made, rudimentary designs on temporary tattoo sheets aren't cutting it for you, try making your own! This tip will show you how to do so, using the popular gel ink pens that are easily obtainable from stationery and craft stores.
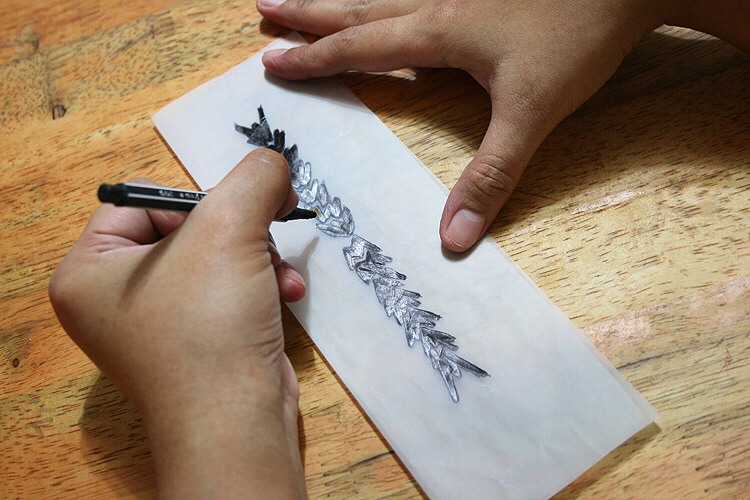
Step 1: Make sure you have a design that you like before using a gel pen in a dark color to draw the design. Simply draw your design on paper such as tracing paper or parchment paper using a pencil, then color in thoroughly using the gel pen.
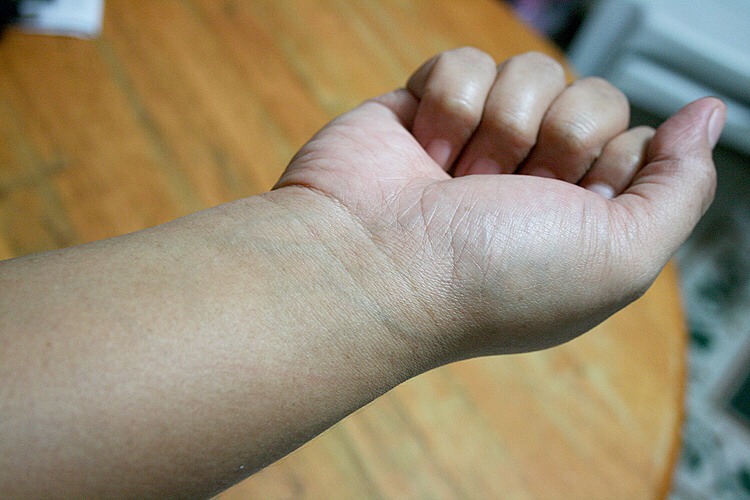
Step 2: Figure out where you want the tattoo. Try to make it somewhere you can easily apply it to yourself. If it isn't an accessible spot, you'll need a friend to help apply it. If your school doesn't allow tattoos, choose a place where you teachers cannot see easily it.
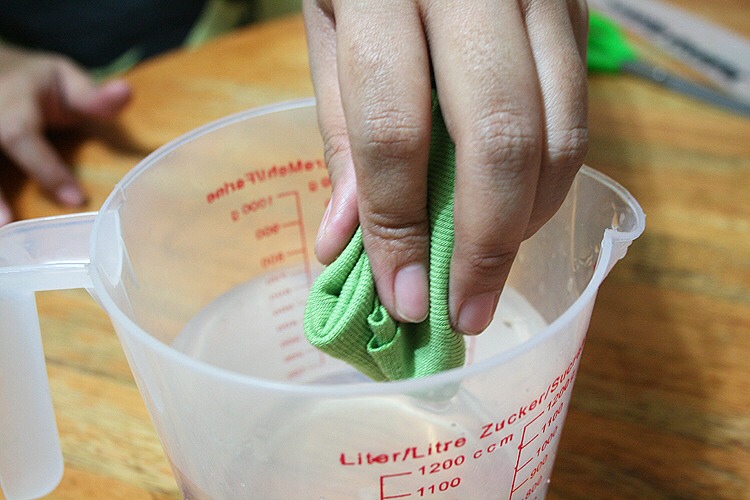
Step 3: Wet a piece of cloth with warm water.
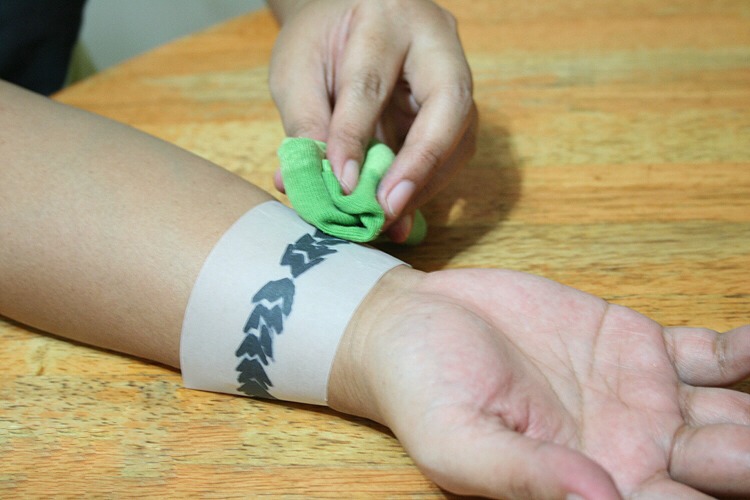
Step 4: Place the paper with your design on it in the exact spot where you want your tattoo to be. Press the wet cloth firmly on the tattoo design for approximately 30 seconds.
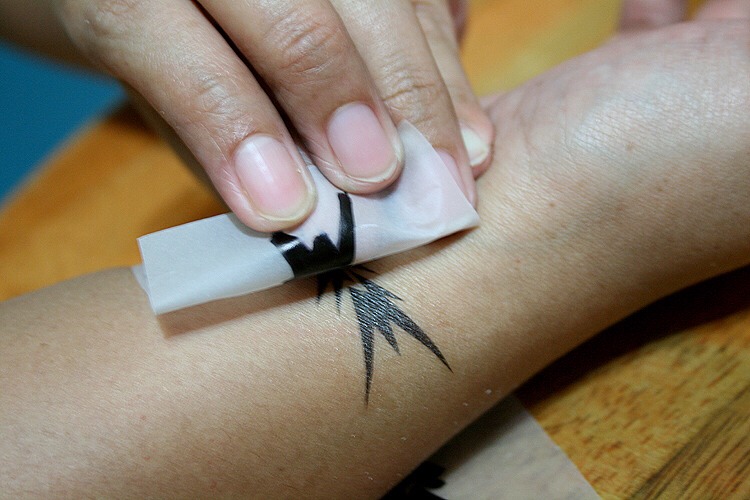
Step 5: Slowly and gently peel up a corner of the paper to see if it is completely transferred to your skin. If not, you'll need to leave the cloth on the design for a few more seconds, then peek again.
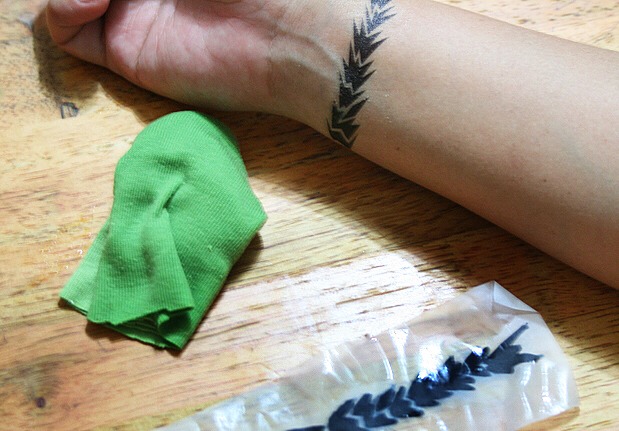
Step 6: Once it is done, remove the rag and peel off the paper. Let the design air dry as much as possible, taking care not to brush it against clothing or other parts of your body. Enjoy!
More tips like this
Skin & Body Tips
Easy Temporary Tattoos
95418

Skin & Body Tips
How To; Temporary Tattoo
3.5K33
Skin & Body Tips
Long Lasting Sharpie Tattoo
1.5K27

Skin & Body Tips
DIY Henna Tattoos! 🎨
1.4K14

Skin & Body Tips
Cute Tattoos
1.3K4
Skin & Body Tips
How To Get Temporary Tattoos
1.6K15

Skin & Body Tips
90+ Small Tattoos
1K2
Skin & Body Tips
Tattoo Pain Levels
88516