Elf On A Shelf Cookies!!
posted in All on 12/13/2013
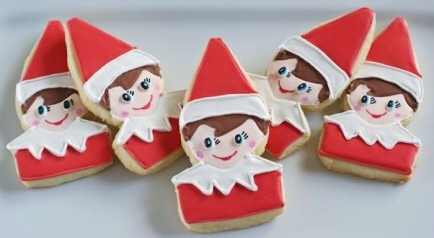
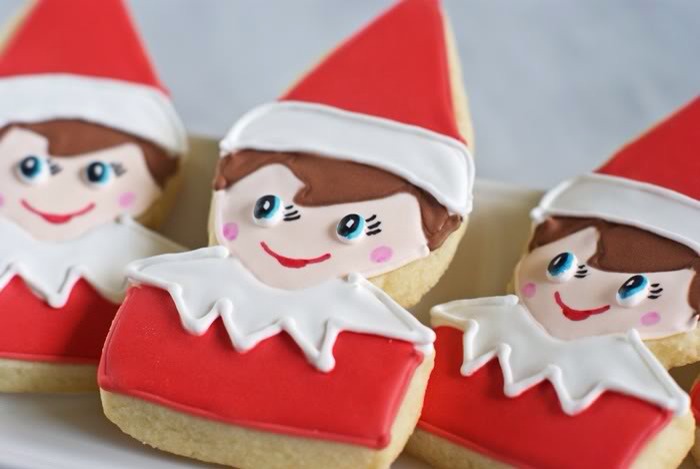
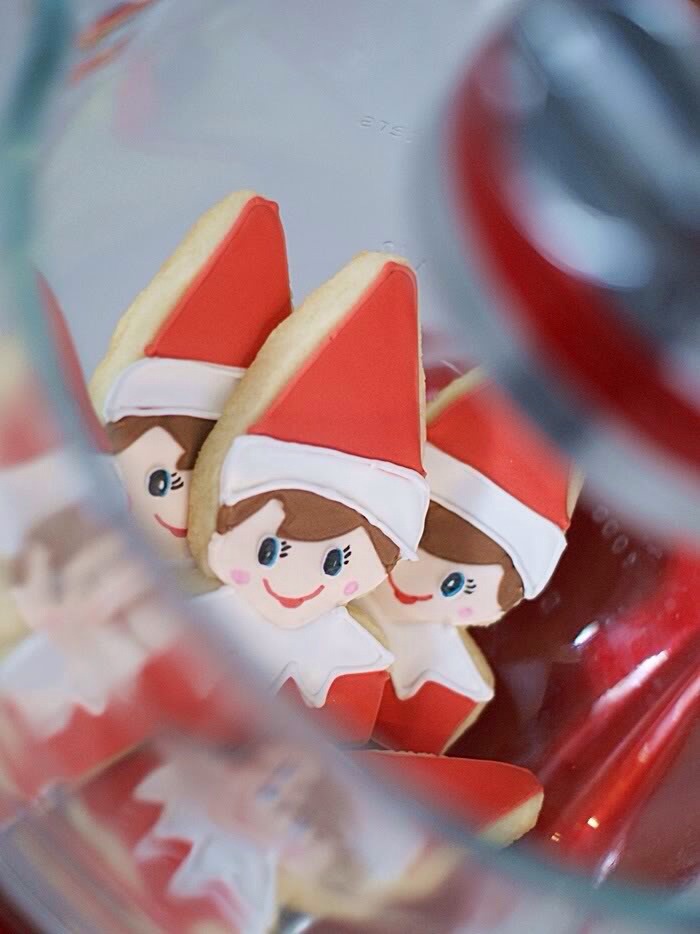
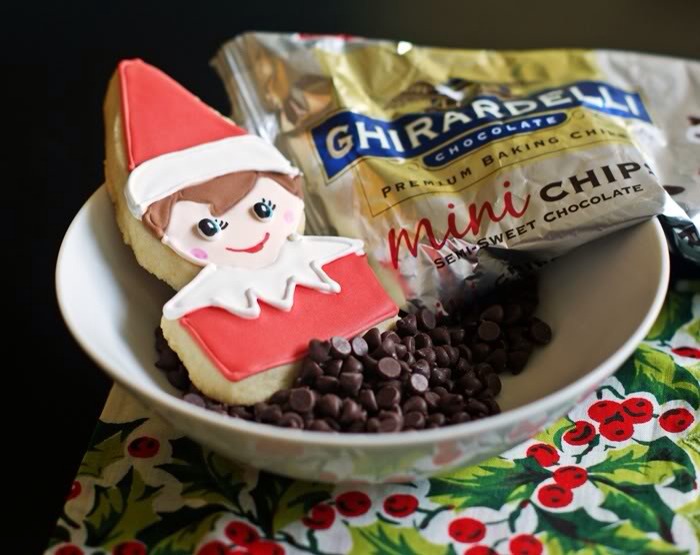
Try out these adorable elf on the shelf cookies! Feel free to hide them all over your kitchen! You'll never know where they will up up next!!
Photos and recipe by Bake at 350
Photos and recipe by Bake at 350
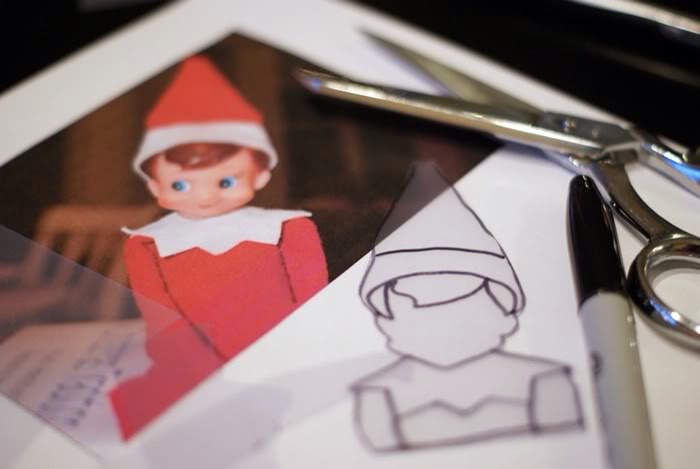
You'll need a template. I found a picture online, and followed the instructions linked below for making a template. I also traced the major outlines onto the template and referred back to is as I was decorating.
http://bakeat350.blogspot.com/2011/10/permanent-templates-for-custom-cookie.html
http://bakeat350.blogspot.com/2011/10/permanent-templates-for-custom-cookie.html
Supplies:
Cut-out cookies made with the template
Icing, tinted with Color Bright White, Chocolate Brown, Copper, and Super Red
Disposable icing bags
Couplers and #2 tips
Squeeze bottles
Toothpicks
Food coloring pens (black, pink, red and blue)
Cut-out cookies made with the template
Icing, tinted with Color Bright White, Chocolate Brown, Copper, and Super Red
Disposable icing bags
Couplers and #2 tips
Squeeze bottles
Toothpicks
Food coloring pens (black, pink, red and blue)
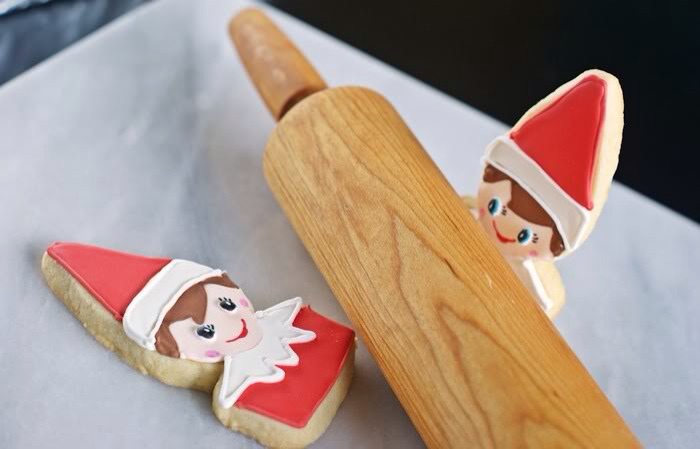
First Bake your favorite sugar cookie recipe, any recipe will do. Use the template to crest the design, allow the cookies to cool and gather up your supplies!
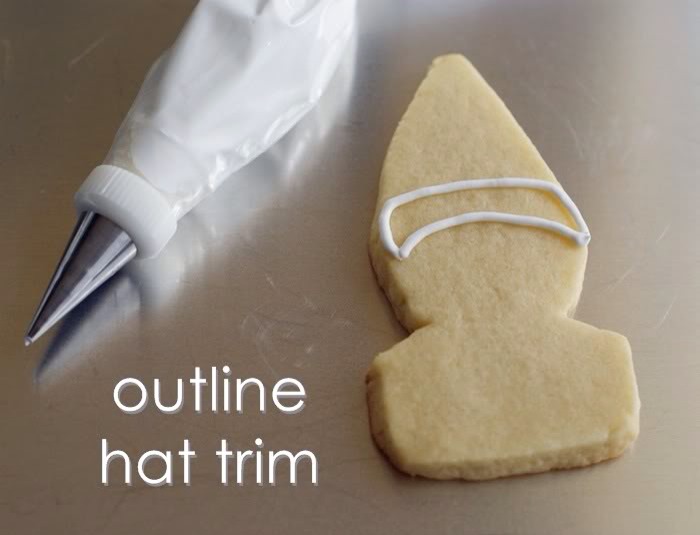
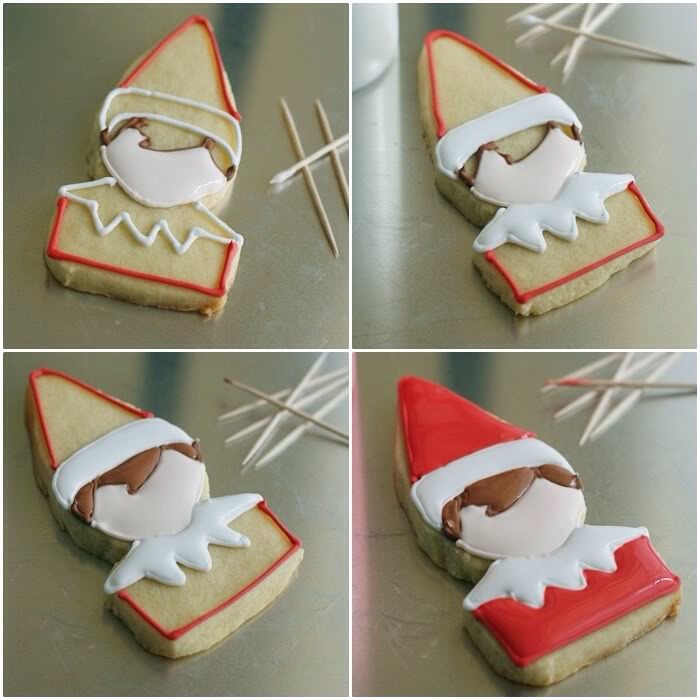
Use a #2 tip to outline the hat trim in white.
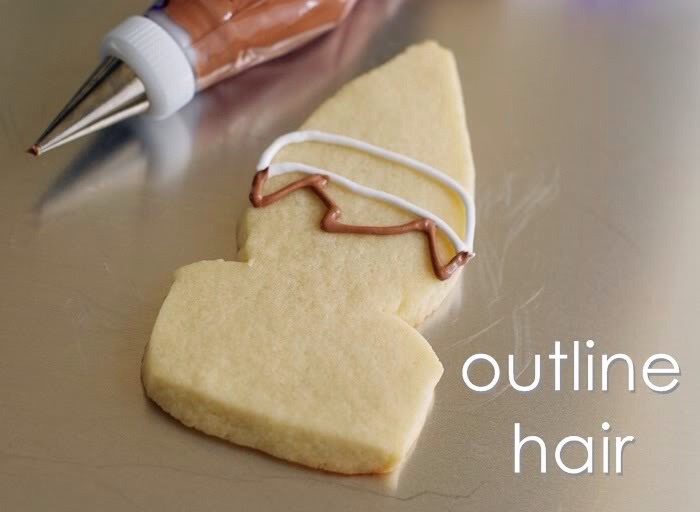
Use a #2 tip to outline the hair in brown.
{This is where I stared getting nervous...it really doesn't look like it's going to work, does it?}
{This is where I stared getting nervous...it really doesn't look like it's going to work, does it?}
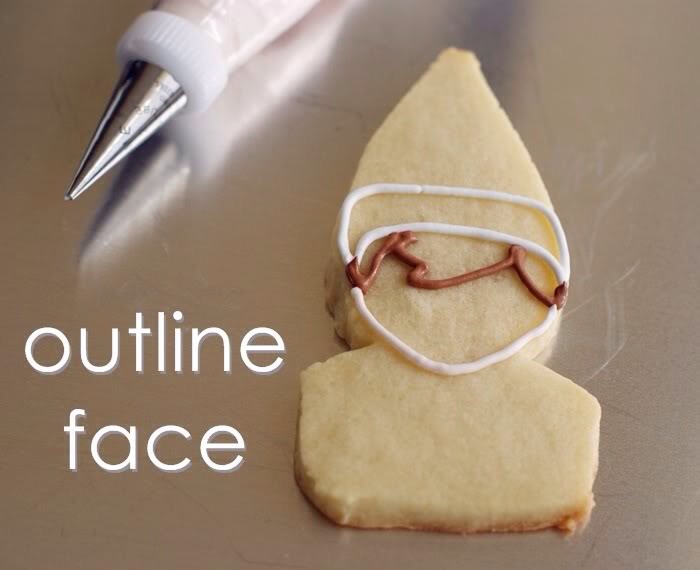
Use a #2 tip to outline the face in copper.

Go back to the white and add a collar. (Reserve some of this white piping consistency icing for later.)
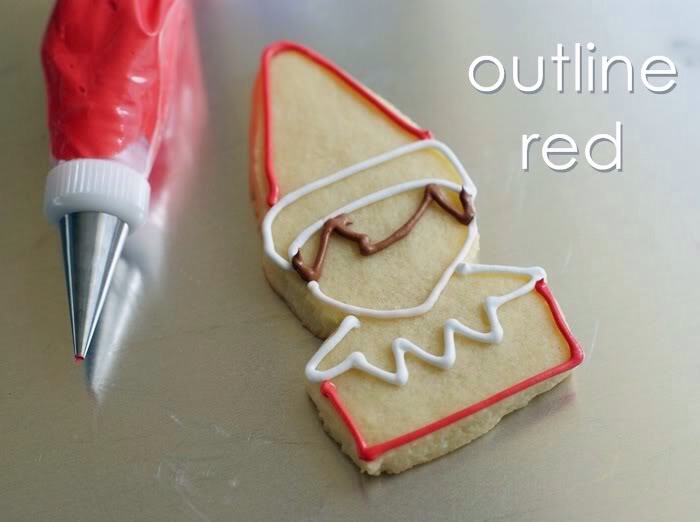
Use a #2 tip to outline the hat and shirt in red.
Thin the all of the icings with water, a bit at a time, until it is the consistency of thick syrup. Cover with a damp dish towel and let sit several minutes.
Stir gently with a rubber spatula and transfer icings to squeeze bottles.
Thin the all of the icings with water, a bit at a time, until it is the consistency of thick syrup. Cover with a damp dish towel and let sit several minutes.
Stir gently with a rubber spatula and transfer icings to squeeze bottles.
Fill in the sections of the elves with the thinned icings. Use a toothpick to spread to edges and pop large air bubbles.
Let sit at least one hour.
Let sit at least one hour.
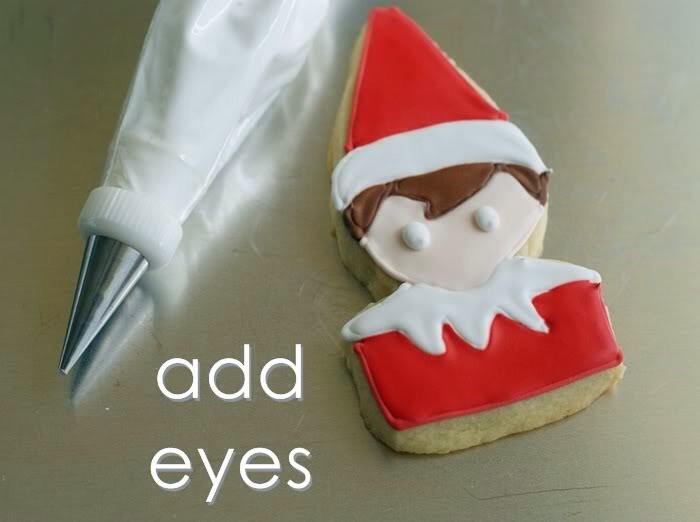
With a #2 tip, pipe eyes on the faces in white. {We call these "zombie elves."}
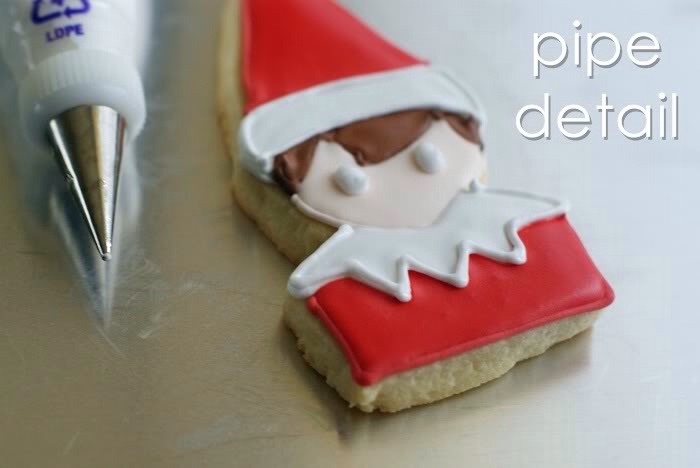
Use the same #2 tip to go over the white outline on the hat and collar for some definition. (Totally optional, but I think it looks nice.)
Let your zombie elves dry uncovered overnight.
Let your zombie elves dry uncovered overnight.
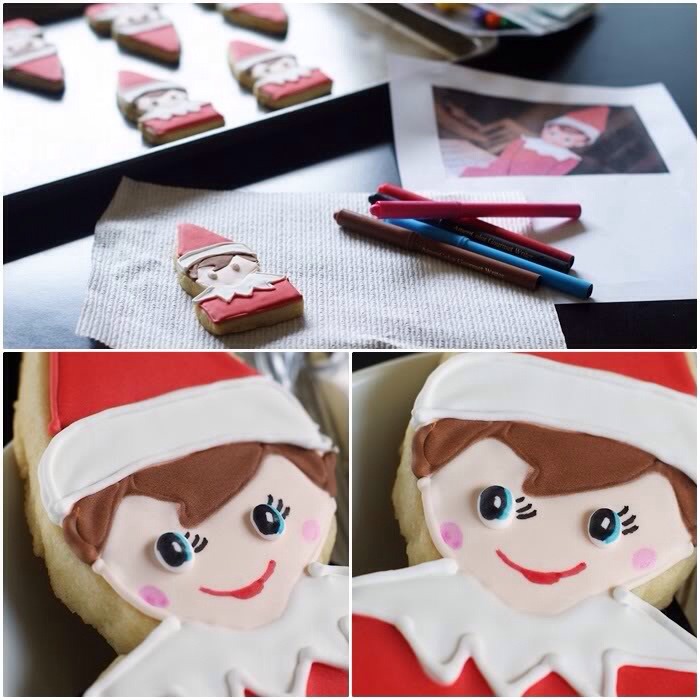
The next day, use food coloring pens to add the eye detail, eyelashes, smile and rosy cheeks.
(I used a picture of Elf on the Shelf as a guide.)
(I used a picture of Elf on the Shelf as a guide.)
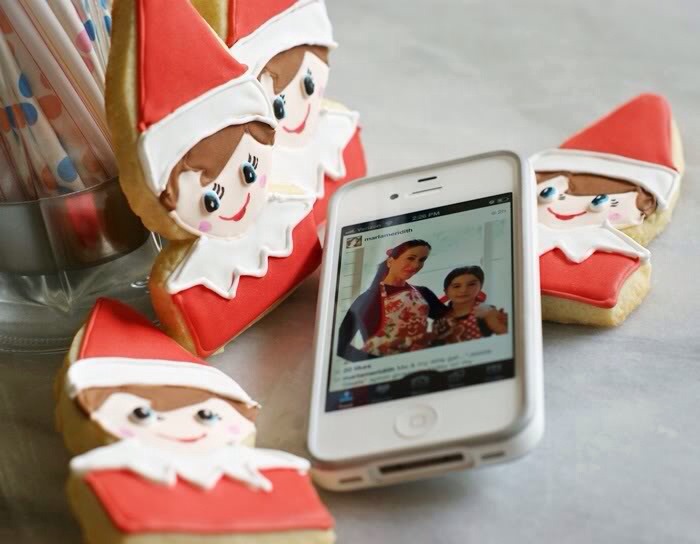
Now, really....do you know where your Elf on the Shelf is?!?
More tips like this
All
7 Christmas Cookie Ideas With Recipes 🎄
2.1K38
All
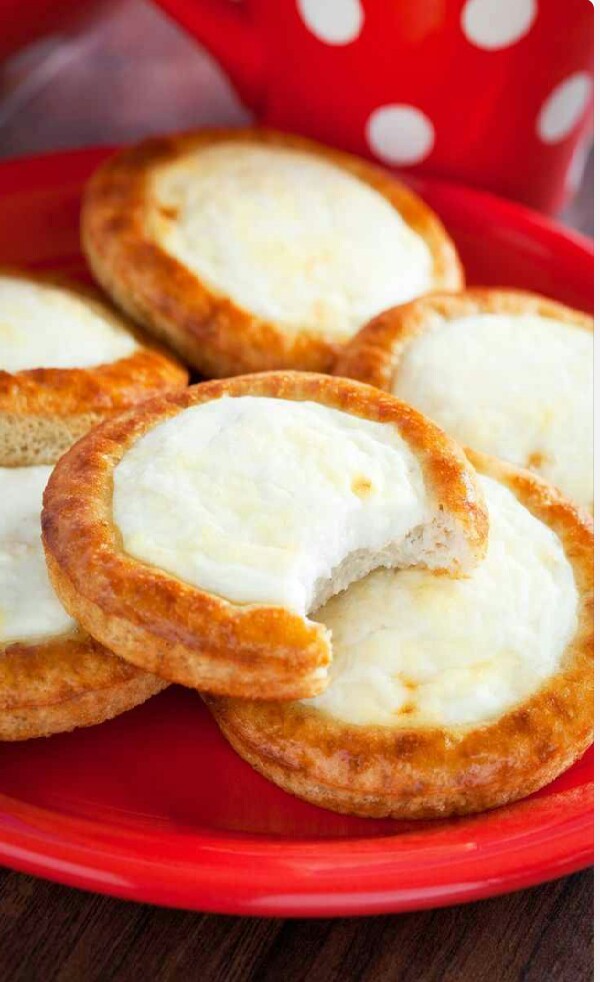
Cheesecake Cookies!
1.2K11
All
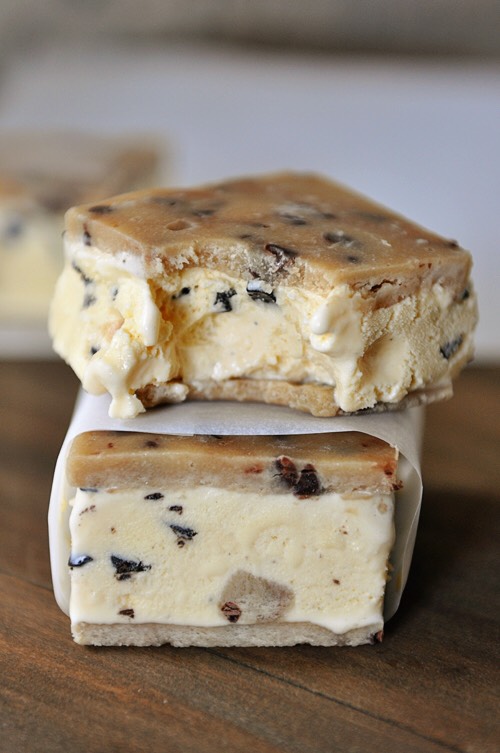
Chocolate Cookie Dough Ice Cream Sandwiches
9072
All
Cheesecake Cookies!!!
51712
All
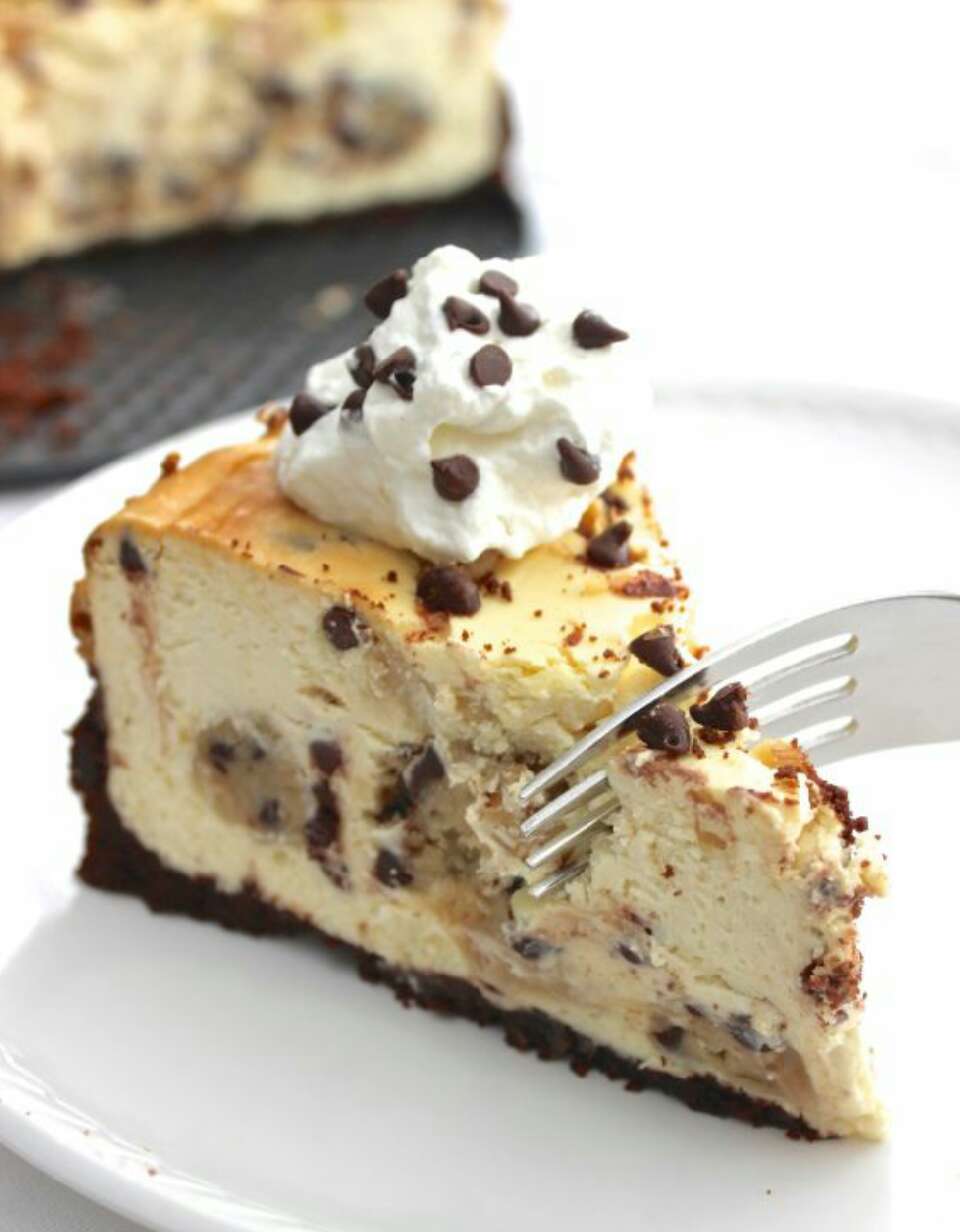
Chocolate Chip Cookie Dough Cheesecake!!!!
1.2K10
All
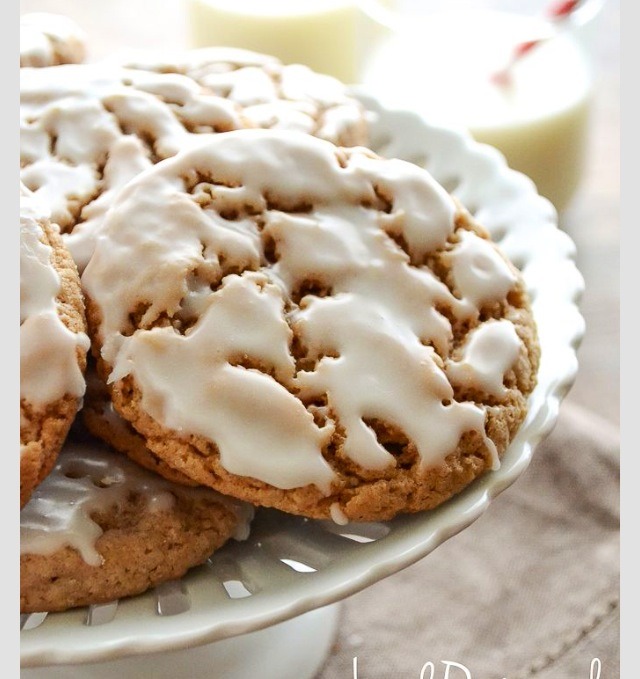
Iced Oatmeal Cookies
2563
All
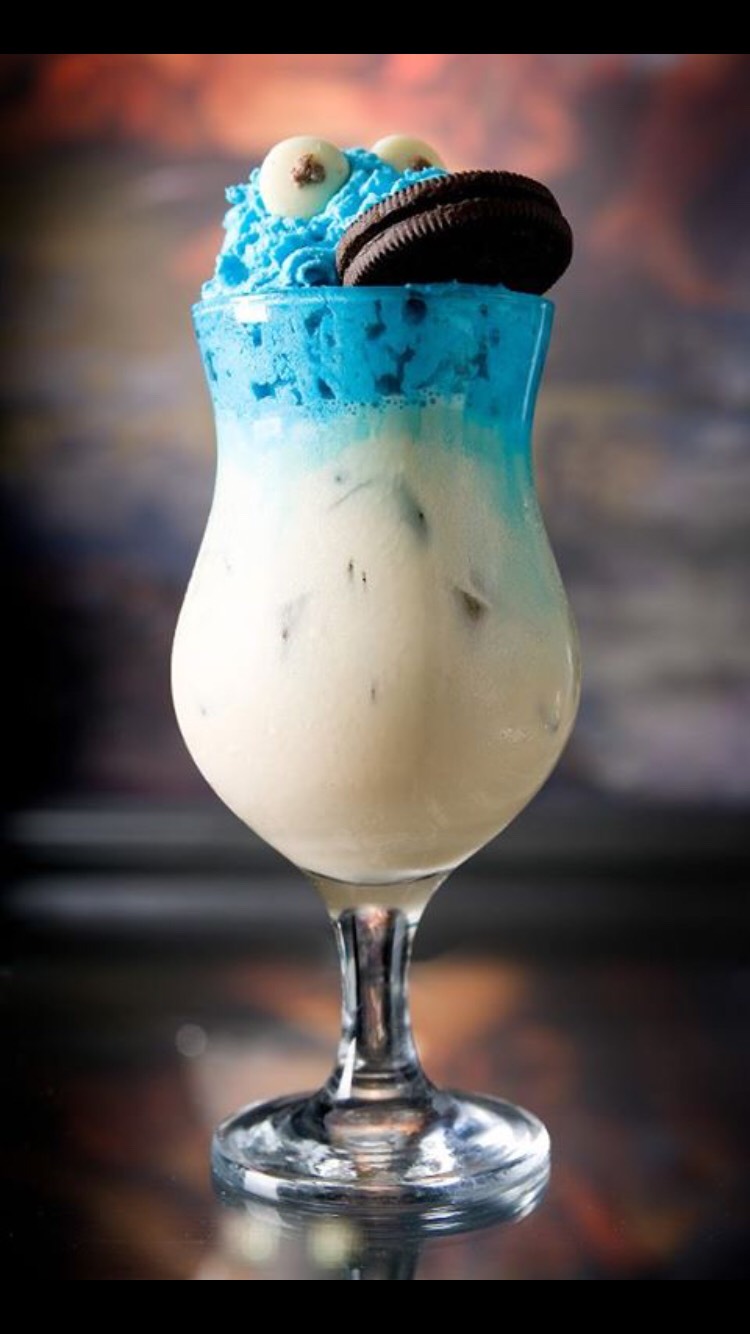
Cookie Monster Cocktail
51510

All
Pinata Cookies! (Recipe & How-to Guide)
8483