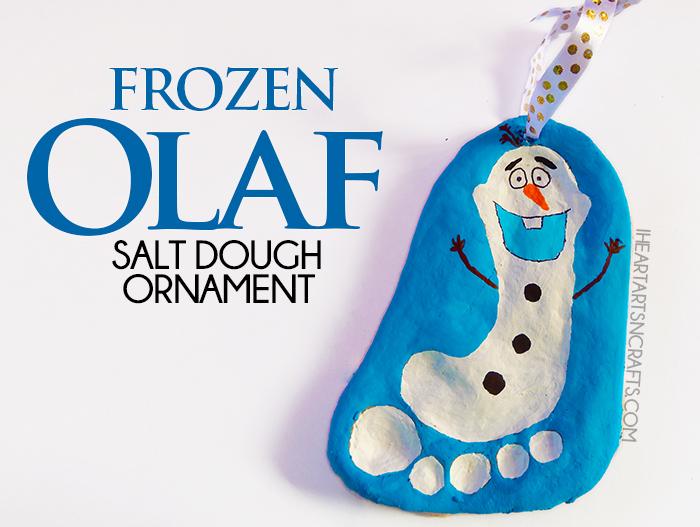
Frozen Olaf Salt Dough Ornament
posted in Family & Kids on 12/10/2014
What you will need:
- 1 Cup Of Salt
- 2 Cups Of Flour
- 1 Cup Of Water
- Ribbon
- Permanent Marker
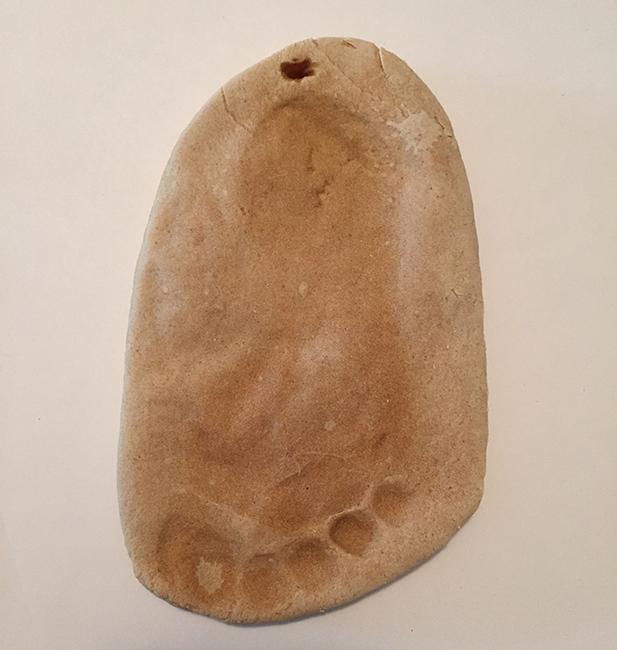
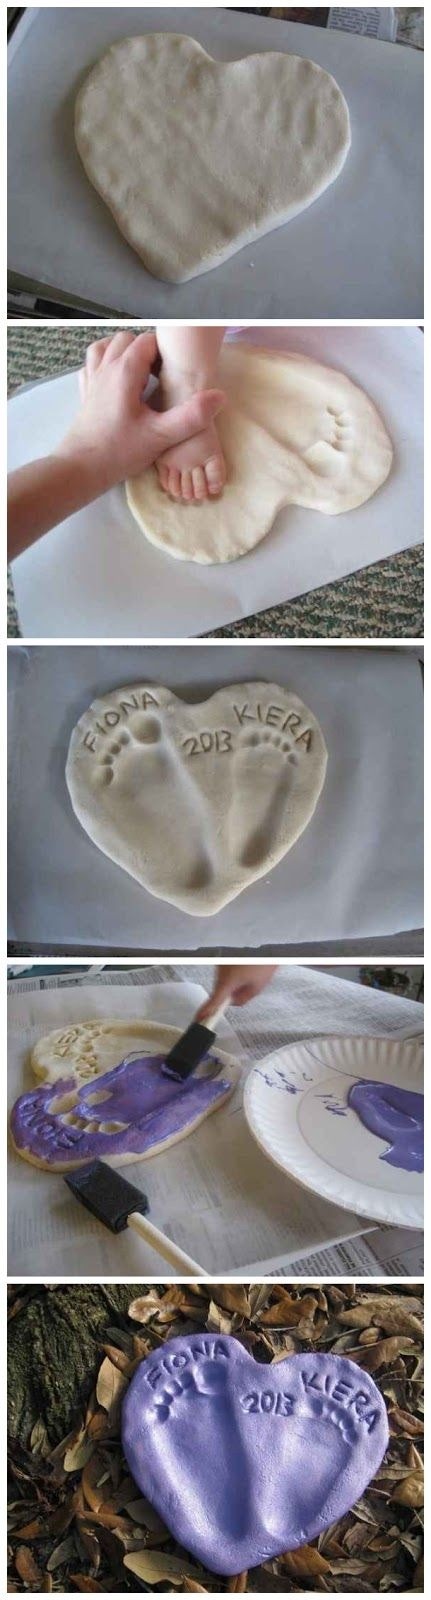
First you’ll combine your salt and flour in a bowl and slowly add in the water. Continue until it is dough light and not too sticky. If the dough is too dry you can add more water. After kneading the dough you’ll flatten it out with a rolling pin. The kids love helping with this part! Next have your child place their foot in the dough. I cut out circles big enough for their foot and sat them in baking sheets lined with parchment paper so they could do this step a little easier. Next you can trace around their footprint leaving a little border around the print so that you have enough room for
the hands to be painted on. Poke a hole through the top so that you can hang them when your done and bake these for two to three hours at around 100 degrees C/ 200 F. If your ornament is thick you may need to turn it over while it’s cooking.
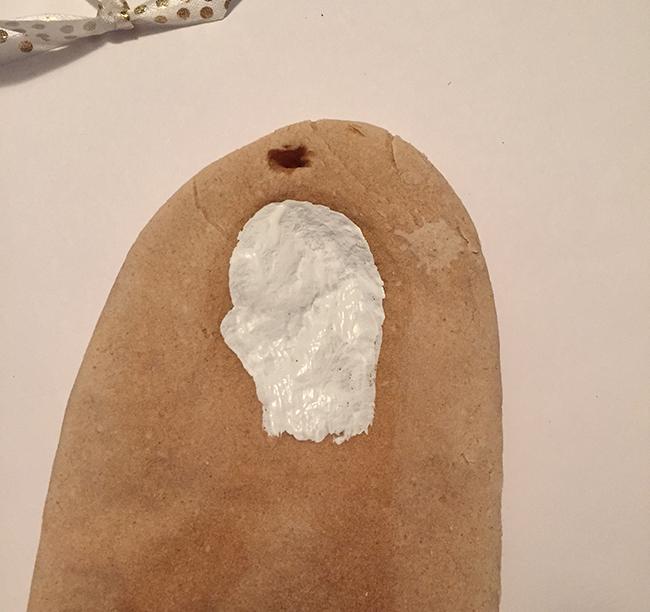
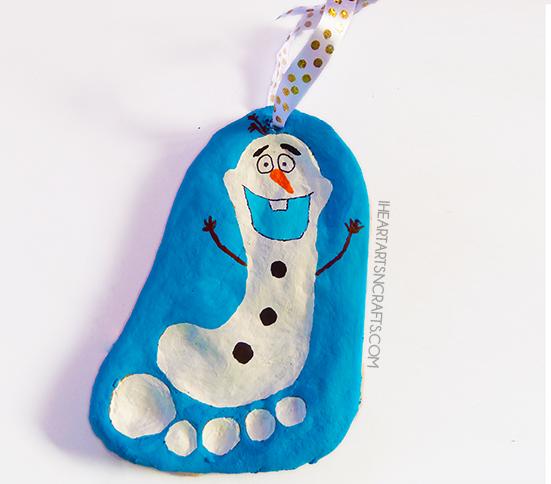
Once these are done and they’ve cooled for a few hours you can start painting! Using acrylic paint you’ll paint the footprint white and add little cheeks to give it that olaf look! I added in a blue border and to make the eyes and mouth, I found the easiest way was to use permanent marker.
Add a festive Christmas bow and it’s ready to hang on your Christmas tree! We had a few readers leave us some awesome tips to make these ornaments last! Spray with a waterproof sealant and keep in ziplock bag.
More tips like this

Family & Kids
Extreme Soft Play Dough DIY
158
Family & Kids
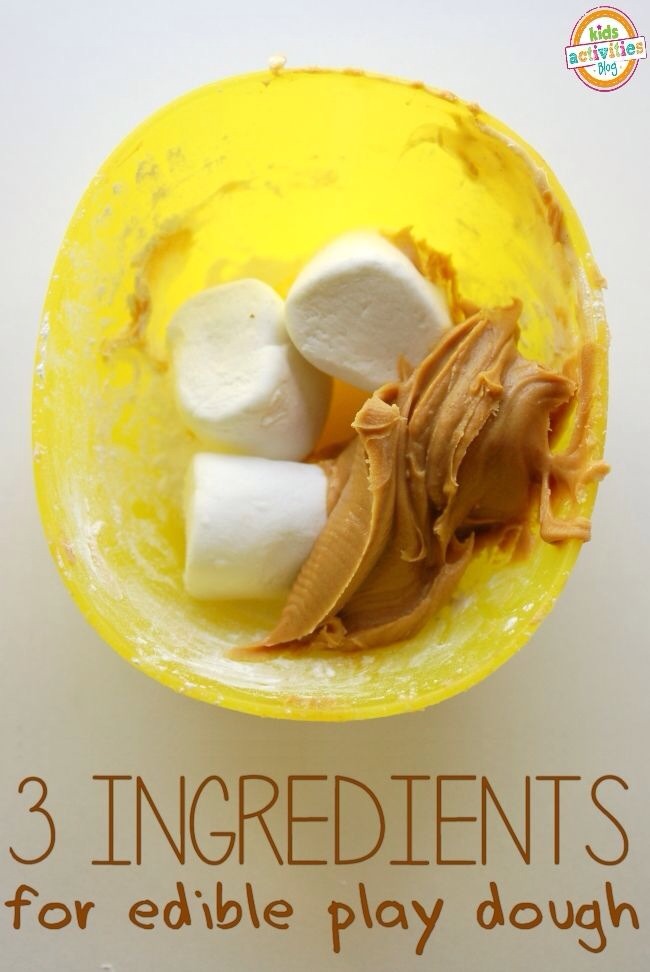
DIY Edible Play Dough!
26

Family & Kids
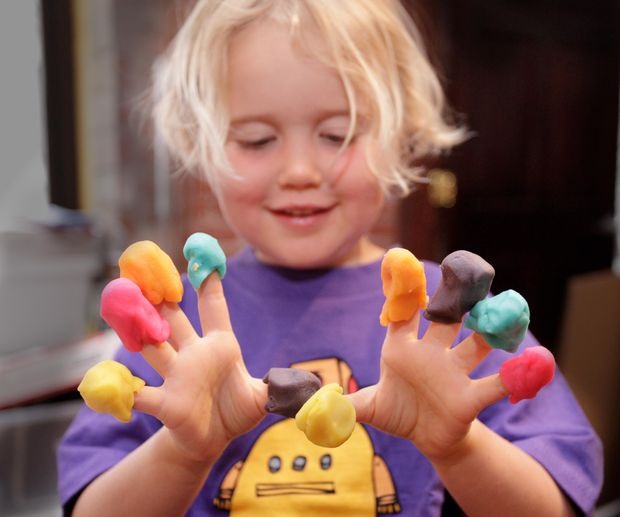
DIY Play Dough
101
Family & Kids
Salt Dough Footprint What A Great Idea!!👣👣👣
10
Family & Kids
Diy Homemade Play Dough
29

Family & Kids
Foam Dough!
9
Family & Kids
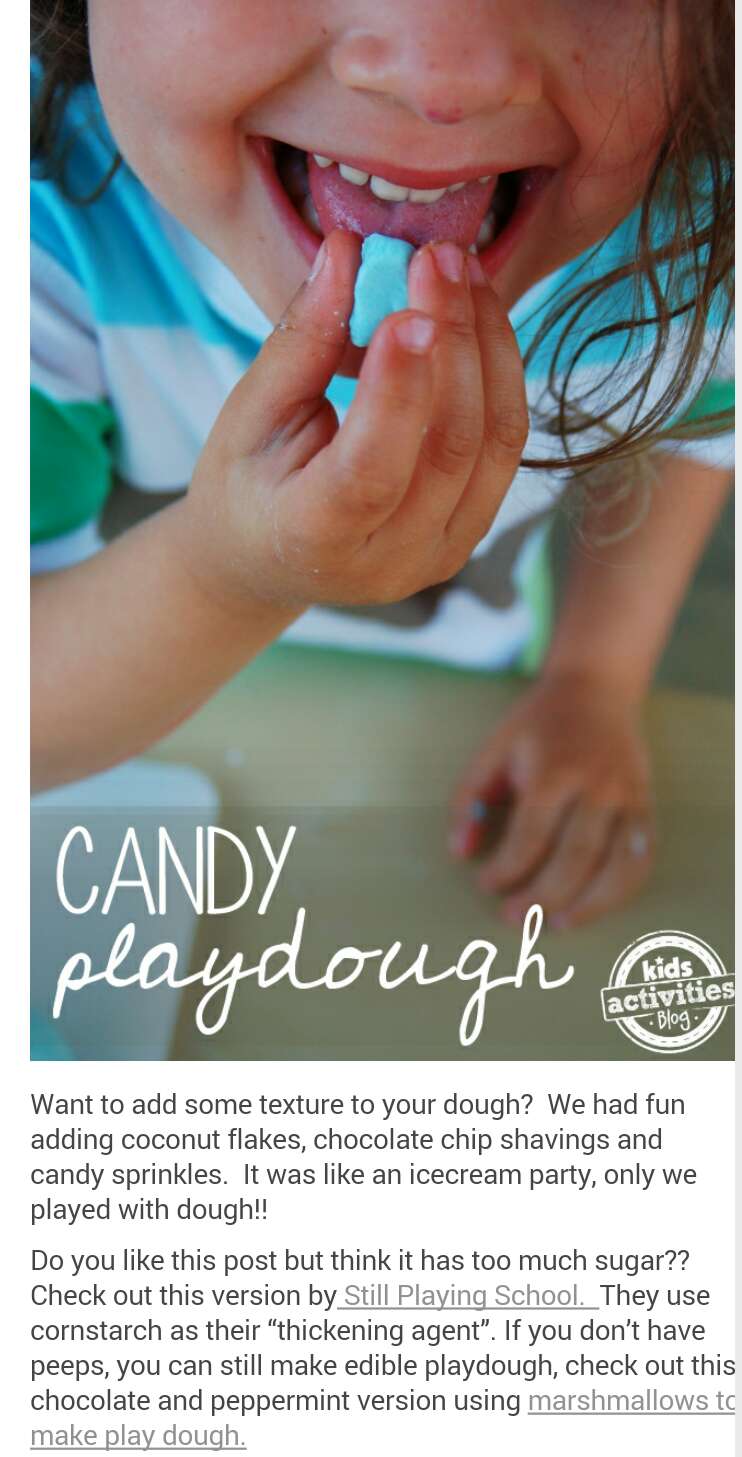
Candy Play Dough!!!
3623
Family & Kids
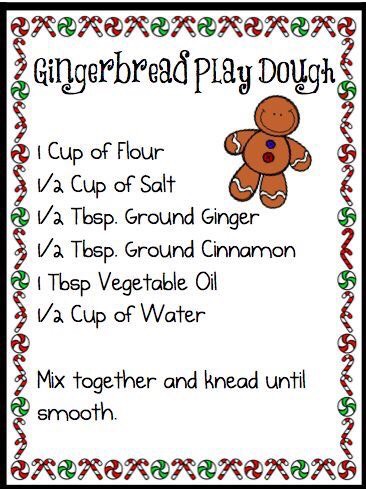
Gingerbread Play Dough
3