Fruit Roll Ups-Made In Home
posted in Recipes on 1/18/2014
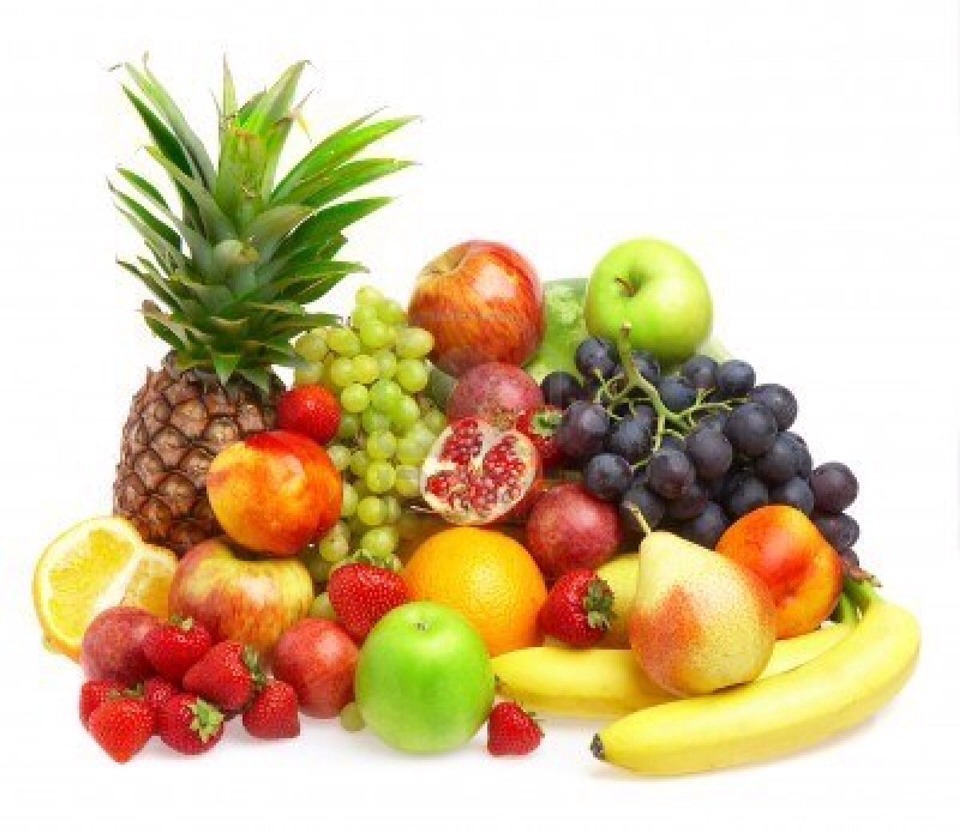
You can use just about any fruit or fruit combination you can imagine. I got loads of raspberries and a few peaches yesterday from my sweet friend Carolyn, and we had some strawberries on hand already. I’ve never had a bad fruit combo, so play around and see what you like!
Prepare Fruit: Make sure your fruit is washed and then roughly chop just so you can measure. If you’re into measuring, that is. If you’re not into measuring than this recipe is totally for you since it really doesn’t matter if you measure or not!
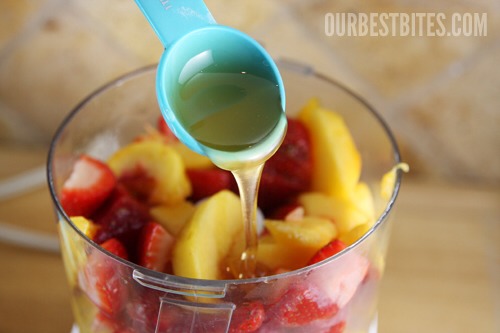
I always add a little somethin’ somethin’ to mine. You can use granulated sugar, honey, or even splenda or agave syrup. I’m going to add a little honey to my peach-strawberry mix. I added about 3-4 tablespoons. You can also add ground spices and extracts at this point.
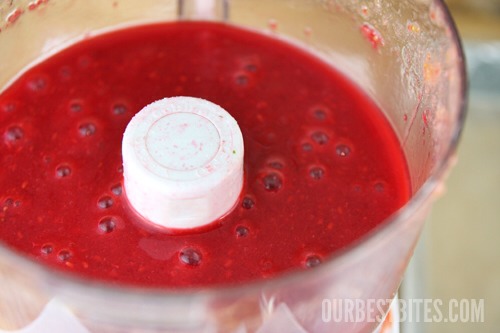
Puree: Many (actually, most) recipes for fruit leathers/roll-ups have you simmer the fruit on the stove first.I used to do that until I realized I didn’t really have to- and you all know I will avoid dirtying a dish if I can!So just pop it all in a food processor so you can get it nice and smooth!
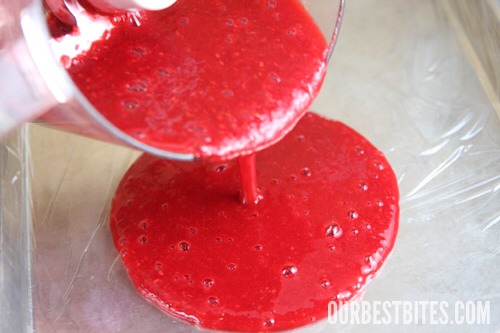
Taste the mixture after it’s smooth and add more sweetener if you need to. You need to be able to pour this mixture, so if you puree your fruit and it’s pretty thick, just add a little liquid. You can add water, or fruit juice.
Both silicone and plastic wrap work the best in my opinion. The fruit will stick to both foil and parchment so I don’t recommend those. If you do decide to try it, you need to spray it with non-stick spray or brush it with vegetable oil first. I think plastic and silicone really work the best!
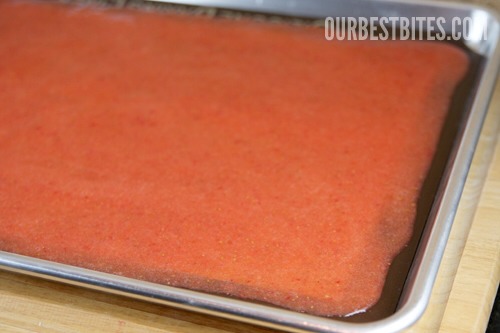
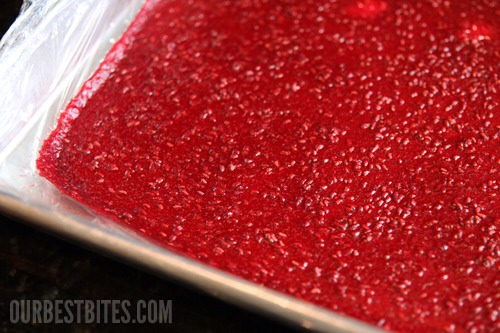
Spread Puree: Use an offset spatula to gently spread the mixture in an even layer. The more evenly you spread, the more evenly it cooks. Keep the mixture away from the edges like in the photo above . You’ll want it about 1/8″ thick.

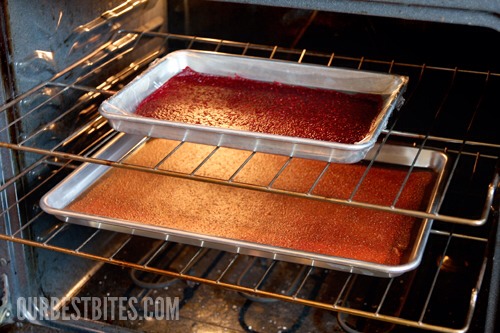
Cook: Set your oven temperature to the lowest setting. Mine is 170 works great, and it will be a little faster than 140. You’re basically just warming the air, helping the fruit dry faster. You can actually place the trays outside in the sun as well, but it does take much longer than the oven.
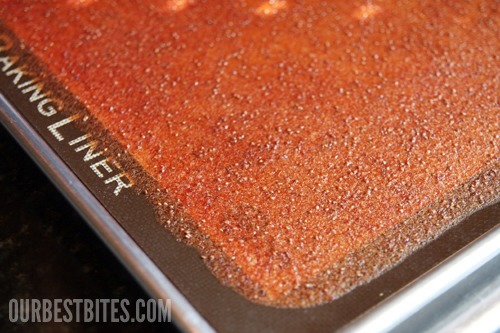
See how thin that is? You can see right through it.
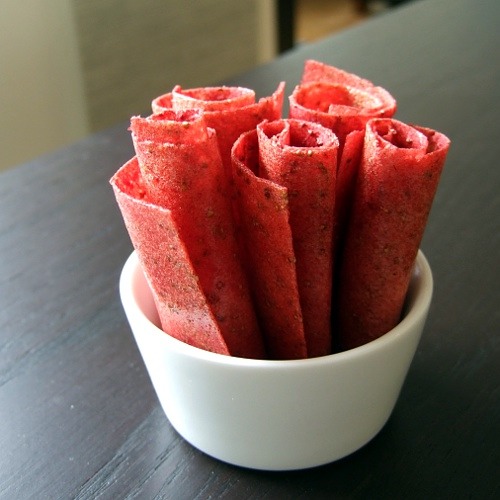
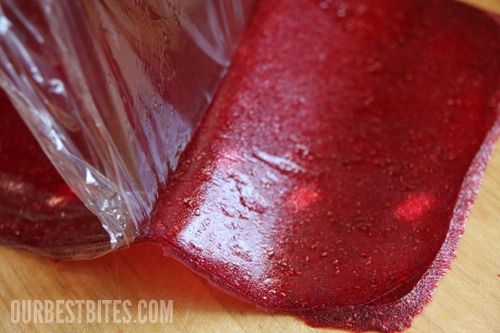
I never thought fruit roll-ups could be gorgeous, but this raspberry one is gor-ge-ous! You can certainly strain out the seeds before cooking, but I happen to think straining raspberry seeds is a huge pain in the rear and I love the little bit of texture it gives to the final product.
Remove: You can peel it off the plastic or baking mat while it’s still warm, it should come off easily.
Roll: You can wrap it right back up in the plastic, or cut a sheet of parchment to fit.

I like to use a pizza cutter and trim all of the edges (my kids love to eat that part) so I have nice clean lines to work with. Because I’m a freak like that. If you have a good (clean) pair of scissors, you could roll the whole sheet and then just snip all the way through the roll.
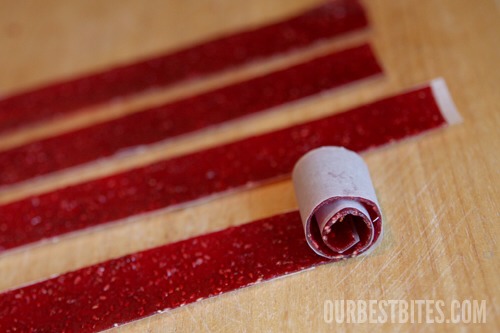
Most of the little rolls will stay rolled, but if they need help, you can always attach a little piece of tape, or a twist tie to keep them all bundled up.

Hope u enjoyed!
If tip was useful please like ;)
If tip was useful please like ;)
More tips like this
Recipes
The Easiest (and Actually Good) Cocktail You'll Ever Make
1121

Recipes
Hot Cocoa Cookies😋✨#tipit
2K5
Recipes
Peanut Butter Chocolate Nice-Cream
31

Recipes
Strawberry Cheesecake Mousse🍰🍓#tipit
1.4K6
Recipes
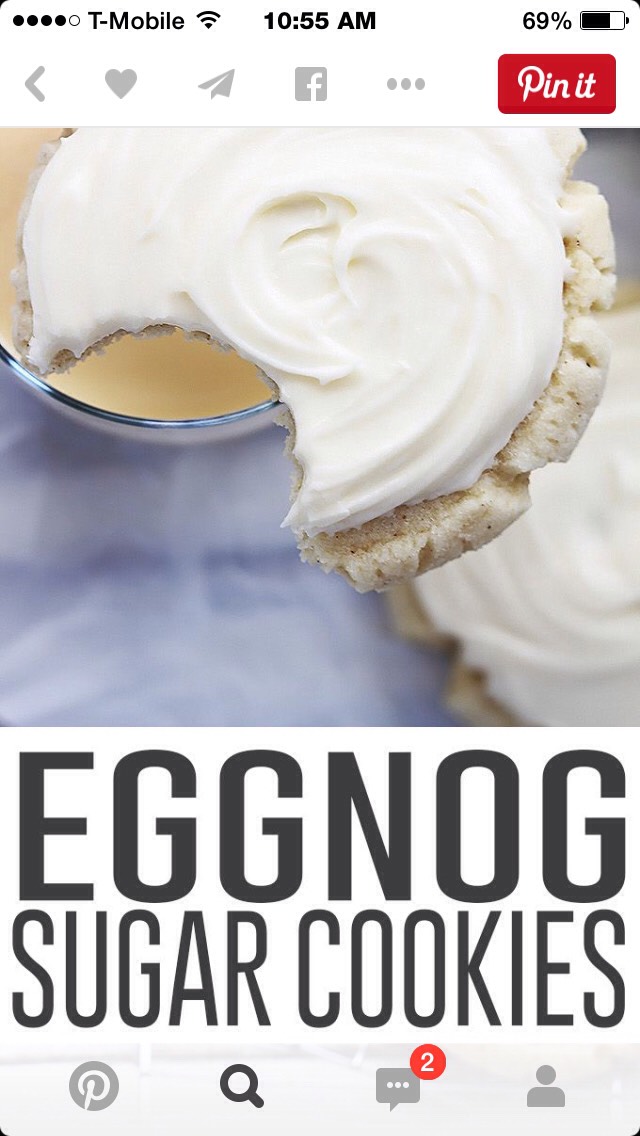
👅Eggnog Sugar Cookies🎉🎊 #TipIt
7218

Recipes
Baked Peaches And Cream!! Yum!!😍
1.2K10
Recipes
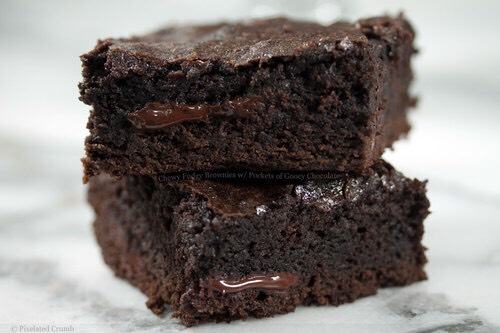
How To Make A Gooey Brownie!! Warning: This Is Addictive‼️😧
1.8K13

Recipes
Melted Snowman Oreo Balls. #tipit
86911