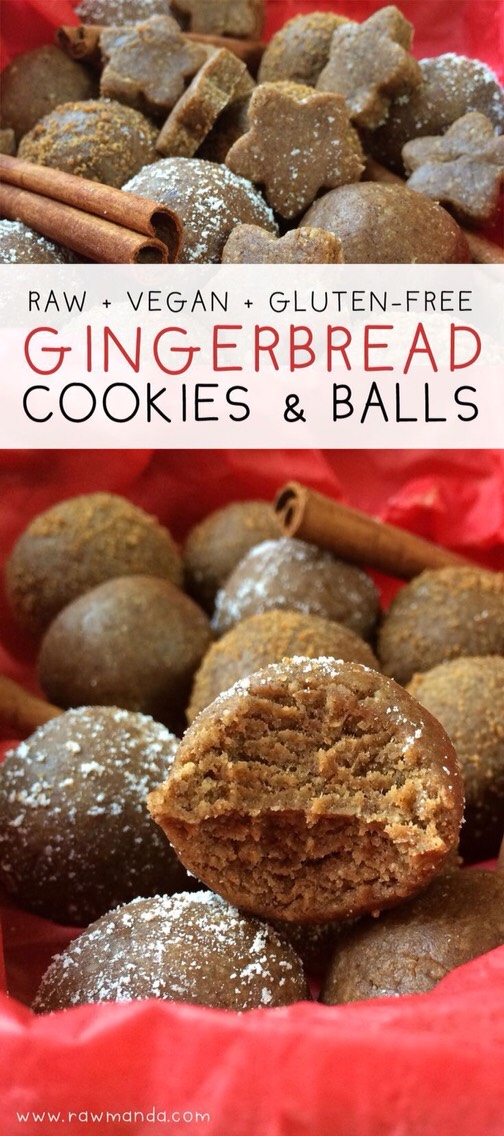
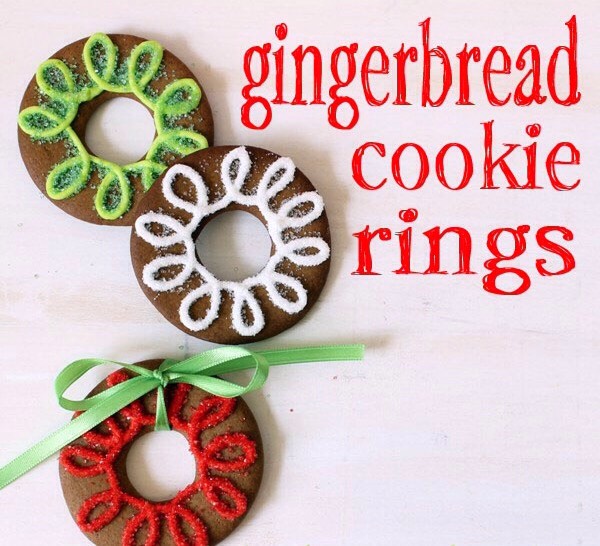
Gingerbread Cookies in-a-jar!!
posted in All on 11/14/2013

Whether you are planning a winter wedding and you’re looking for adorable DIY favors - or you’re looking for the perfect handmade holiday gift, you can’t go wrong with classic gingerbread.
DIY gingerbread cookies in-a-jar are a cinch to make and easy on the pocketbook too!
DIY gingerbread cookies in-a-jar are a cinch to make and easy on the pocketbook too!
To decorate the jar you will need:
1 quart mason jar
Baker’s twine or ribbon
fabric
Scissors
hole punch
gingerbread man cookie cutter
For jar contents you will need:
2 cups all-purpose flour
1 teaspoon baking powder
1 teaspoon baking soda
1 1/2 cups all-purpose flour
2 teaspoons ground ginger
1 teaspoon ground cloves
1 teaspoon ground cinnamon
1 teaspoon ground allspice
1 cup packed brown sugar
canning funnel
If you want to give these cookies a trial run before giving them as gifts, you will also need:
1/2 cup softened butter or margarine,
3/4 cup molasses
1 slightly beaten egg
1 tablespoon vinegar
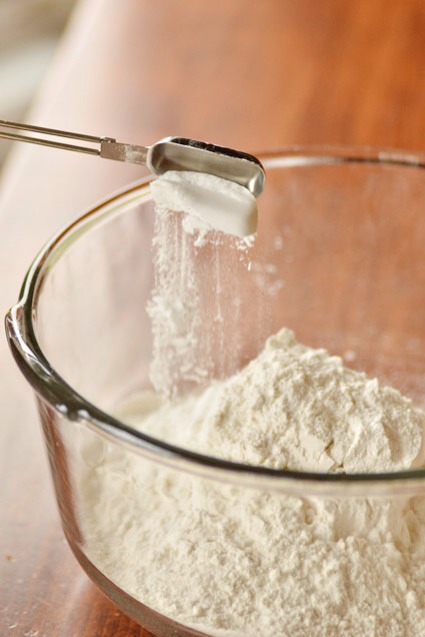
First Mix 2 cups of the flour with the baking soda and baking powder in a mixing bowl.

In another bowl, mix the remaining 1 1/2 cups flour with the ginger, cloves, cinnamon, and allspice.
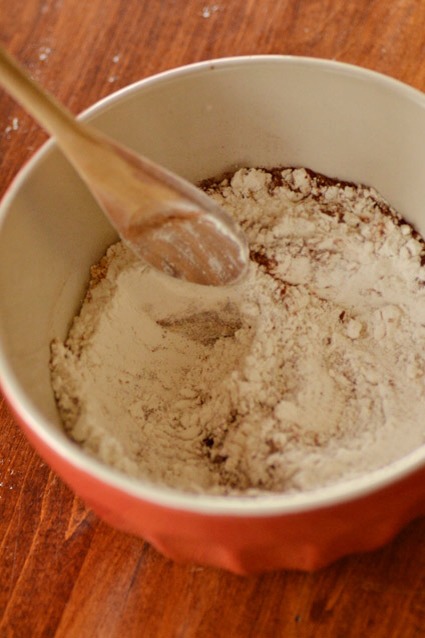
Mix together!
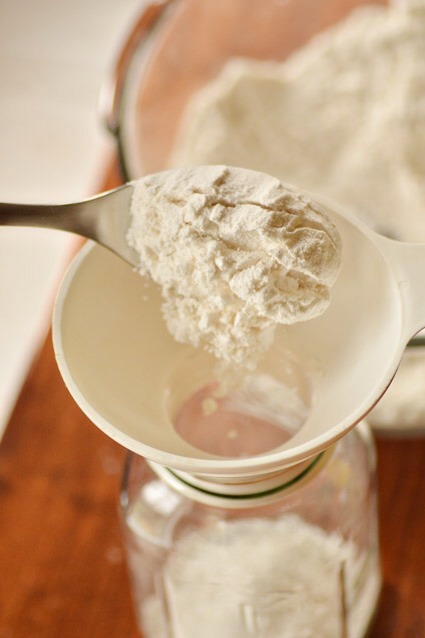
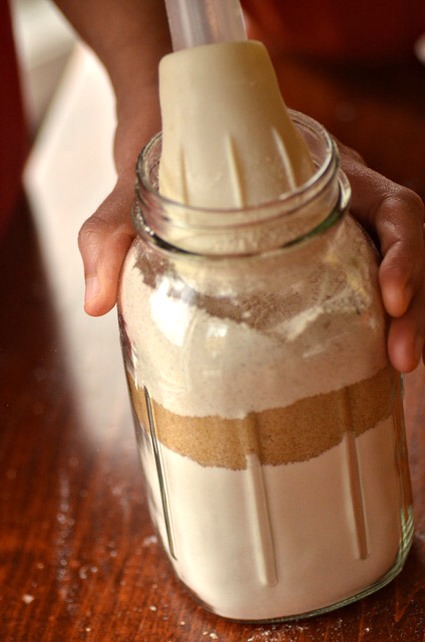
Place your funnel inside your 1 quart canning jar. Add flour and baking powder mixture.
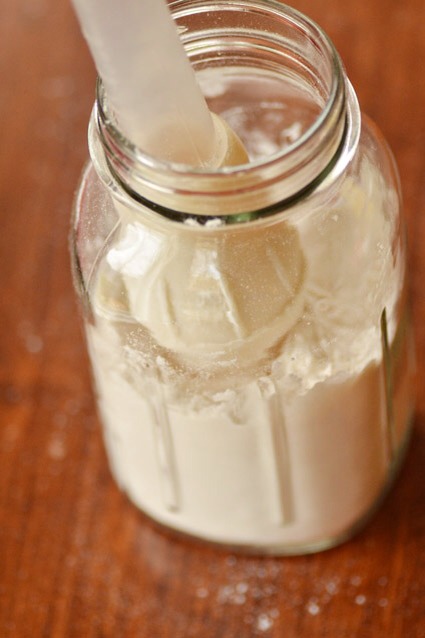
Tamp the mixture (we used the rubber end of a turkey baster. Sometimes you have to get creative!). I cannot emphasize this step enough. If you don’t tamp each layer the contents will not fit properly in your jar.
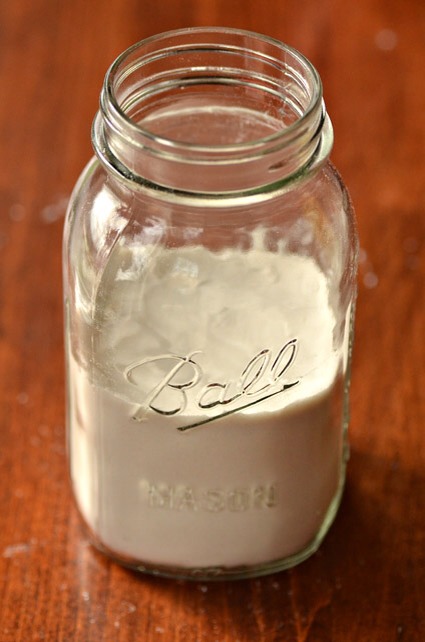
This is how your first layer should look.

Place funnel inside the rim of the jar and add your brown sugar.

Tamp brown sugar.
This is how it should look.
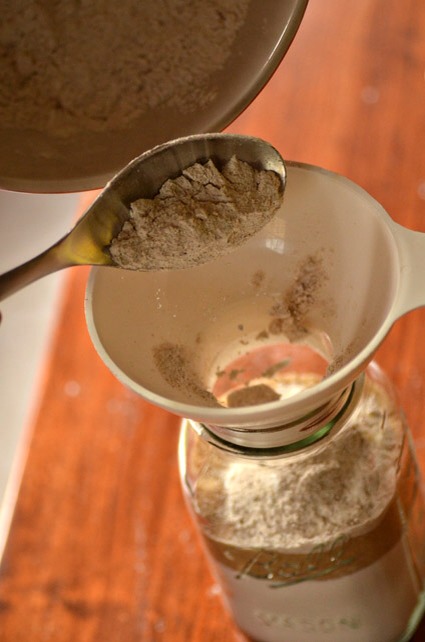
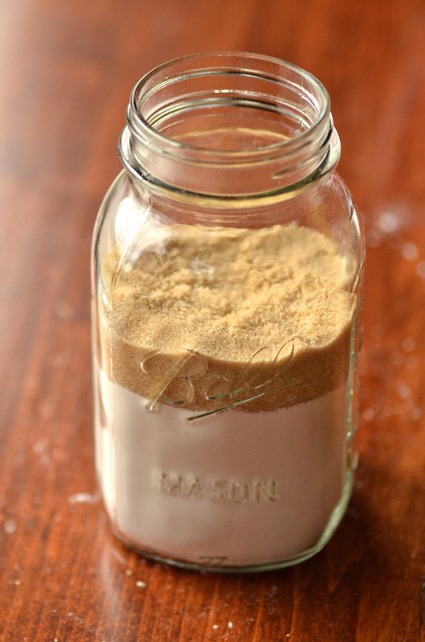
Add about 1/3 of the flour and spice mixture.
Tamp
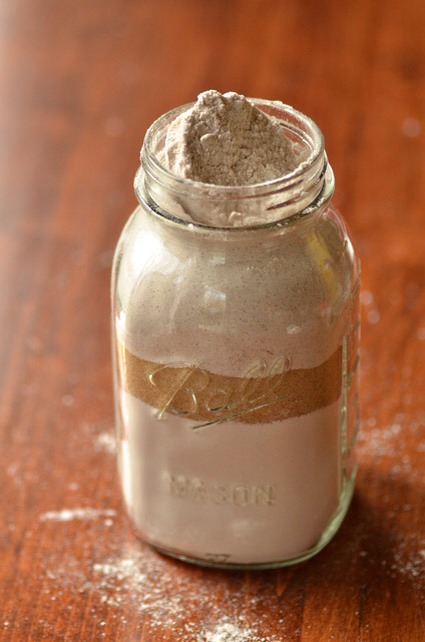
Add a few more heaping spoonfuls and tamp. Repeat process until all the mixture is in the jar.
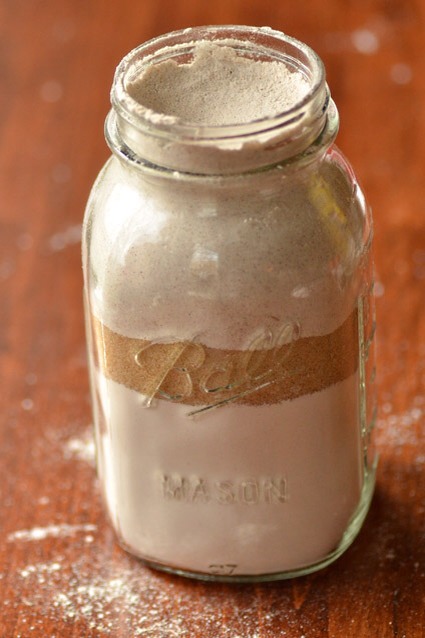
It will look something like this when it’s ready for the lid:
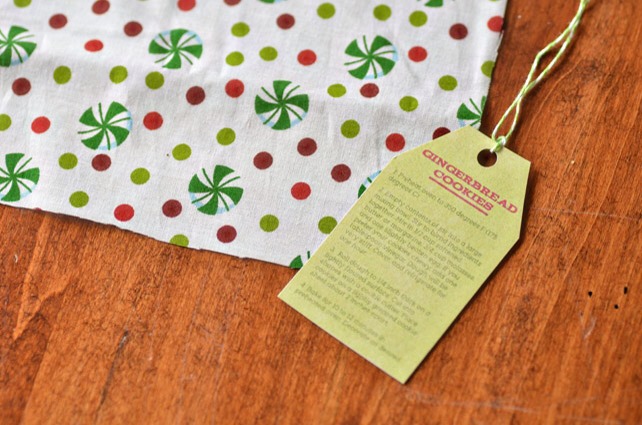
Add lid. Cut out a 7.5 inch by 7.5 inch square of fabric and your tag.
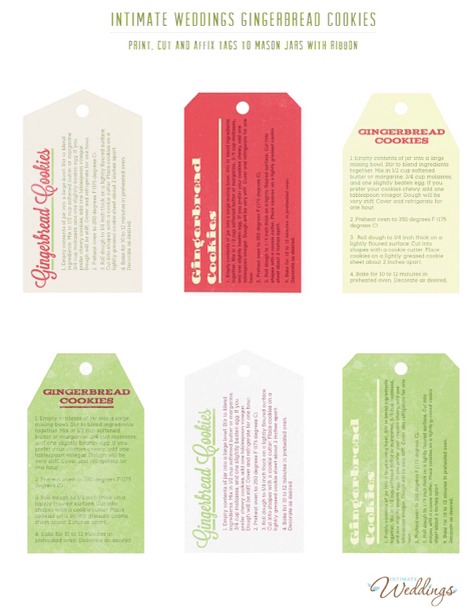
We’ve even included some free printable tags to add even more charm to your handmade gifts. Download tags here.
http://intimateweddings.com/free_downloads/Intimate-Weddings-Free-Templates-Ginger-Bread.pdf
http://intimateweddings.com/free_downloads/Intimate-Weddings-Free-Templates-Ginger-Bread.pdf
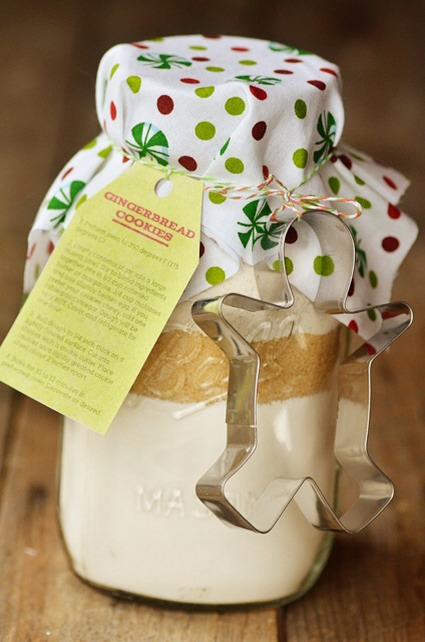
Tie tag and cookie cutter onto the jar using baker’s twine or ribbon. That’s it!