How To Highlight + Contour By Face Shape
posted in Makeup on 3/14/2016
Learn how accentuate your best features in five simple steps.
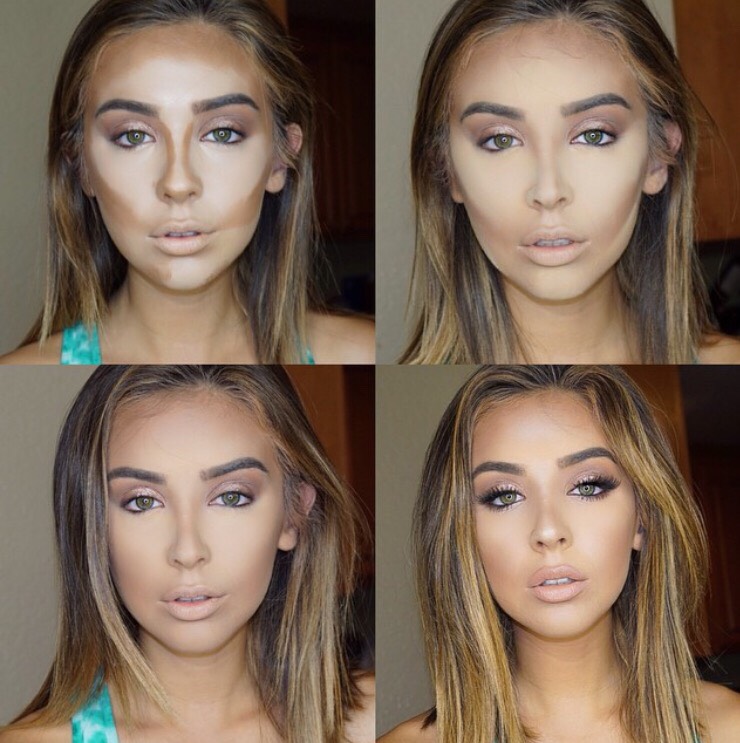
Master high definition. Chisel your cheeks, refine your nose, and sculpt your jawline with this foolproof contouring tutorial for the four most common face shapes.
1. IDENTIFY YOUR FACE SHAPE! ➡️
1. IDENTIFY YOUR FACE SHAPE! ➡️
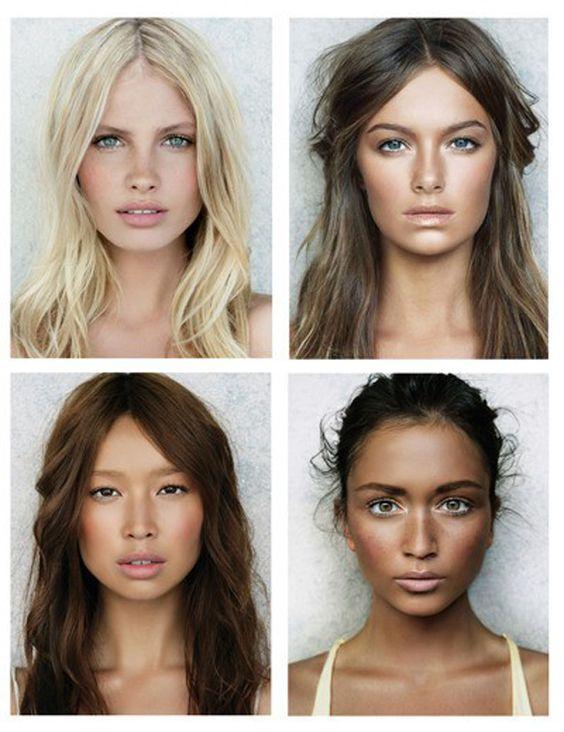
OVAL: balanced shape; length is greater than width.
ROUND: width is equal to length; rounder hairline; fuller cheeks.
SQUARE: strong jawline boxed off at chin; straighter hairline; cheeks appear more flat.
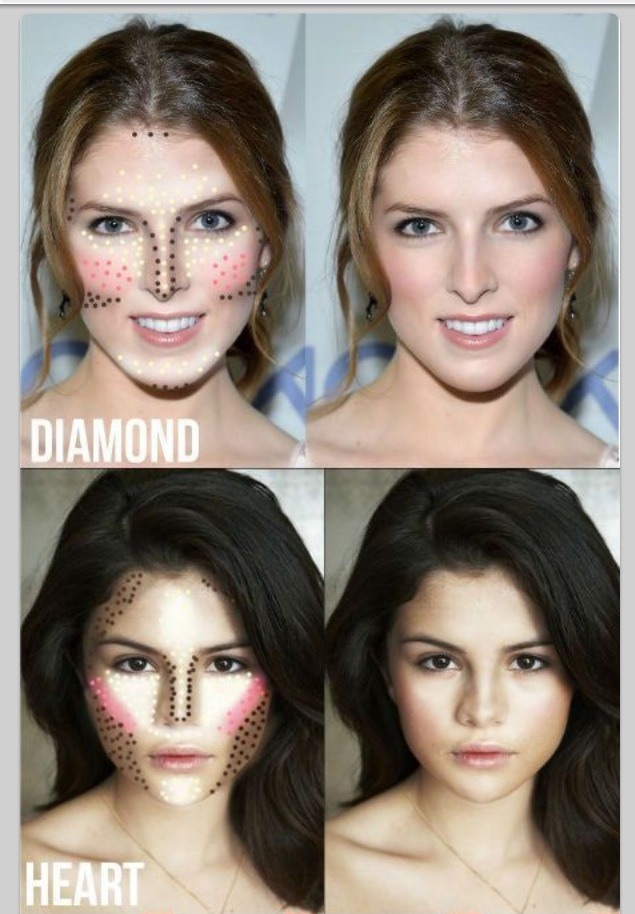
HEART: slightly wider forehead that gradually narrows toward bottom of face; tapered chin.
ROUND: width is equal to length; rounder hairline; fuller cheeks.
SQUARE: strong jawline boxed off at chin; straighter hairline; cheeks appear more flat.
HEART: slightly wider forehead that gradually narrows toward bottom of face; tapered chin.
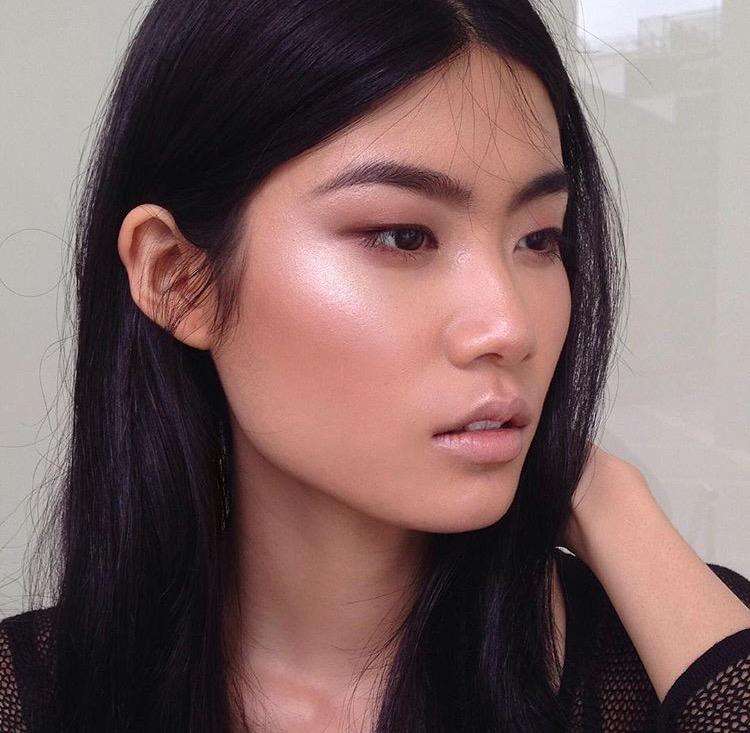
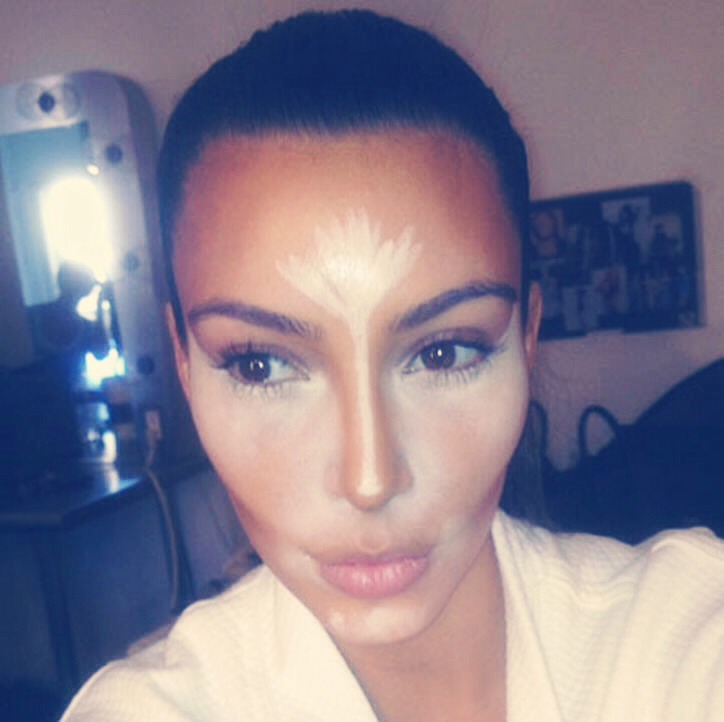
2. ADD LIGHT TO THE CENTER OF THE FACE:
My favorite illuminator is Hynt Beauty's Radiance Boosting Powder, check it out!
My favorite illuminator is Hynt Beauty's Radiance Boosting Powder, check it out!
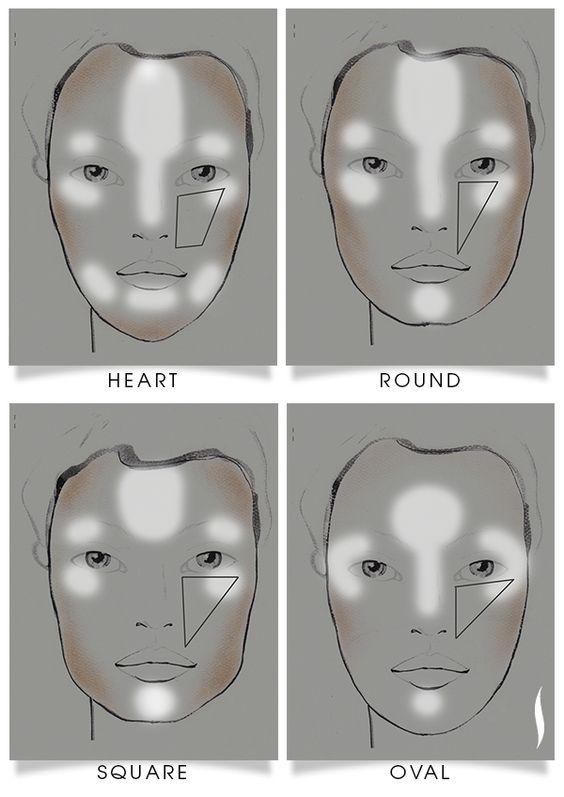
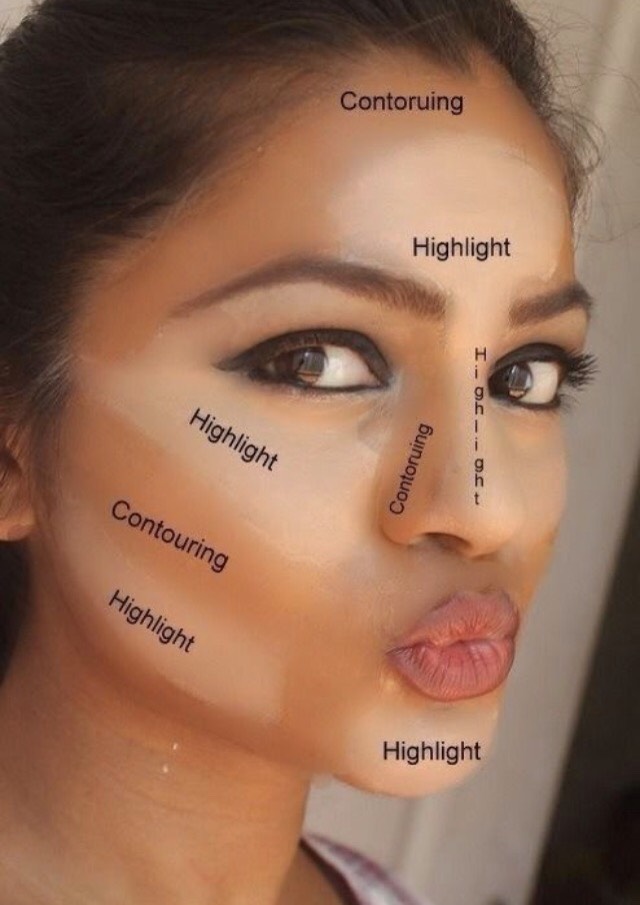
3. ILLUMINATE THE AREAS YOU WANT TO STAND OUT:
Apply luminizer over the following areas for a lit-from-within radiance that highlights your best features. ➡️
Apply luminizer over the following areas for a lit-from-within radiance that highlights your best features. ➡️
OVAL: the center of the forehead, down bridge of the nose, from browbones to cheekbones in a C-shape, and center of chin.
ROUND: the center of the hairline to center of forehead, down bridge of the nose, the cheekbones under the outer corners of eyes, and center of chin.
SQUARE: the center of the hairline and center of the forehead, above and below the outer edges of the brows, and center of chin.
HEART: the center of the hairline to center of the forehead, down bridge of the nose, above and below outer edges of brows, the chin just below the lower lip, and to the sides of chin.
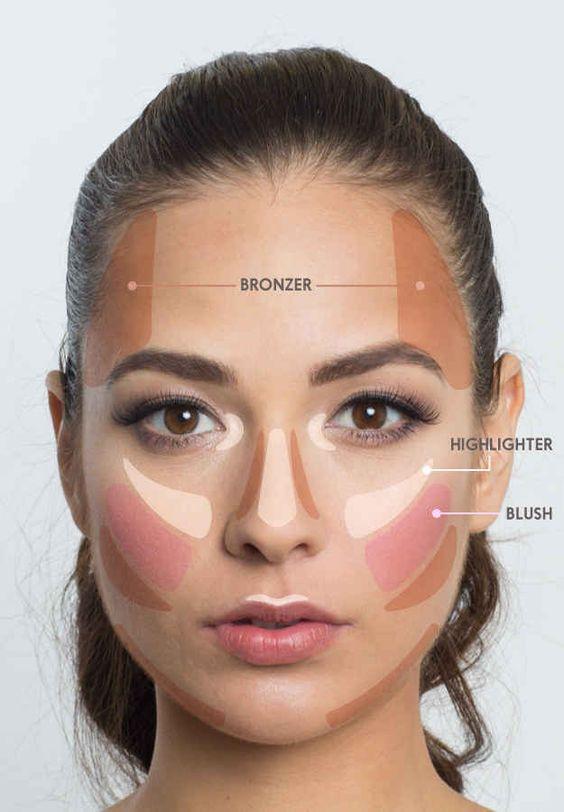
4. CONTOUR THE AREAS YOU WANT TO RECEDE:
Sweep on your preferred contour shade on these specific areas to downplay prominent features and create natural-looking definition. ➡️
Sweep on your preferred contour shade on these specific areas to downplay prominent features and create natural-looking definition. ➡️
OVAL: lightly along the hairline and temples and under the cheekbones.
ROUND: the edges of the face, from the temples to the jawline, and in the hollows of the cheeks.
SQUARE: the temples and from the hollows of the cheeks to the jawline.
HEART: the temples, the sides of the cheeks, and the chin.
TIP: Start at the edge of the face and work your way inward for subtle shading.
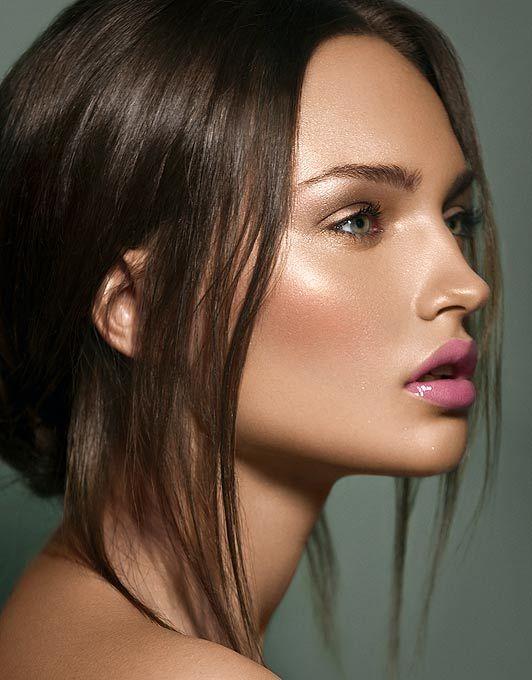
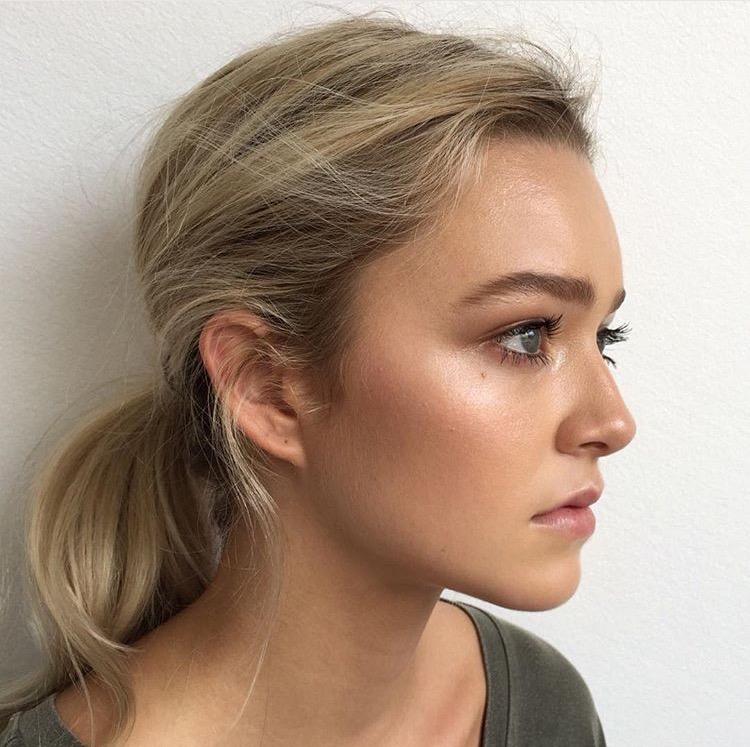
5. BLEND THE HIGHLIGHT + CONTOUR COLORS TOGETHER:
Blur the edges of the highlight and contour colors into each other for a seamless finish using a brush or sponge.
TIP: Hold your brush toward the end of the handle to diffuse harsh lines.
Blur the edges of the highlight and contour colors into each other for a seamless finish using a brush or sponge.
TIP: Hold your brush toward the end of the handle to diffuse harsh lines.
Products In This Tip

More tips like this
Makeup
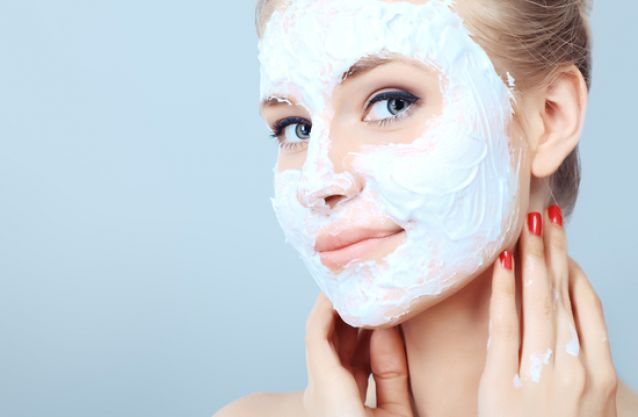
amazing face masks that you have to try
7241

Makeup
How To Contour Face
2.4K9
Makeup
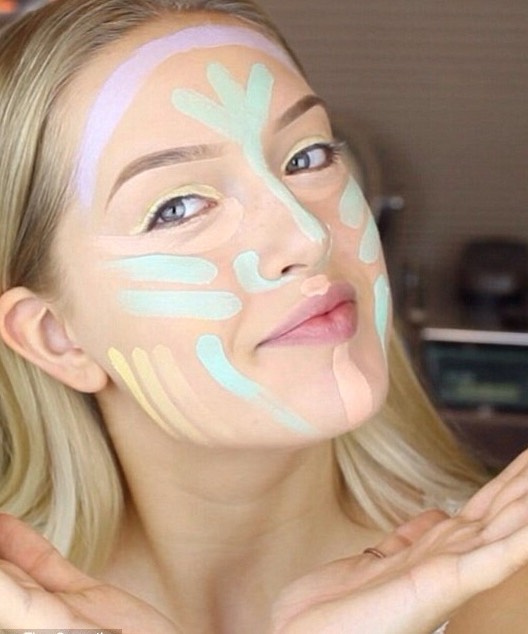
How To Colour Correct Yer Face!
5469
Makeup
How To Contour Your Face To Look Younger
2.2K4
Makeup
Face Contouring, Transforming Your Face
2682
Makeup
Ways You Can Use Makeup To Completely Transform Your Face
2.8K8
Makeup
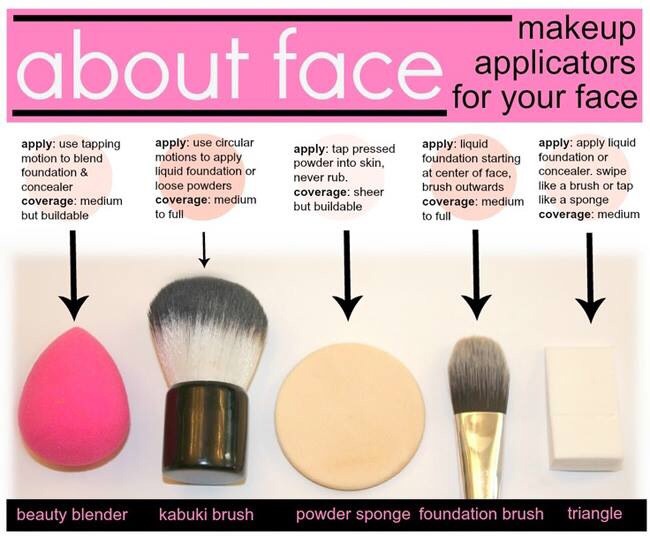
About Face: Makeup Aplicators For Your Face!
3541
Makeup
Great Guid For Contouring Different Face Types.
726