How To Print On Fabric
posted in Other on 2/20/2014
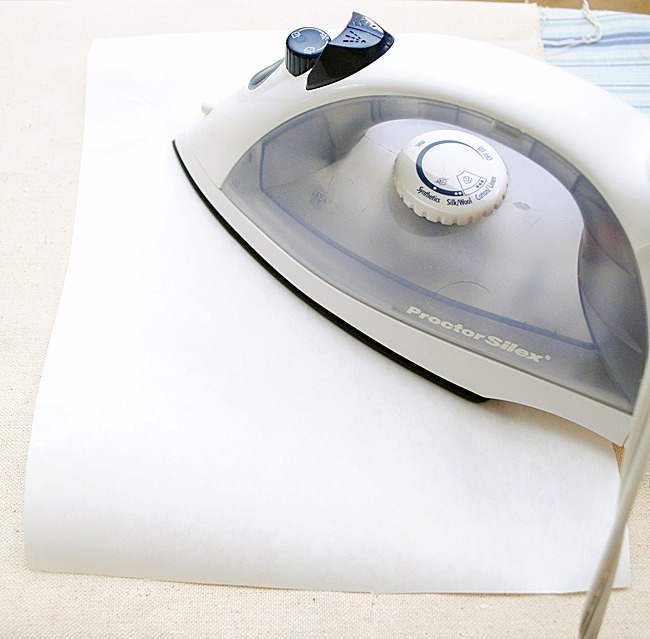
Step 1: Start with a freshly ironed piece of fabric.
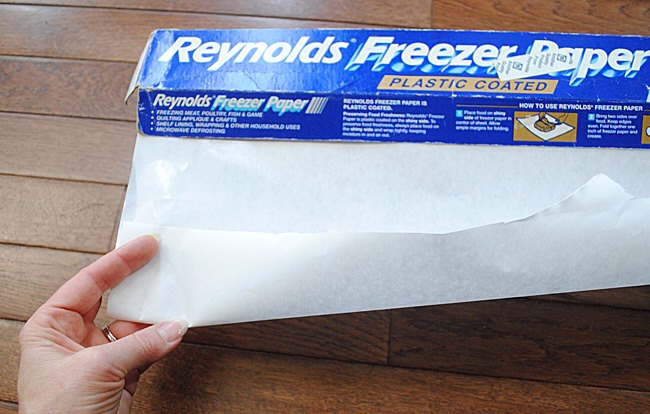
Cut out a section of freezer paper, approximately 8 1/2″ by 11″, and iron it (shiny side facing towards the fabric) to the fabric until it adheres nicely.
Cut out a section of freezer paper, approximately 8 1/2″ by 11″, and iron it (shiny side facing towards the fabric) to the fabric until it adheres nicely.
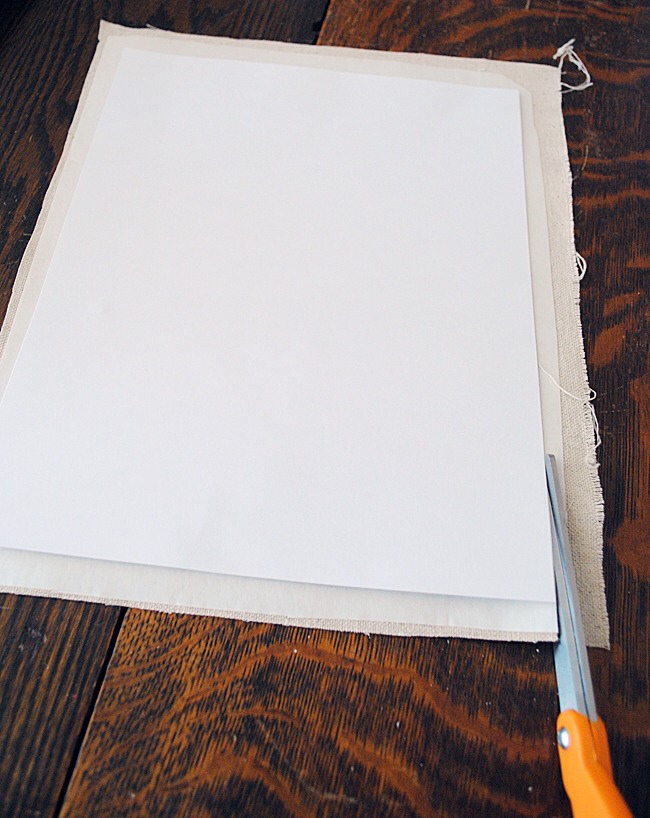
Step 2: Trim up the fabric and Freezer paper to exactly 8 1/2″ by 11″.
Important: Make sure you don’t have any frayed edges, and that the fabric does not overhang the paper! You don’t wanted it snagging in your printer and getting stuck!
Important: Make sure you don’t have any frayed edges, and that the fabric does not overhang the paper! You don’t wanted it snagging in your printer and getting stuck!
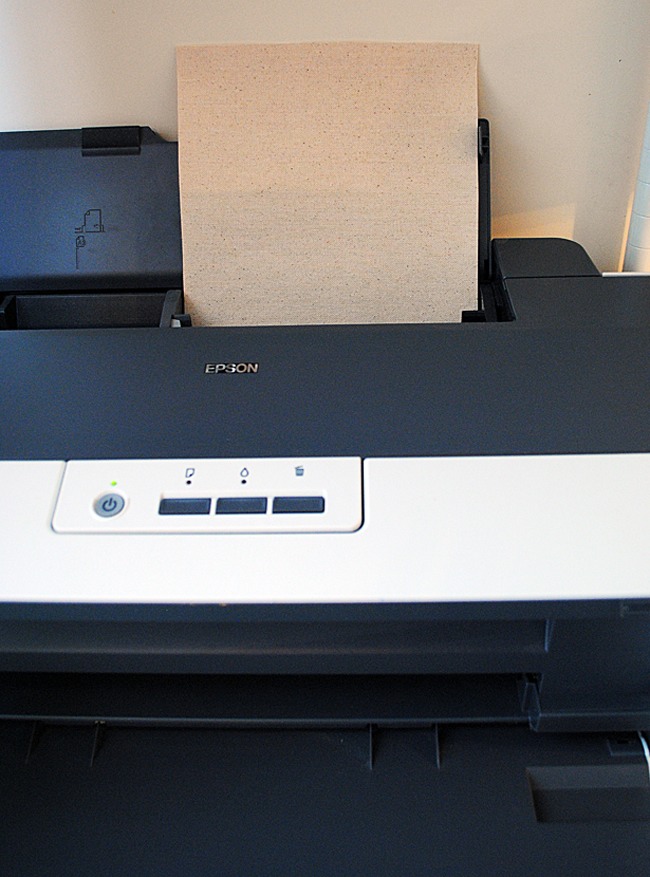
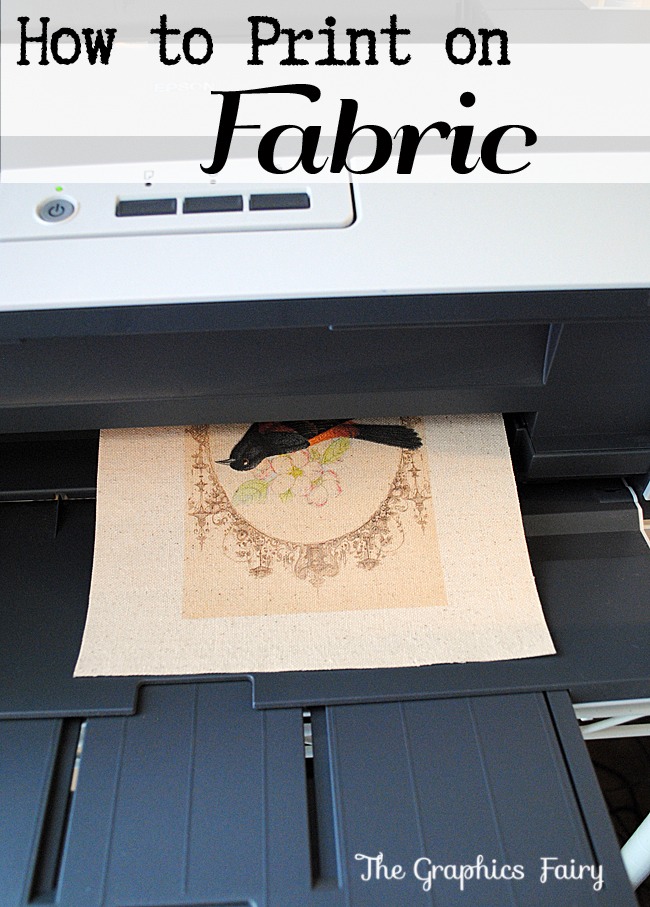
Step 3: Place in your printer. Make sure you have it placed so that the ink prints on the fabric side and not the paper side.
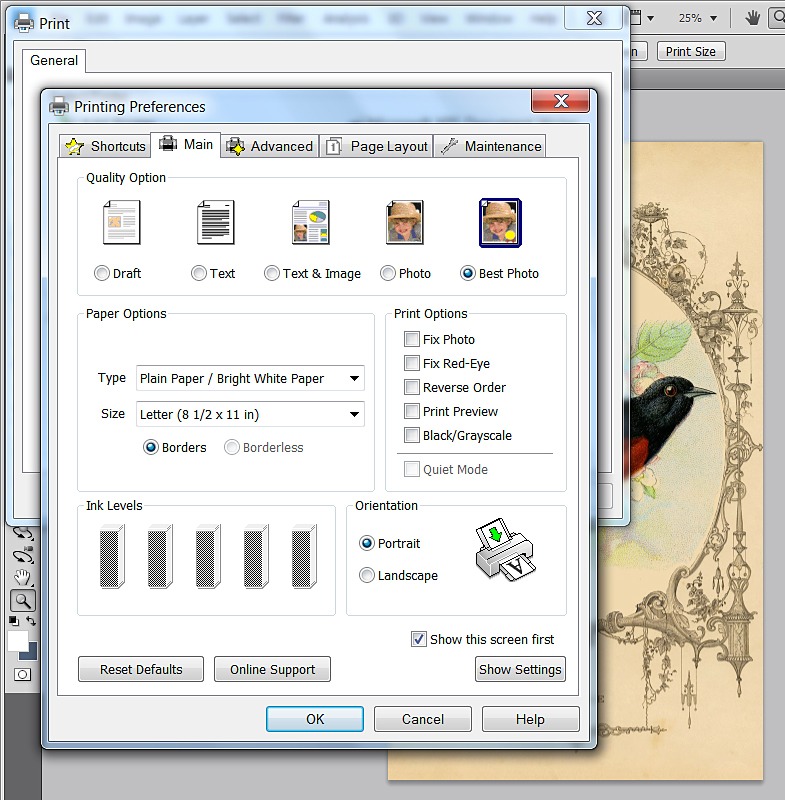
Step 4: Adjust your printer settings. When you hit the print button and get the pop up window, you should have some type of button for “Printer Preferences” click on that and select “Best Photo” and then print. This will put a nice amount of ink on your fabric, for the best quality image.
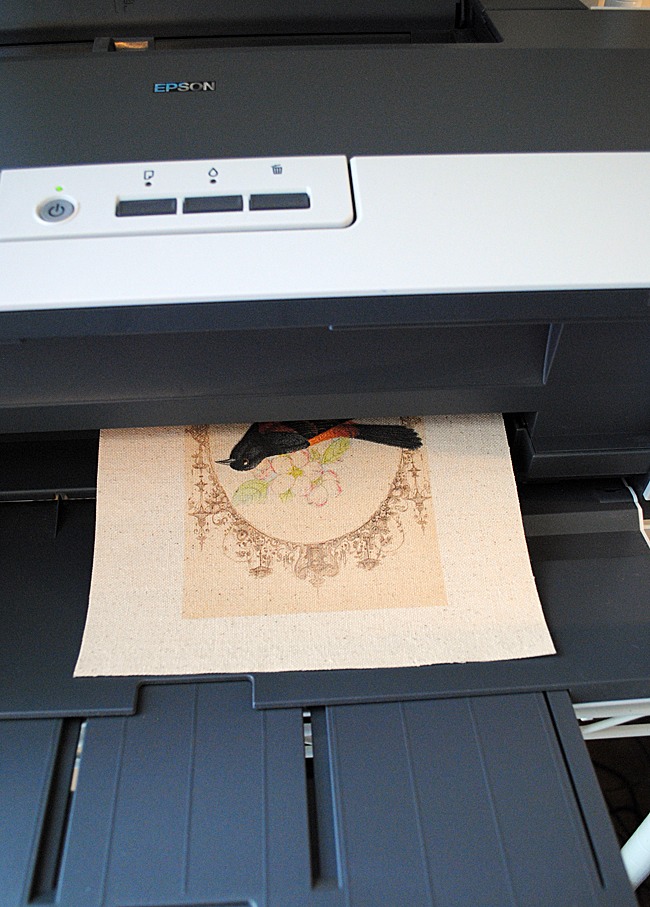
Step 5: Stay right with the printer and guide the fabric through if needed.
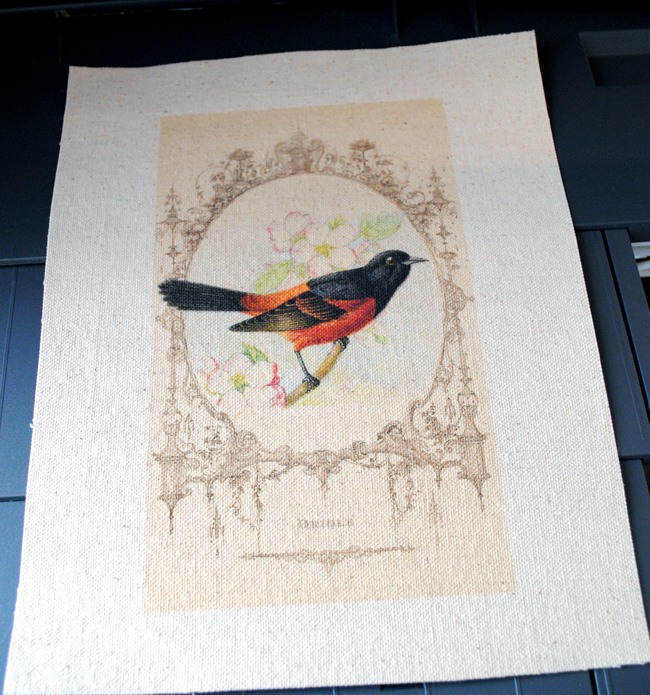
You can peel off your Freezer Paper now, you can reuse it, up to 10 times, so you can save it and iron it on to another piece of fabric.
More tips like this

Other
For Every Like I Will Donate €0.50 To The Cancer Society❤️
77450

Other
For Every Ten Likes I Will Donate £1 To A Animal Charity (blue Cross) Thanks
6836
Other
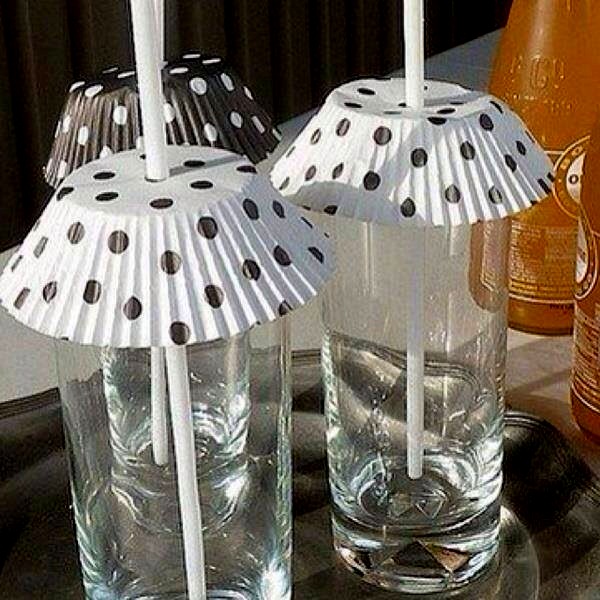
Easy Way To Keep Bugs Out Of Your Drink When You're Outside
11K141

Other
Homemade Olive Garden Breadsticks
2.1K13

Other
Sew Pillow Cases Together, And Insert Pillows. Great For Movie Night!
26K374
Other
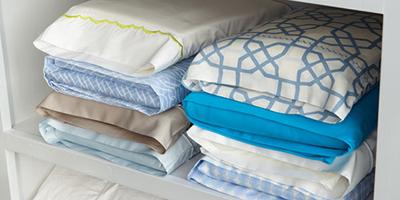
Store Bed Linen Sets Inside One Of Their Own Pillowcases
8.2K118