Mega Man Costume-It Will Knock His Socks Off!
posted in Family & Kids on 1/10/2014
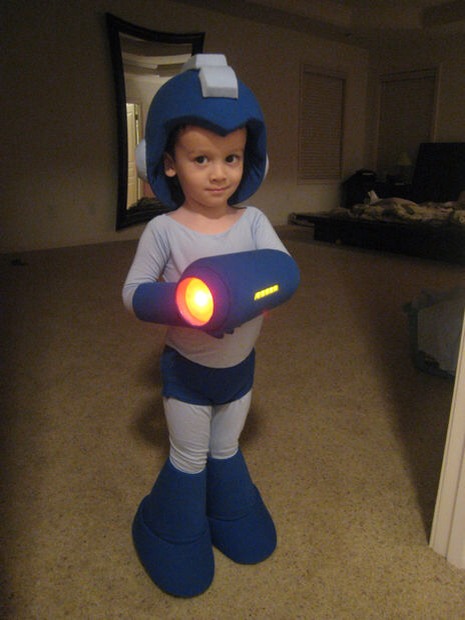
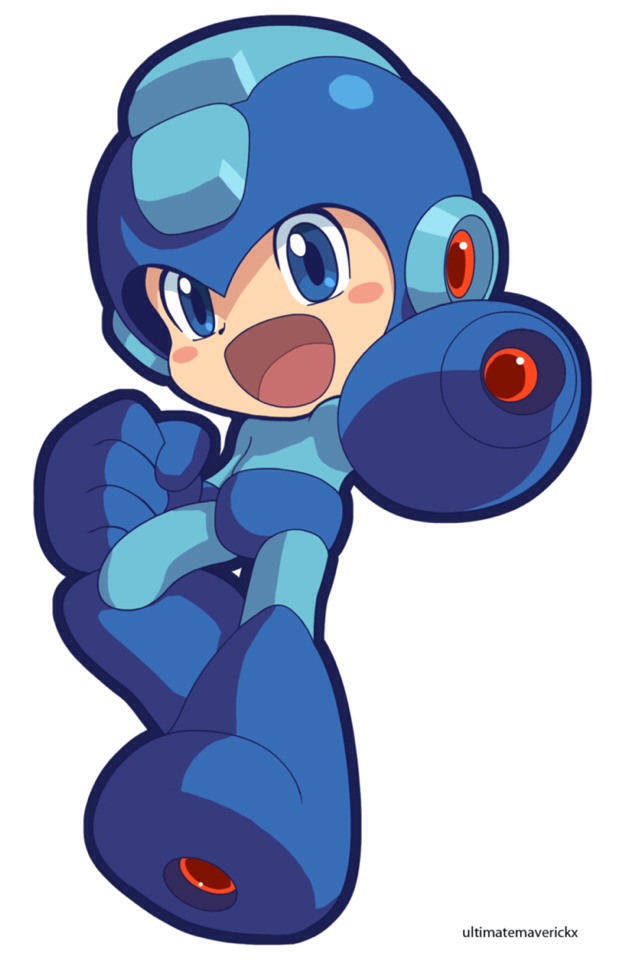
This year I wanted to build costumes for my family from scratch. Since I am a Retro Gamer, I wanted to make a cool costume for my three year old. The Original Mega Man from the NES was what I had decided on. What follows are the steps that I took to create the Mega Man costume for my son.
Step 1: Mega Man's Helmet (Materials and Tools)
I was not looking to spend alot of money, so I tried picking stuff up from the Goodwill's in the area around me. The actual helmet alluded me the longest. I decided on going to Walmart and picking up one the right size.
I was not looking to spend alot of money, so I tried picking stuff up from the Goodwill's in the area around me. The actual helmet alluded me the longest. I decided on going to Walmart and picking up one the right size.
The first step after I got the helmet was to extend the back/ears and add details like the widow's peak to make it look more like Mega Man's. But first here is a list of Tools and Materials that I used to create the helmet:
Tools
•Hot Glue Gun
•Heavy Duty Scissors
•Marker
•Electric Knife
•Rasp
Continued...
•Dremel
•Wire Cutters
•Soldering Iron
•Needle
•Sewing Machine
Materials:
•Bike Helmet
•Frisbee
•Hot Glue Sticks
•Blue Foam
•Red LED's
•Resistors
•Battery Pack
•Wire
•Switch
•Solder
•Electrical Tape
•Velcro
•Thread
•Tupperware
•Sand Paper

Step 2: Mega Man's Helmet (Cut/Shape Frisbee)
Tools;
•Hot Glue Gun
•Heavy Duty Scissors
•Marker
•Materials:
•Bike Helmet
•Frisbee
•Hot Glue Sticks
Tools;
•Hot Glue Gun
•Heavy Duty Scissors
•Marker
•Materials:
•Bike Helmet
•Frisbee
•Hot Glue Sticks

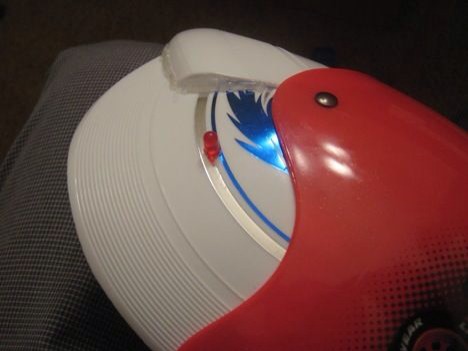
The ear and back extensions were done with a frisbee we had laying around. I choose the frisbee since it was rather sturdy, yet flexible plastic. I laid the frisbee up against the back of the helmet to try and get a rough idea of where it needed to be cut.

Marked with Sharpie, cut with heavy duty scissors. I ended up with enough left over to do the two ear covers.
The helmet has enough space between the hard platic shell and the hard foam that the cut frisbee could fit into it.
The helmet has enough space between the hard platic shell and the hard foam that the cut frisbee could fit into it.

Step 3: Mega Man's Helmet (Forming the Helmet)
Tools:
Electric Knife
Rasp
Dremel
Materials:
Blue Foam
Tools:
Electric Knife
Rasp
Dremel
Materials:
Blue Foam
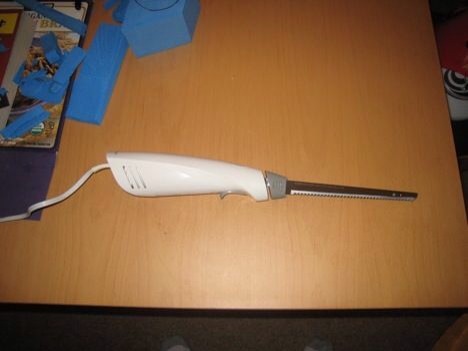
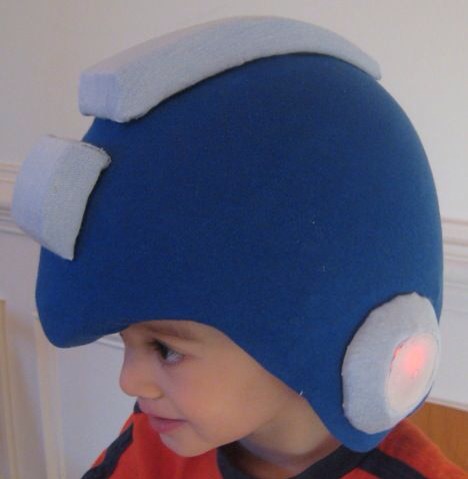
There are five pieces that I needed to add to the helmet to make it look like Mega Mans. The Widow's Peak, the two bumps/ridges on the top middle, and the two ear pieces. I had found these water work out things with this heavy duty blue foam on it. I used an electric knife to cut the general shapes.
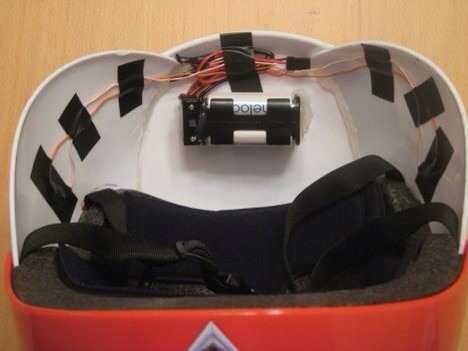
Step 4: Mega Man's Helmet (Adding LED's)
Tools;
Drill w/small drill bit
Wire Cutters
Soldering Iron
Hot Glue Gun
Materials:
Red LED's
Resistors
Battery Pack
Wire
Switch
Solder
Electrical Tape
Hot Glue Stick
Drill w/small drill bit
Wire Cutters
Soldering Iron
Hot Glue Gun
Materials:
Red LED's
Resistors
Battery Pack
Wire
Switch
Solder
Electrical Tape
Hot Glue Stick
I started feeling a bit frisky... I was looking at images of Mega Man... and thought... I need LED's to make this epic. So I did a little research and found some info here on getting/using LED's. Read more there if you want to see more detailed steps. I went to Radioshack and got some Red LED lights

Step 5: Mega Man's Helmet (Skinning Things)
Tools;
Needle
Sewing Machine
Scissors
Hot Glue Gun
Materials:
Black Electrical Tape
Velcro
Thread
Glue Sticks
Tools;
Needle
Sewing Machine
Scissors
Hot Glue Gun
Materials:
Black Electrical Tape
Velcro
Thread
Glue Sticks
Step 6: Mega Man's Helmet (Attaching the Foam/Finishing)
Tools;
•Scissors
•Hot Glue Gun
Materials:
•Glue Sticks
•Tupperware
•Sand Paper
Tools;
•Scissors
•Hot Glue Gun
Materials:
•Glue Sticks
•Tupperware
•Sand Paper

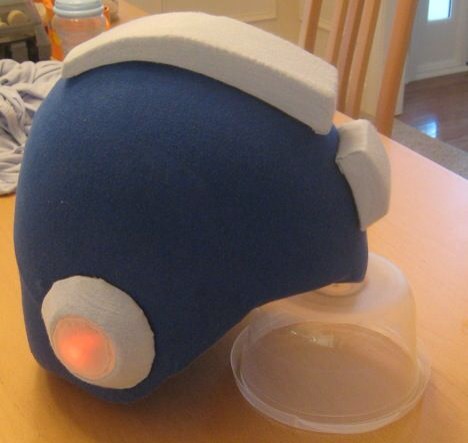
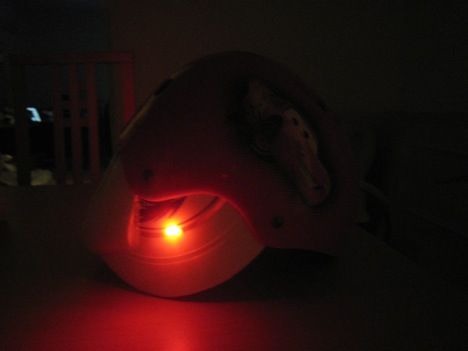
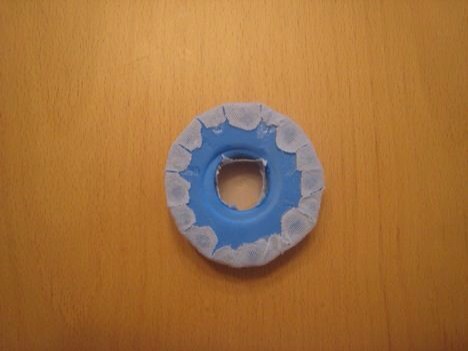
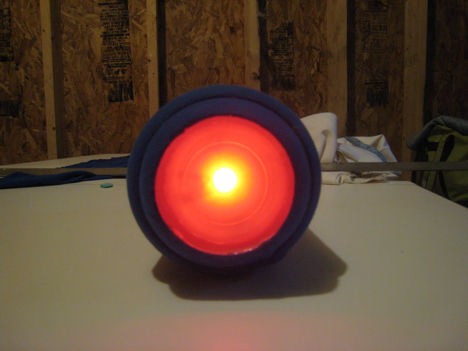
Then cut out the bottom of some tupperware containers for the ear pieces. I sanded them down to remove any words/logo's. The real reason to sand them down was to give it a frosty look making it disperse the LED light better. I then hot glued the plastic piece to the ear piece.
Back on the helmet I threaded around the led, so I could cut a hole in the fabric without worrying about it ripping apart.
Finally I hot glued these 4 pieces to the helmet, completing this stage of the build.
Finally I hot glued these 4 pieces to the helmet, completing this stage of the build.
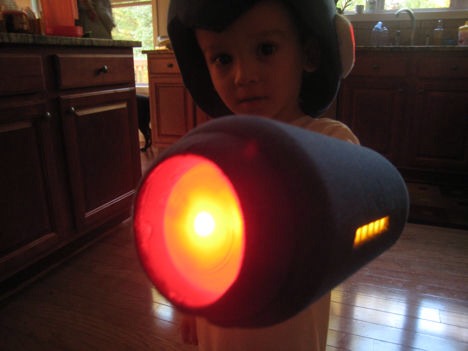
Step 7: Mega Man's Mega Buster (Materials and Tools)
The Mega Buster was another important part of the costume... I could have just done two gloves, but that would have not had the same effect. I liked the idea of using tupperware for the construction.
The Mega Buster was another important part of the costume... I could have just done two gloves, but that would have not had the same effect. I liked the idea of using tupperware for the construction.
Here is a list of Tools and Materials for the Mega Buster.
Tools:
•Saw
•Utility Knife
•Curved Hobby Scissors
•Dremel
•Drill, Drill Bits
•Soldering Iron
•Hot Glue Gun
•Tape Measure
•Scissors
•Sewing machine
Tools:
•Saw
•Utility Knife
•Curved Hobby Scissors
•Dremel
•Drill, Drill Bits
•Soldering Iron
•Hot Glue Gun
•Tape Measure
•Scissors
•Sewing machine
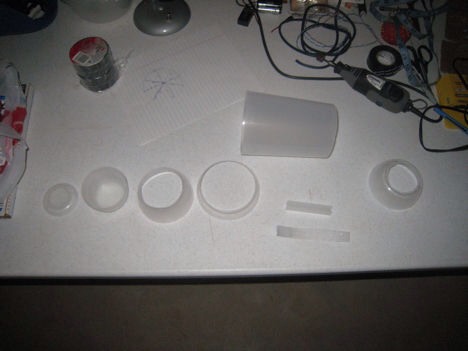
Materials:
•Small pitcher (tappered)
•One Medium Bowl
•Two Small Bowls
•Two Extra Small Bowls
•Sand Paper
•6 Yellow LED's
•Bright Red LED
•Wire
•Solder
•Switch
•3 @ 10 Ohm Resistors
•Battery Pack
Shrink Tube
•Electrical Tape
•Hot Glue Sticks
•Dark Blue Fabric
•Small pitcher (tappered)
•One Medium Bowl
•Two Small Bowls
•Two Extra Small Bowls
•Sand Paper
•6 Yellow LED's
•Bright Red LED
•Wire
•Solder
•Switch
•3 @ 10 Ohm Resistors
•Battery Pack
Shrink Tube
•Electrical Tape
•Hot Glue Sticks
•Dark Blue Fabric
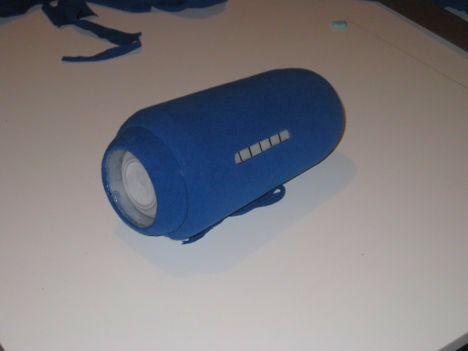
Step 8: Mega Man's Mega Buster (Form Body)
The pitcher I got was lined with another container inside. I sawed off the handle (but was keeping it for something later in the build). Then I cut the liner container out of the pitcher, and the pitchers bottom off.
The pitcher I got was lined with another container inside. I sawed off the handle (but was keeping it for something later in the build). Then I cut the liner container out of the pitcher, and the pitchers bottom off.
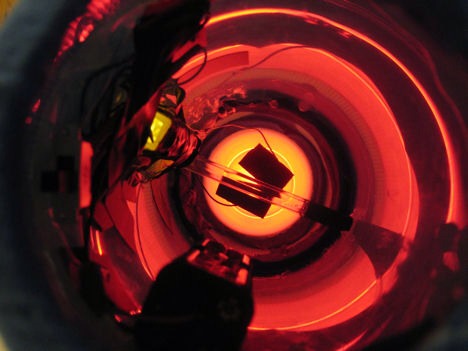
Step 9: Mega Man's Mega Buster (LED's)
I again used this write up as reference for creating the Mega Buster. First I cut holes in the bottom of the extra small bowl that was going to hold the bright red LED for the PEW, PEW, PEW side of things. Threaded the leads through and hot glued the LED in pl
I again used this write up as reference for creating the Mega Buster. First I cut holes in the bottom of the extra small bowl that was going to hold the bright red LED for the PEW, PEW, PEW side of things. Threaded the leads through and hot glued the LED in pl
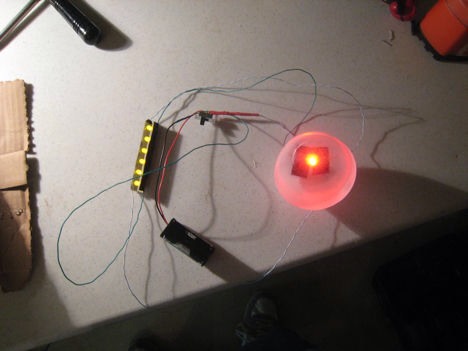
Then I wired both of these up to the switch, resistors, and battery pack. Using shrink tubing to cover up all the wires.
I then used hot glue to get the LED's secured, then covered up the bare wiring with black electrical tape. I set it aside as I now had to do some sewing.
I then used hot glue to get the LED's secured, then covered up the bare wiring with black electrical tape. I set it aside as I now had to do some sewing.
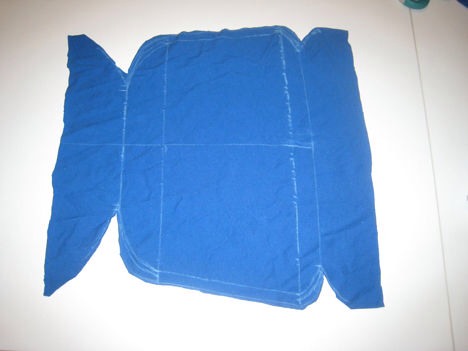
Step 10: Mega Man's Mega Buster (Skinning)
Tools:
•Tape Measure
•Scissors
•Sewing machine
•Hot Glue Gun
Materials:
•Dark Blue Fabric
•Chalk
•Thread
•Glue Sticks
Tools:
•Tape Measure
•Scissors
•Sewing machine
•Hot Glue Gun
Materials:
•Dark Blue Fabric
•Chalk
•Thread
•Glue Sticks
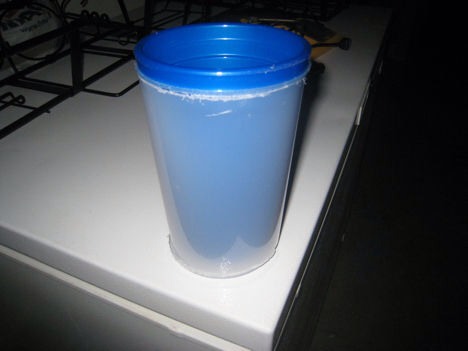
I only had two simple things to skin this time. The main body of the Mega Buster, and its gun tip. For the main body I had to hot glue the medium tupperware bowl that was next to the tip of the gun to the pitcher.
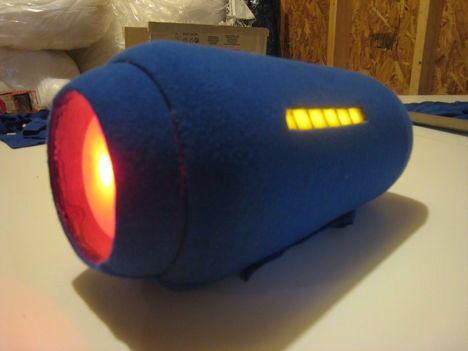
I hot glued the fabric to the inside of the gun tip end of the mega buster to hold it in place. I pulled the cloth tight down the body of the Mega Buster. Then I cut open the hole for the power meter and wrapped the cloth around the edge of the opening and hot glued in place.

Step 12: Mega Man's Boots (Materials and Tools)
More tools and materials need,
Tools;
•Tape Measure
•Fine Point Marker
•Scissors
•Hot Glue Gun
•Sewing machine
Materials:
•Brown Wrapping Paper
•Tape
•Foam
•Hot Glue Sticks
•Dark Blue Fabric
•Chalk
•Thread
•Elastic band
More tools and materials need,
Tools;
•Tape Measure
•Fine Point Marker
•Scissors
•Hot Glue Gun
•Sewing machine
Materials:
•Brown Wrapping Paper
•Tape
•Foam
•Hot Glue Sticks
•Dark Blue Fabric
•Chalk
•Thread
•Elastic band
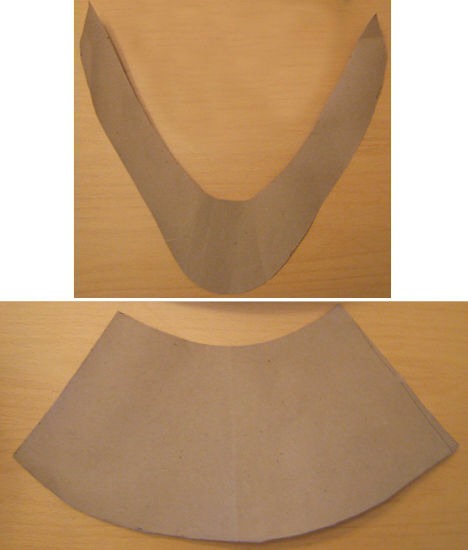
Step 13: Mega Man's Boots (Template)
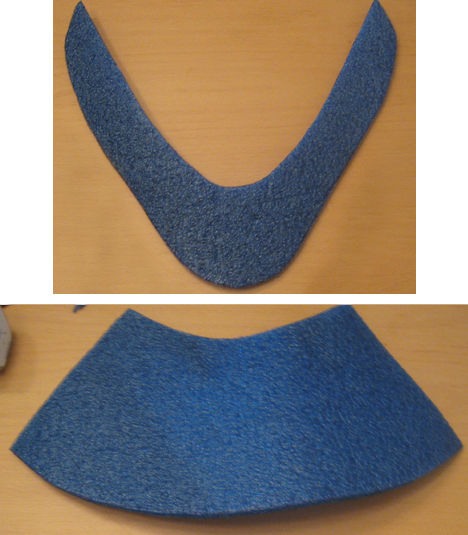
Step 14: Mega Man's Boots (Form Foam)
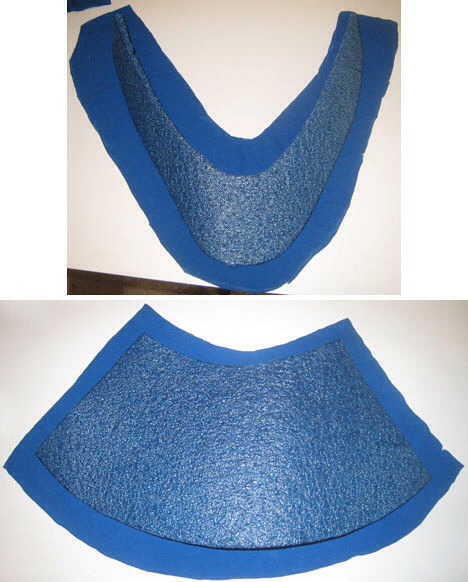
Step 15: Mega Man's Boots (Skinning)
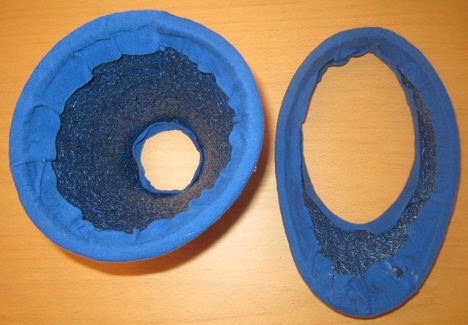
I had originally planned to have the boots be able to velcro together, but then they would not have looked as clean. Since these boots were just going to slide up his leg before putting on the shoes I could glue everything together first. I tested hot gluing this foam. It definitely melted.
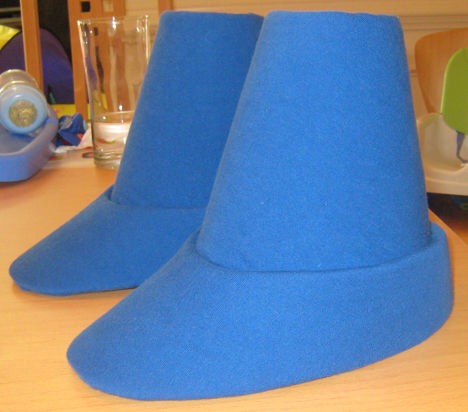
Step 16:Finishing Touching Megamans Boots
Again, originally I had planned on these two pieces remaining separate, but since it was just going to slide over the leg, I attached it all together (this decision really simplified things, a lot!).
Again, originally I had planned on these two pieces remaining separate, but since it was just going to slide over the leg, I attached it all together (this decision really simplified things, a lot!).
Step 17: Mega Man's Gloves
Tools:
•Fine Point Marker
•Scissors
•Hot Glue Gun
•Tape Measure
•Sewing machine
Materials:
•Foam
•Hot Glue Sticks
•Dark Blue Fabric
•Chalk
•Thread
Tools:
•Fine Point Marker
•Scissors
•Hot Glue Gun
•Tape Measure
•Sewing machine
Materials:
•Foam
•Hot Glue Sticks
•Dark Blue Fabric
•Chalk
•Thread
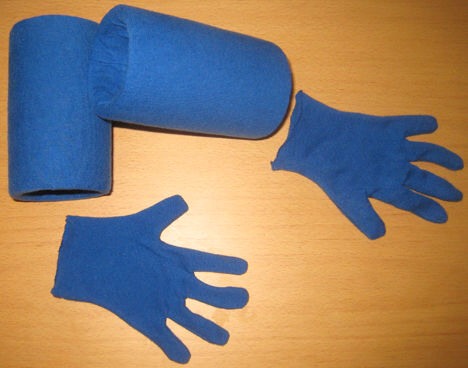
This build was much easier. I decided to make both a left and right hand glove, in case my son got tired of carrying the Mega Buster. I started with measuring my sons forearm for length and circumference. Cut two blue pieces of foam then glued them together.
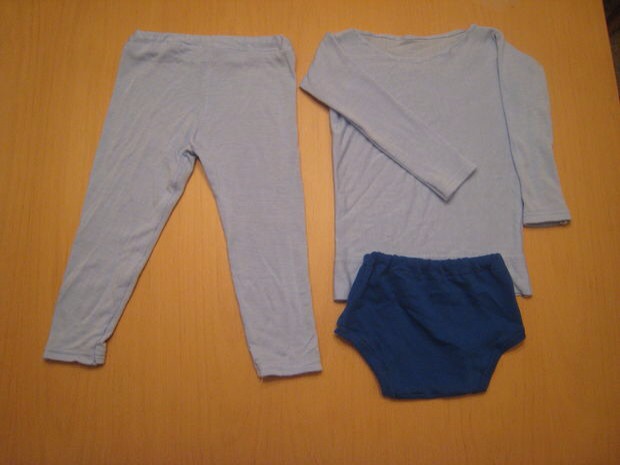
Step 18: Mega Man's Suit
Tools:
•Tape Measure
•Scissors
•Sewing machine
Materials:
•Dark Blue Fabric
•Light Blue Fabric
•Chalk
•Thread
•Shirt/Pants/Underwear for templates
Tools:
•Tape Measure
•Scissors
•Sewing machine
Materials:
•Dark Blue Fabric
•Light Blue Fabric
•Chalk
•Thread
•Shirt/Pants/Underwear for templates
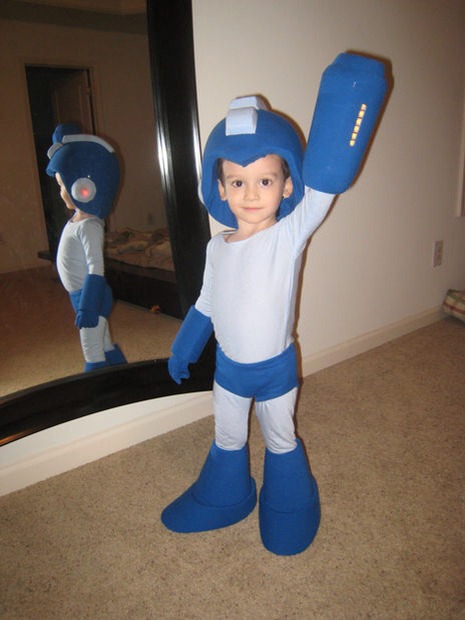
Step 19: Mega Man Costume
Yeah, so basically... I can't thank my wife enough on this part... she is awesome! I would have spent a TON of time doing these pieces, and they would not have looked half this nice! My wife had never really done anything like this before.
Yeah, so basically... I can't thank my wife enough on this part... she is awesome! I would have spent a TON of time doing these pieces, and they would not have looked half this nice! My wife had never really done anything like this before.
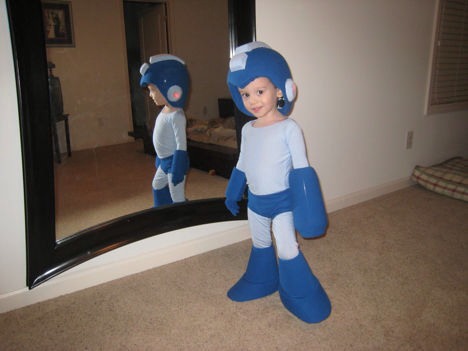
She usually makes drapery for her interior design work. So this was a stretch for her, but I it came out Awesome!

She used my sons existing clothing as a template. I had requested that she make these fit tight to replicate the Mega Man look as close as possible. Anyways, she created the three pieces needed, shirt, pants, and underwear that went on top.
I hope you enjoyed and try this. Please "like" and make sure to view my profile for other great tips.
Thank you!
Thank you!
More tips like this
All
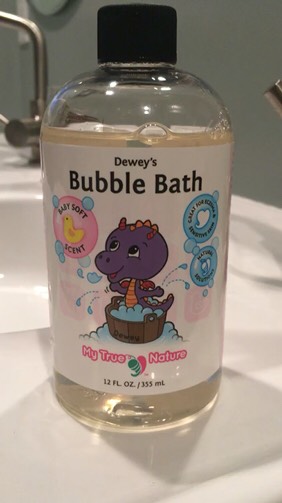
Big Bubbles With Dewey's Bubble Bath
93
Pets
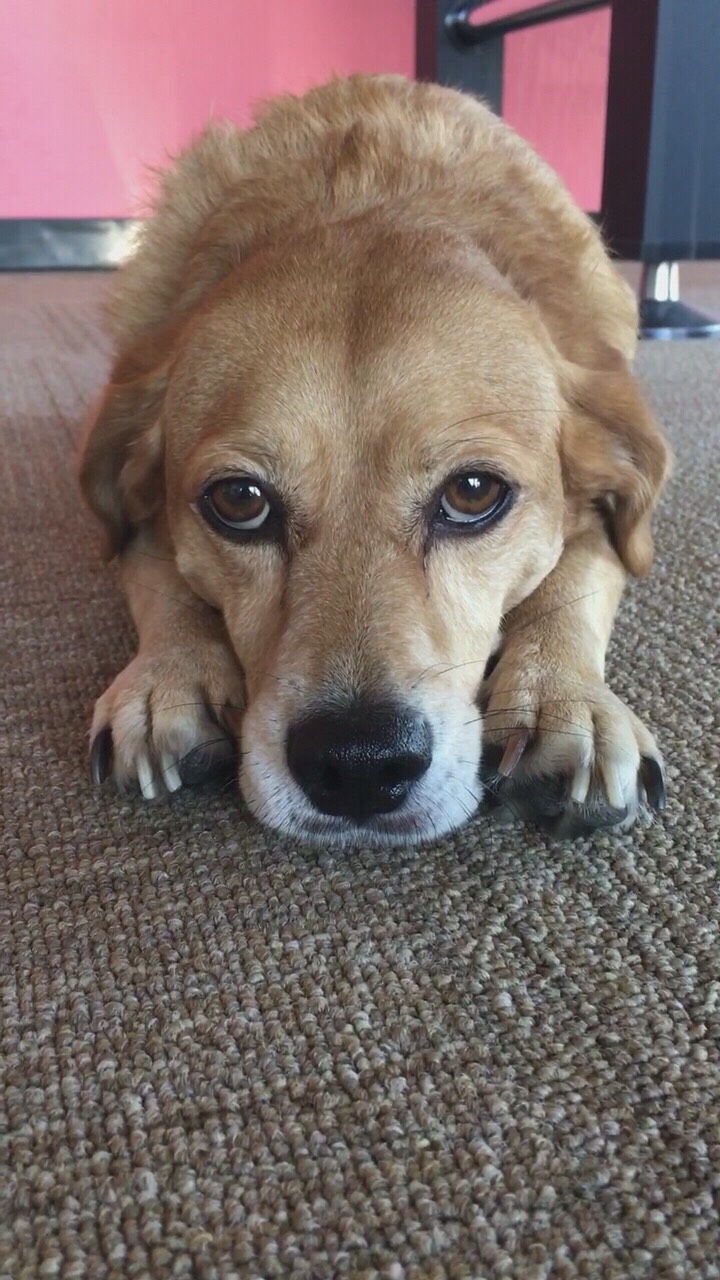
Stinky Dog? No Time For A Bath? Try This Miracle Worker!
9

Family & Kids
Get Rid Of Diaper Rash The Non Toxic Way

Family & Kids
How To Upgrade Your At-home Movie Night
1.2K2
Family & Kids
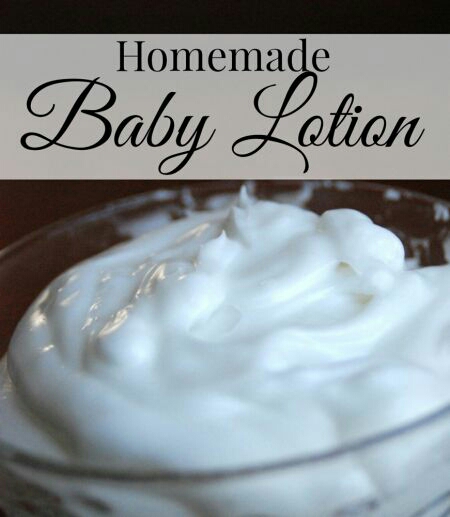
3 Ingredient Baby Lotion! 💧🙌
6268

Parenting
👶36 Ingenious Things You’ll Want As A New Parent🚼🍼
1.3K22
Family & Kids
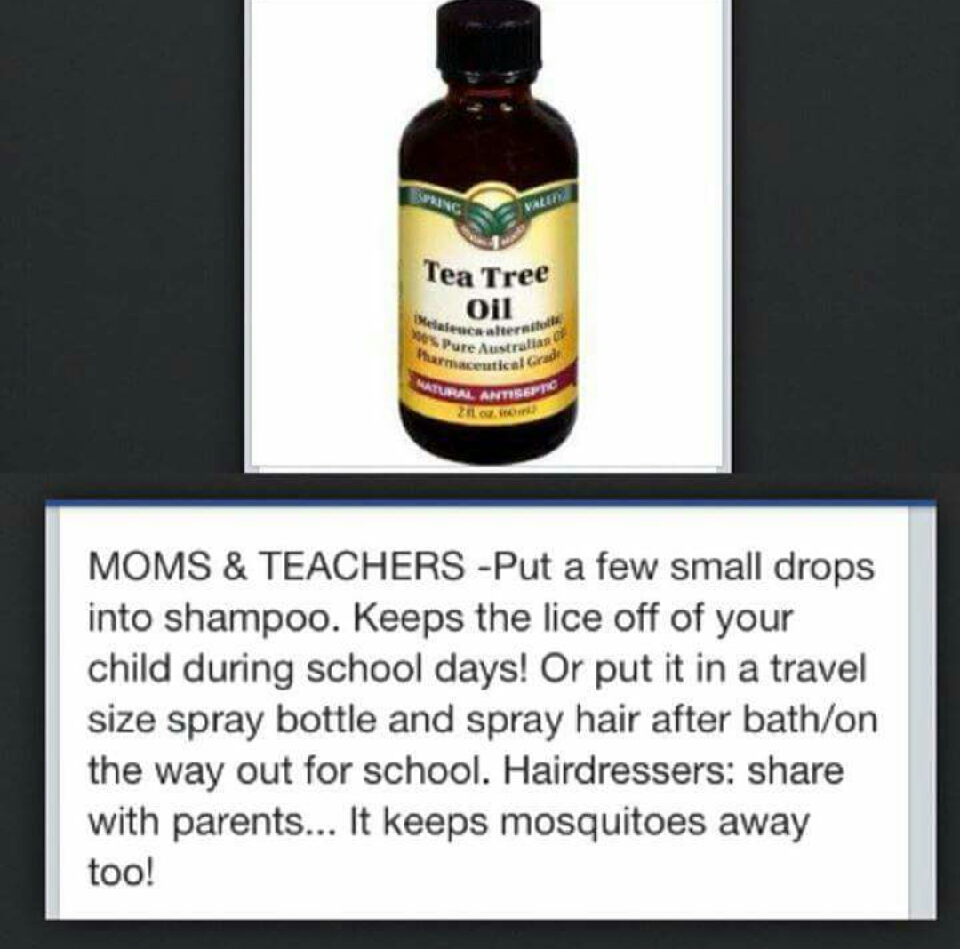
Prevent Lice With Tea Tree Oil!
20414
All
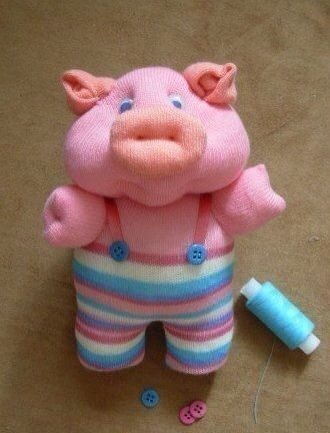
Make A Piggy Toy From A Sock ❤️❤️❤️
6038