Schools Out For Summer, What To Do? Part 1
posted in Family & Kids on 8/2/2014
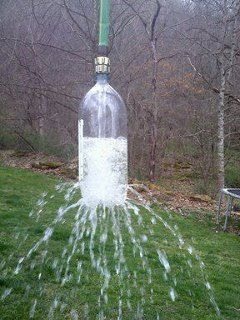
Take a 2 liter soda bottle, poke holes in it. Attach to a garden hose. Toss over a tree branch and let hang for a kids water sprinkler
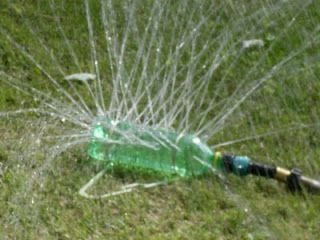
Or you can lay on floor
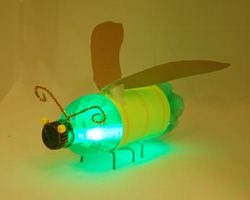
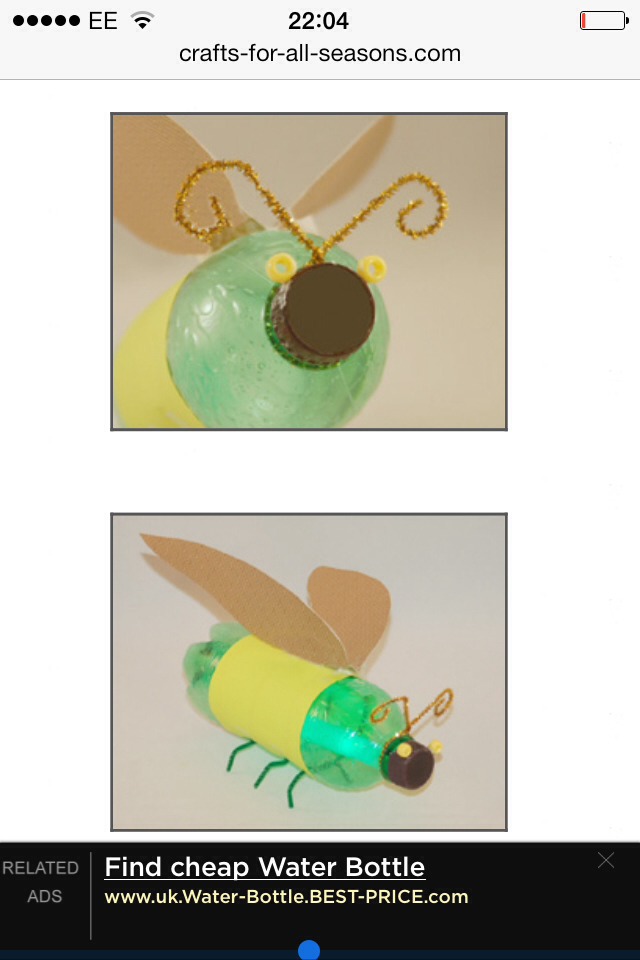
Kids will love making this creative fire fly
One green plastic bottle, empty and cleaned out (label removed)
One glow stick
Three 12 inch pipe cleaners in green or black, for the legs
One 12 inch pipe cleaner in gold, silver, or black (for the antennae)
Two yellow pony beads (for the eyes)
Construction paper or card stock (for thorax and wings)
Glue
Scissors
Black paint
Clear tape
1. You want start by cleaning the bottle in warm water and allowing to completely dry
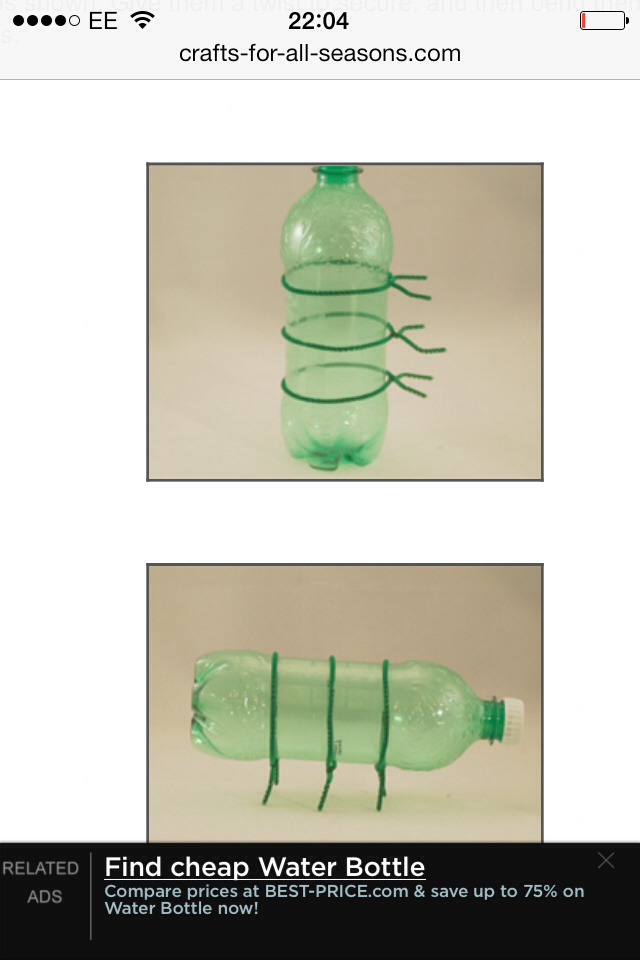
2. Twist three 12 inch green or black pipe cleaners around the middle Give them a twist to secure, and then bend them to look like legs.
3. Cut a rectangle of construction paper or card stock to wrap around the pop bottle. Don't have it wrap completely. Cut the rectangle slightly smaller so it ends where the legs show. Glue this paper on to the body to secure.
4. Fold another piece of construction paper or card stock in half. Cut a wing-like shape, using the fold to create mirror images of the wings. Glue these on top of the firefly's body.
5. Paint the bottle cap black and allow it to dry. Screw the cap on the firefly. Glue two yellow pony beads to the sides of it, to be the lightning bug's eyes. HINT: Make sure to screw the cap on first before you glue on the eyes, otherwise they eyes may not be in the right position. Then, wrap a 12 inch gold pipe cleaner around the neck of the bottle, twist to secure, and curl the ends to be the lightning bug's antennae.
6. Crack to activate a glow stick and place it inside. You can let it be loose, but I used a bit of clear tape to secure the top end of the glow stick near the mouth.

Get a paper lantern and tissue paper in various colours. Cut the tissue paper in squares and glue them on to paper lantern .
What You’ll Need
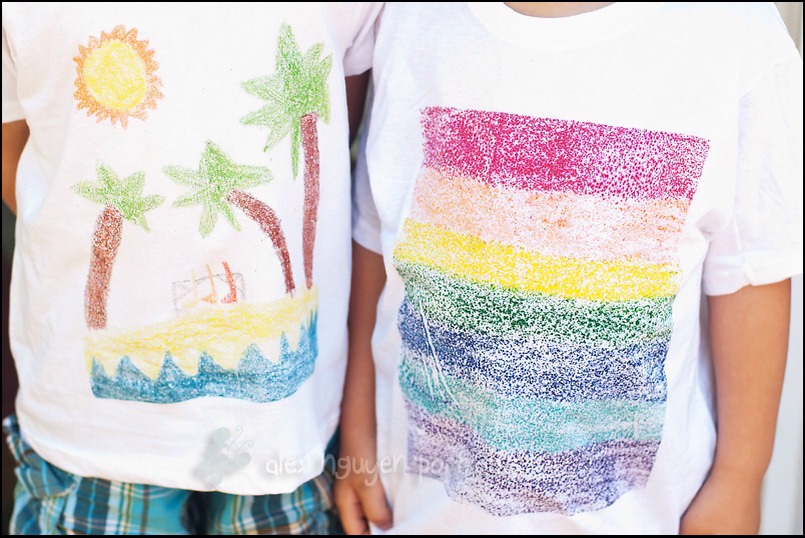
sandpaper (I used both coarse 60 grit, and a finer 220 grit. coarser will get you more texture, finer will let you get more details in your drawing)
crayons
white t shirts
iron
paper towel or regular towel
sandpaper (I used both coarse 60 grit, and a finer 220 grit. coarser will get you more texture, finer will let you get more details in your drawing)
crayons
white t shirts
iron
paper towel or regular towel
IMPORTANT since the drawing will be placed backwards to be ironed onto the t shirt, whatever you draw will be mirrored on the t shirt. So it is best NOT to draw any words.
First, draw your picture onto the sandpaper.
Second, place your sandpaper upside down on your t shirt, and iron on the COTTON setting (with no steam). I also placed a paper towel in between the t shirt to make sure there was no bleed through. I ironed for about 2 minutes, the coarser sandpaper took longer than the finer grit one. Just keep lifting up to check to make sure the crayon has melted onto the shirt.
Voila! That is it, two easy steps! That is how you make a sandpaper art t shirt. To “set” your design, take a paper towel (or a cotton towel), and iron for about 20 seconds on top of your crayon design.
More tips like this
All
Big Bubbles With Dewey's Bubble Bath
93
Pets
Stinky Dog? No Time For A Bath? Try This Miracle Worker!
9
Family & Kids
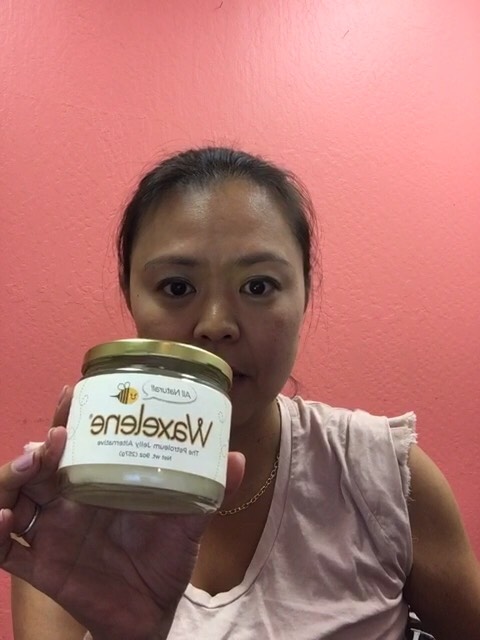
Get Rid Of Diaper Rash The Non Toxic Way
Family & Kids
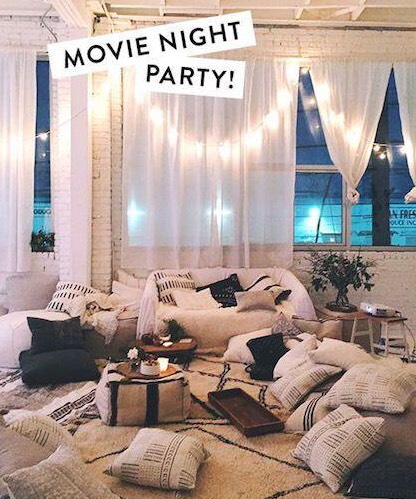
How To Upgrade Your At-home Movie Night
1.2K2
Family & Kids
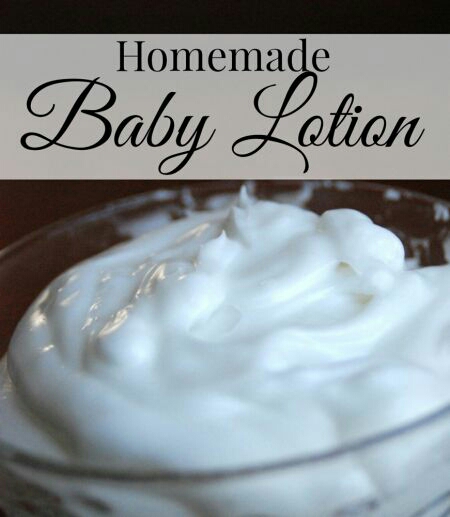
3 Ingredient Baby Lotion! 💧🙌
6268
Parenting
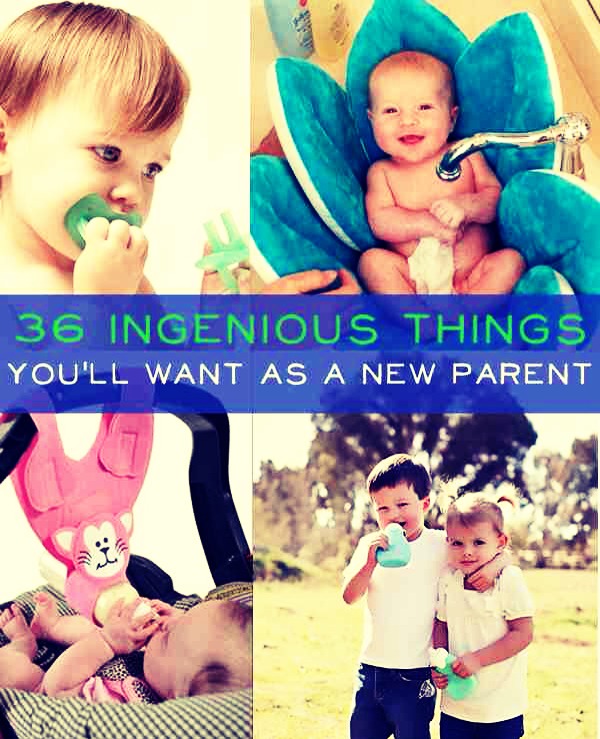
👶36 Ingenious Things You’ll Want As A New Parent🚼🍼
1.3K22
Family & Kids
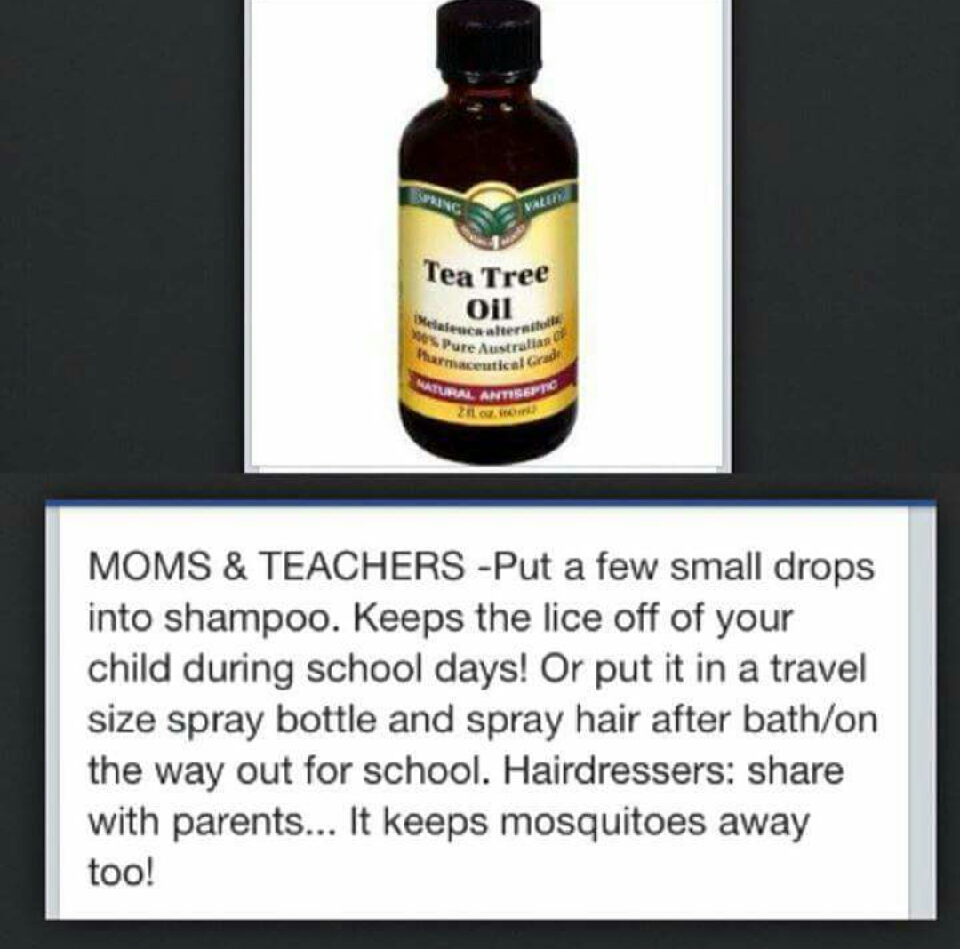
Prevent Lice With Tea Tree Oil!
20414
All
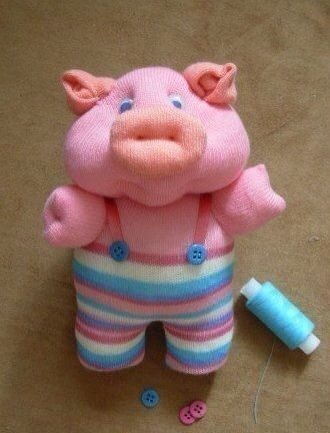
Make A Piggy Toy From A Sock ❤️❤️❤️
6038